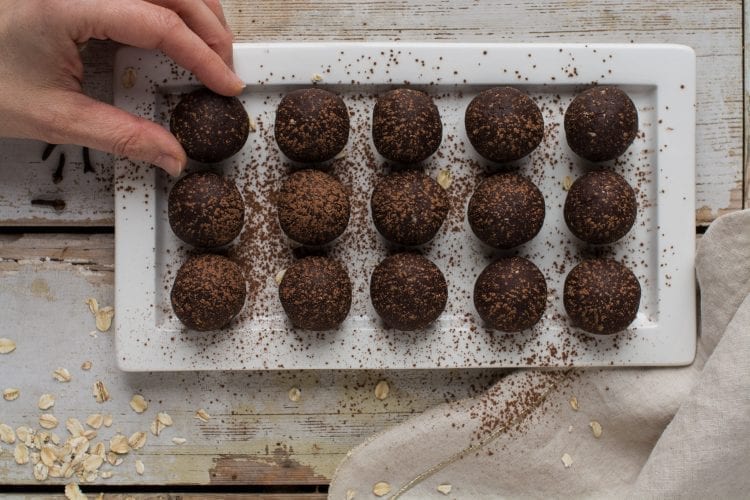
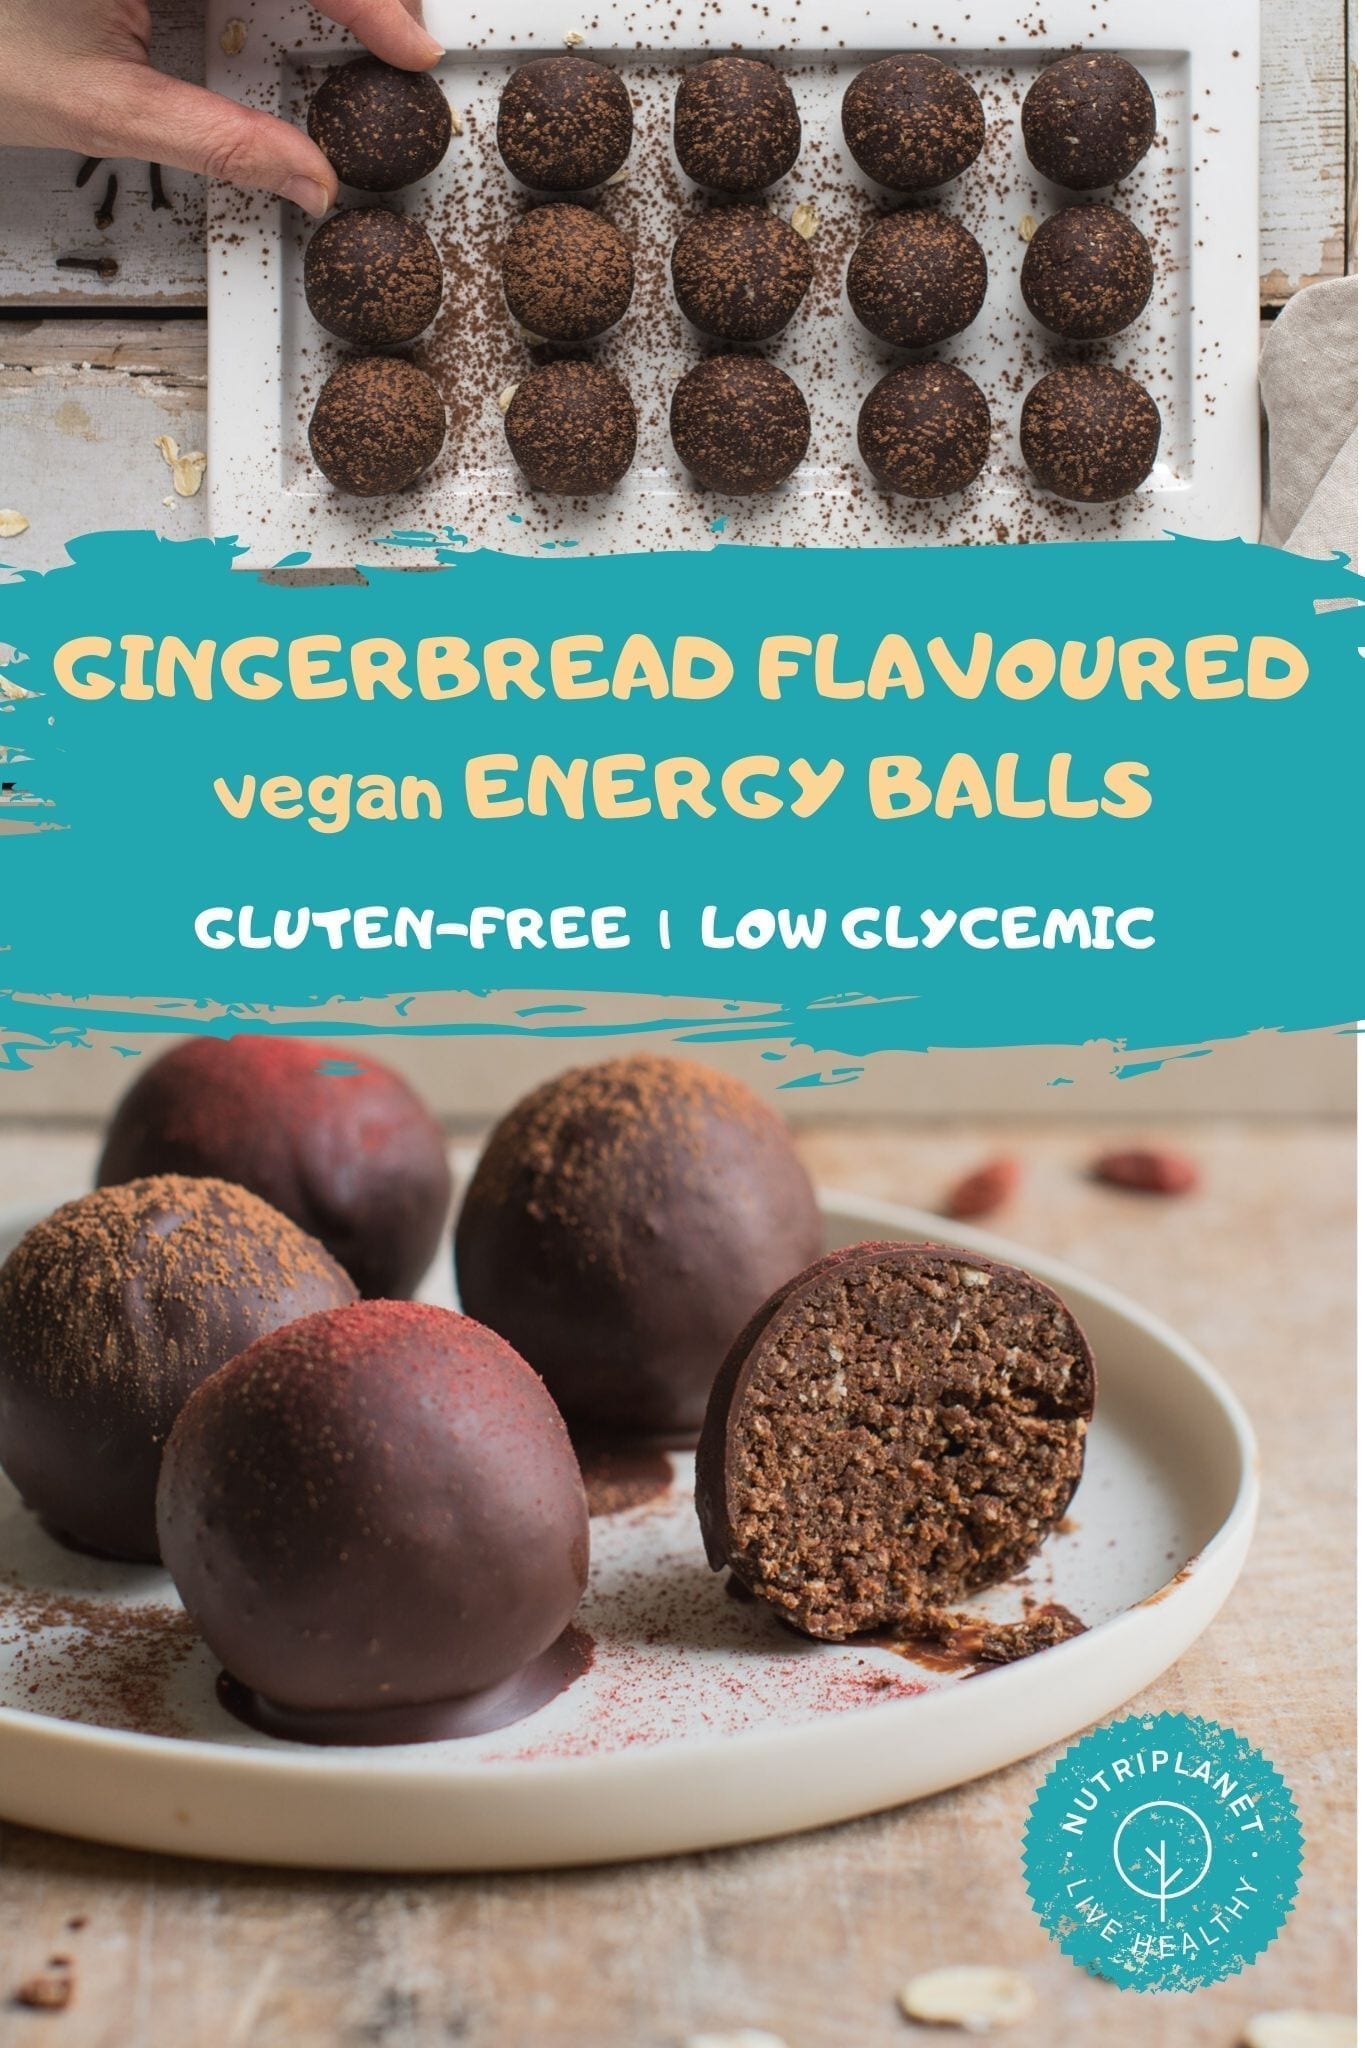
Try those quick and easy gingerbread flavoured vegan energy balls that are perfect as healthy snacks when you need a pick-me-up in the afternoon. You only need a food processor or a large bowl, a spoon and 25 minutes of your time.
And if you’re into energy balls, check out my grain-free peanut butter protein balls recipe.
Table of contents
My vegan energy balls are:
- Gluten-free
- Can be made peanut-free
- Soy-free
- Candida diet friendly
- High in fat (47% of kcal)
- Refined sugar free Low glycemic
Enjoy the tutorial video!
The Ingredients in My Gingerbread Flavoured Vegan Energy Balls
As always, I only use wholesome ingredients that won’t wreak havoc on your health.
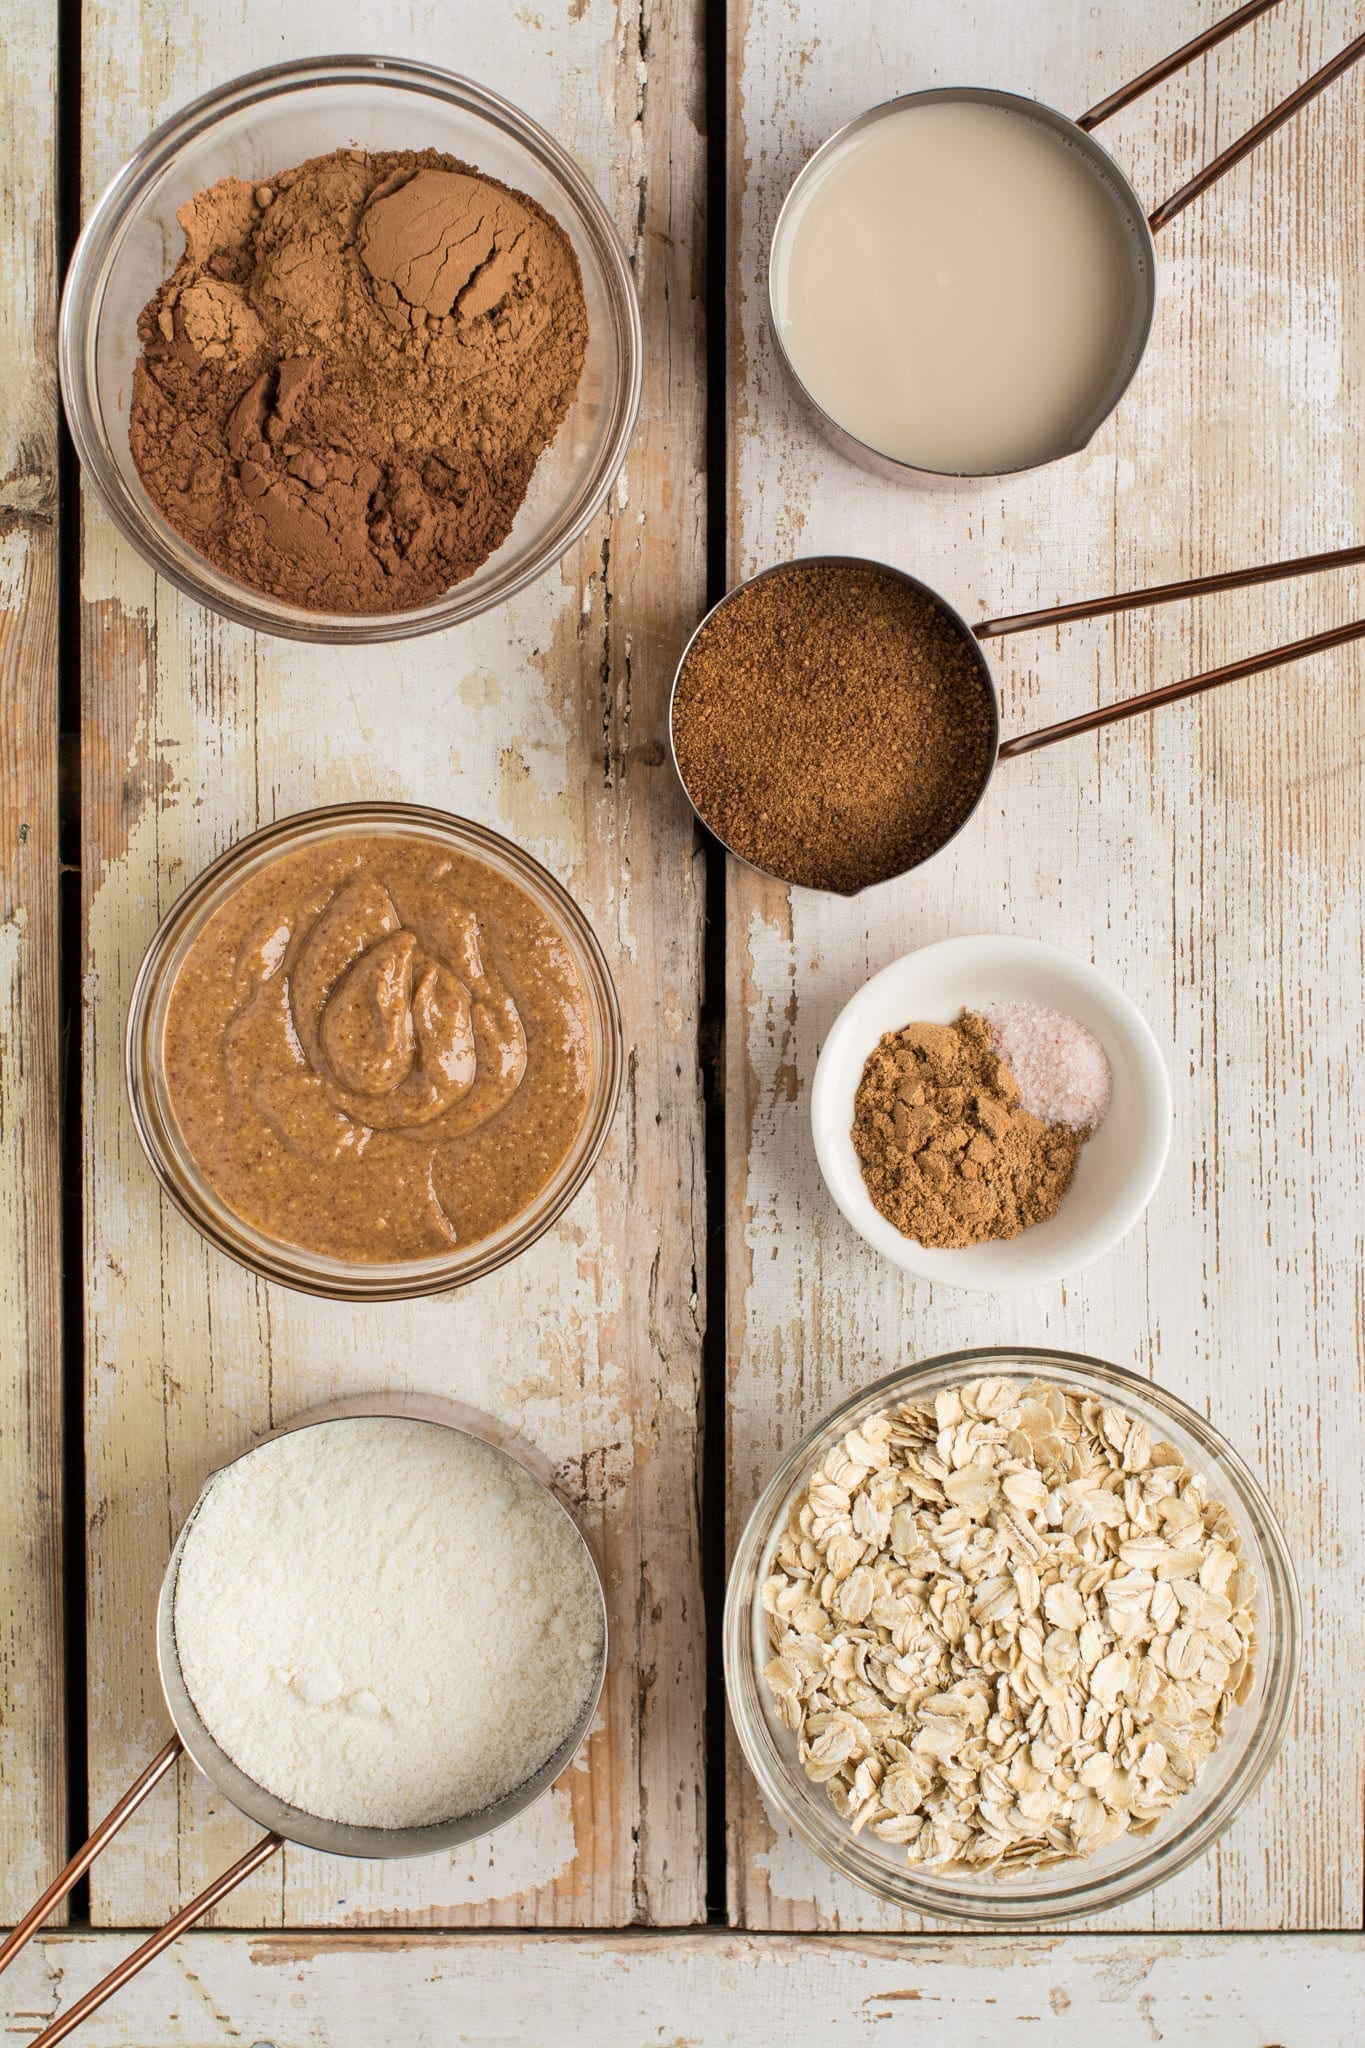
Dry Ingredients
Coconut flour has become one of my favourites because of its capacity to absorb liquids, i.e. I need to use less. Furthermore, coconut flour is also more affordable compared to other nut protein powders. So, it’s a win-win really!
Should you be allergic to coconut or simply dislike the taste, other nut protein powders could be used instead. However, you’d need to add a bit more as they’re not as absorbent.
Carob powder and cacao powder are must-have ingredients when it comes to making chocolaty treats. The two complement each other so well – the bitterness of cacao is smoothed by the sweetness of carob.
Rolled oats are perfect for creating a grainy effect and adding to chewiness.
Wet Ingredients
In my opinion, nut butter is the essence of any energy balls. It doesn’t matter whether you use peanut butter, almond butter or even coconut butter, just make sure to choose additive-free and preferably organic nut butter. Or make your own nut butter! See, how easy it is to make almond butter or cashew butter.
You need some liquid to make all those dry ingredients stick together. So, I add some oat milk. However, any plant milk will do as long as you make sure it doesn’t have any added sweeteners.
Sweeteners and Boosters
I usually sweeten those vegan energy balls with date sugar or coconut sugar and some liquid stevia. You may choose your preferred option. I suggest opting for xylitol, erythritol or stevia if you’re struggling with Candida overgrowth or blood sugar fluctuations.
Maple syrup and coconut nectar could also be considered, but since they are liquids, you’d need to add a bit less of plant milk to the recipe.
Himalayan salt emphasizes and brings out all the other awesome tastes so well, especially the sweetness! So, I add a bit.
And finally, gingerbread spice mix that I make myself by combining cinnamon, ginger, cardamom, cloves, nutmeg, allspice, and black pepper. Feel free to follow my instructions here or buy a ready mix from any store.
How My Vegan Energy Balls Are Made
Now, the good news is that this energy ball recipe is super easy to make. To be more precise, you only need the skill of adding all the ingredients into food processor and turning it on to make the batter.
What about if you don’t have access to a food processor? No worries as you can also prepare those energy balls using only a large bowl and your hands.
Forming the balls between your palms may sound like a challenge, right? If you really feel that you’re not up to it and you’re making those balls to cater only yourself, feel free to store the batter intact in a sealed container in fridge. Now, whenever you need a bite, scoop out a piece of dough, press it into a ball or square or triangle (or whatever shape you prefer) and have a bite! It’s as simple as that.
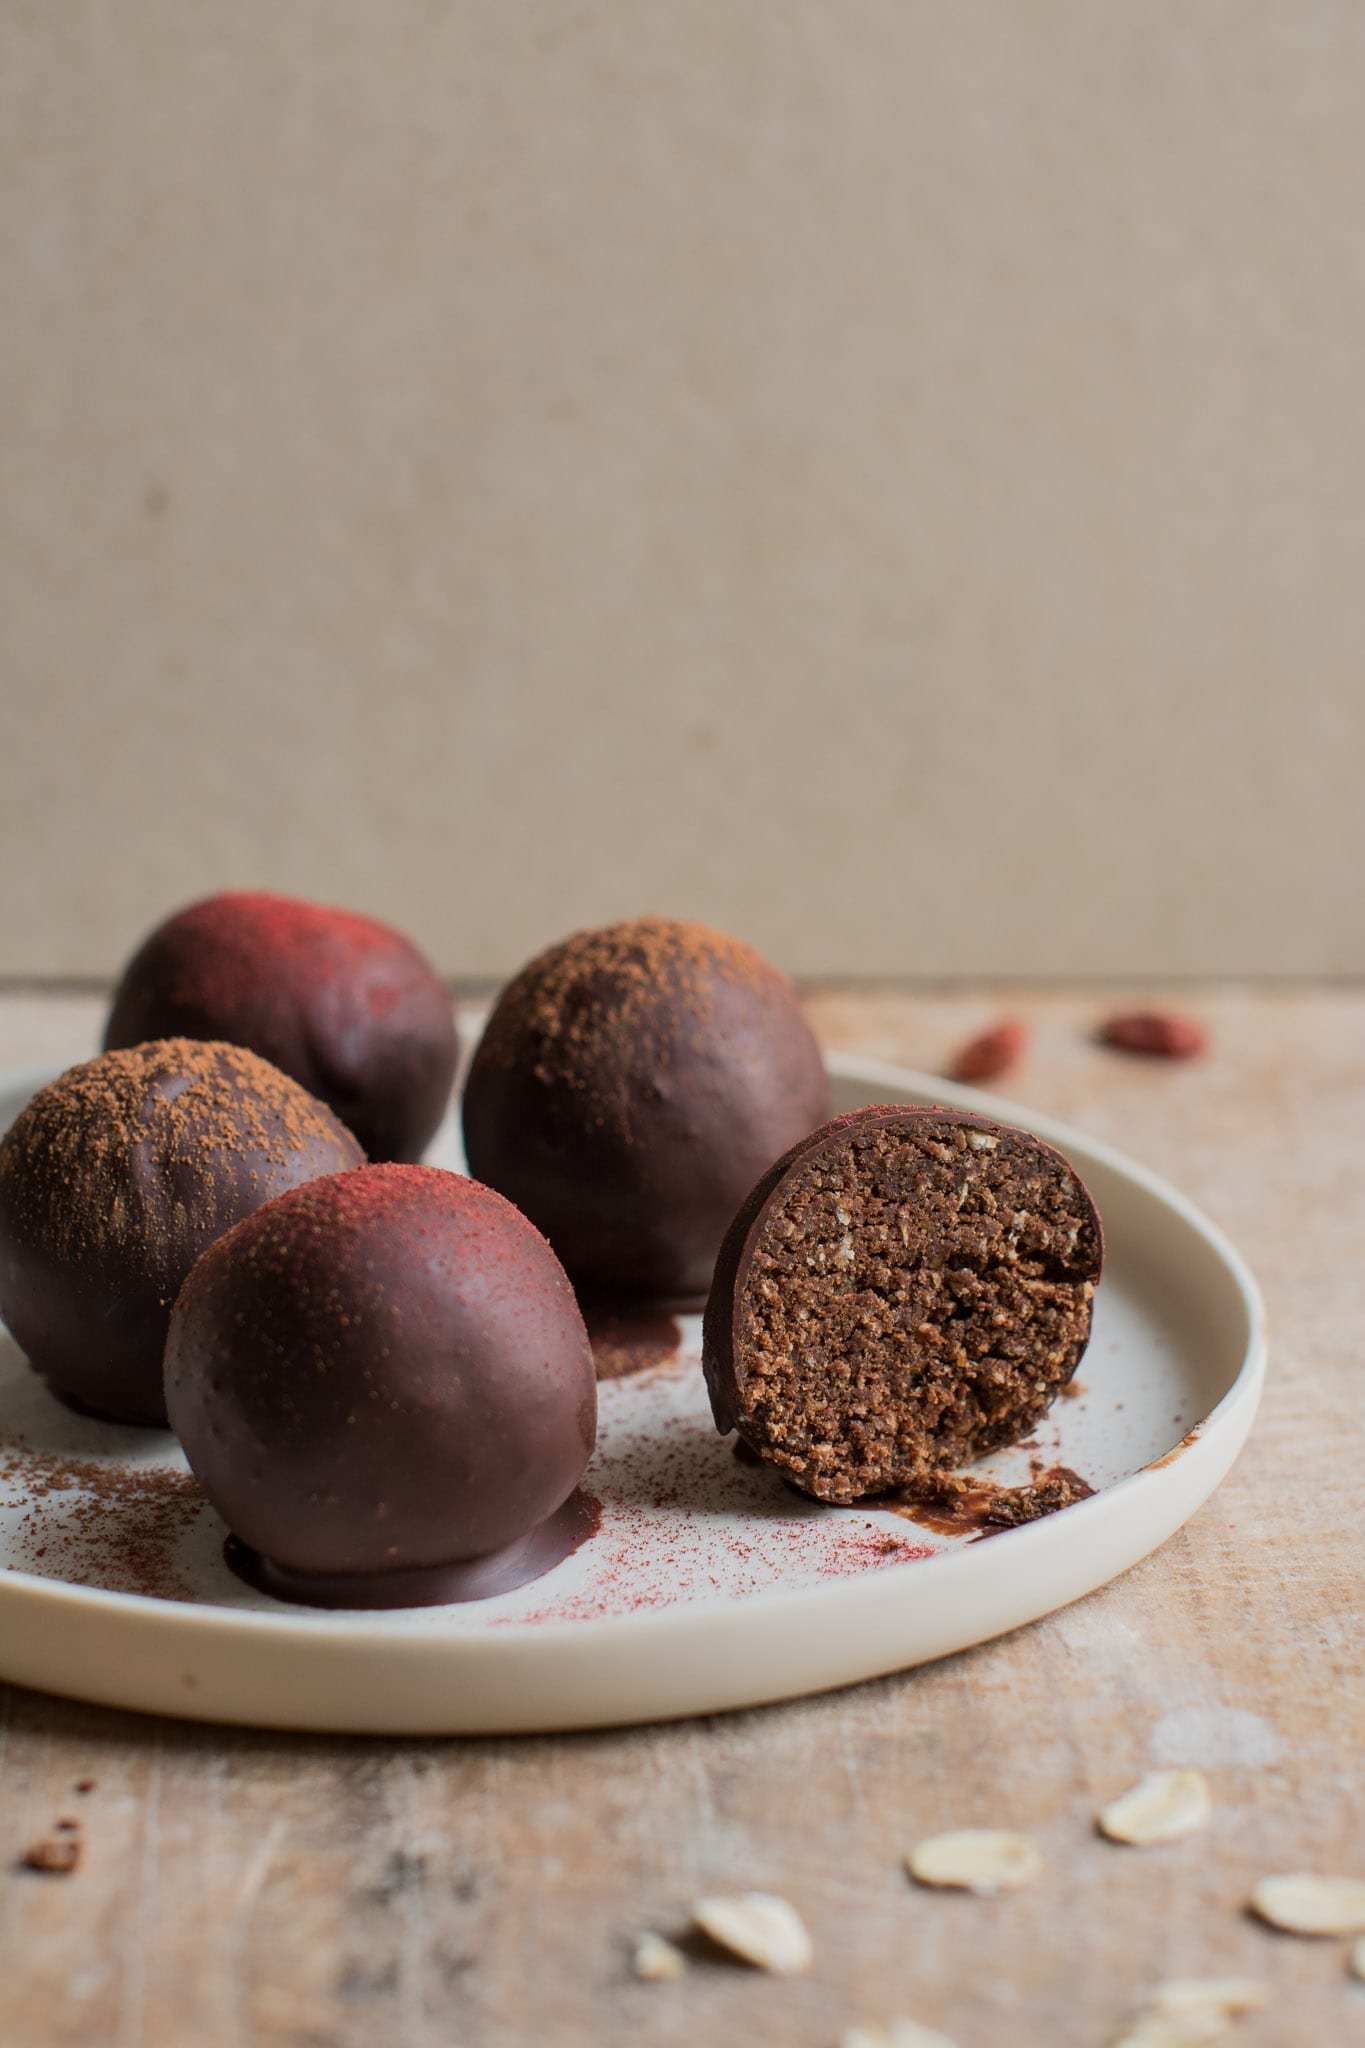
Optionally, you may coat those yummy energy balls with dark chocolate, which might need some extra skills. Fortunately, it’s not anything you couldn’t learn and perfect by practicing. And don’t worry if you don’t possess a double boiler or microwave oven! Simply chop up the chocolate and place it into a heatproof bowl. Next, bring water to simmer in your saucepan. Then, turn off the heat. Now, set the heatproof bowl in the mouth of the pot, making sure the bowl doesn’t touch the bottom of the saucepan. Stir the chocolate as it softens. And here you have it!
My Favourite Chocolate
Being a former Candida overgrowth sufferer and now living Candida-free, it’s not easy for me to find chocolate that I can actually eat. It’s simply because the majority of good quality organic brands use brown sugar, raw cane sugar, some kind of syrups or other sweeteners that I cannot have if I want to stay symptom free.
That being said, I was so happy to discover that Goodio uses only coconut palm sugar or birch xylitol in their products. You can choose between Sea Salt, Arriba, and Pure Nacional, the latter being my absolute favourite.
To sum it up, the reasons I love Goodio’s chocolates so much are:
- Bean-to-bar chocolate made of organic, wild and primarily raw ingredients.
- Chocolate with unique flavours, such as spruce powder, coffee, wild blueberry, sea buckthorn, mint, rosemary, and cranberries.
- Sweetened with coconut palm sugar and birch sugar.
- Made of raw cacao beans from organic, non-GMO farms in Peru, Ecuador, and Congo and are stone ground for 3 days to preserve the nutrients.
- Packaged in biodegradable wrapper and an envelope with a message.
Goodio especially appeals to me because there is a personal transformation story behind it. Also, they take sustainability, well-being and transparency seriously, so that people can have trust in them!
Now, should you wish to try out some of Goodio’s chocolates, go to their e-shop and don’t forget to use my code nutriplanet for 15% off! By the way, they deliver worldwide, so you can get those chocolates wherever you are.
To sum it up, I love my energy balls’ recipe so much as it’s:
- Super easy to make.
- Perfect for batch cooking.
- Has the divine gingerbread flavour.
- Made of wholesome ingredients.
I’d so much appreciate if you let me know how you like this vegan energy ball recipe. Or simply ask any questions or share your own wisdom! You can do so in the comments below! Please also tag me in social media whenever you make and share my recipe. Instagram and Facebook.
Print
Gingerbread Flavoured Vegan Energy Balls
- Total Time: 25 minutes
- Yield: 15 balls 1x
Description
Chill time: 1 hour
In case you decide to coat the balls, add another 25 minutes to the prep time.
Try those quick and easy gingerbread flavoured vegan energy balls that are perfect as healthy snacks when you need a pick-me-up in the afternoon. You only need a food processor or a large bowl, a spoon and 25 minutes of your time.
Ingredients
- 7 tbsps. (49g, 1.7oz) coconut flour
- 1/4 tsp. Himalayan salt or sea salt
- 3 tbsps. (20g, 0.7oz) carob powder*
- 3 tbsps. (20g, 0.7oz) cacao powder
- 100g (3.5oz; 1/3 cup + 1 tbsp.) additive-free nut butter*
- 60g (2.1oz; 3/4 cup) rolled oats*
- 120g (4.2oz; 1/2 cup) additive-free oat milk*
- 3 tbsps. date sugar*
- 2 tsps. gingerbread spice mix
- Dark chocolate for coating (optional)
* See notes.
Instructions
Directions for energy balls:
- Start by adding rolled oats and oat milk into food processor. This allows the oats to absorb a bit of liquid.
- Next, add all the remaining ingredients and process until everything is well incorporated. The dough should be grit, if you like firmer and chewier balls. Should you be after softer/moister balls, add a bit more plant milk – enough to let the mixture form a dough ball while processing.
P.S. You might have stickier result with the same amount of ingredients depending on how absorbent the oats are and how runny your nut butter is. However, this is totally alright as the balls will become a bit dryer in the fridge. - In case you don’t have a food processor, take a large bowl and mix together all the dry ingredients. Then, in a smaller bowl, combine nut butter and oat milk, adding milk to butter gradually to avoid lumps. Finally, pour the liquids onto dry ingredients and, using your hands, mix and press the batter until everything is well incorporated.
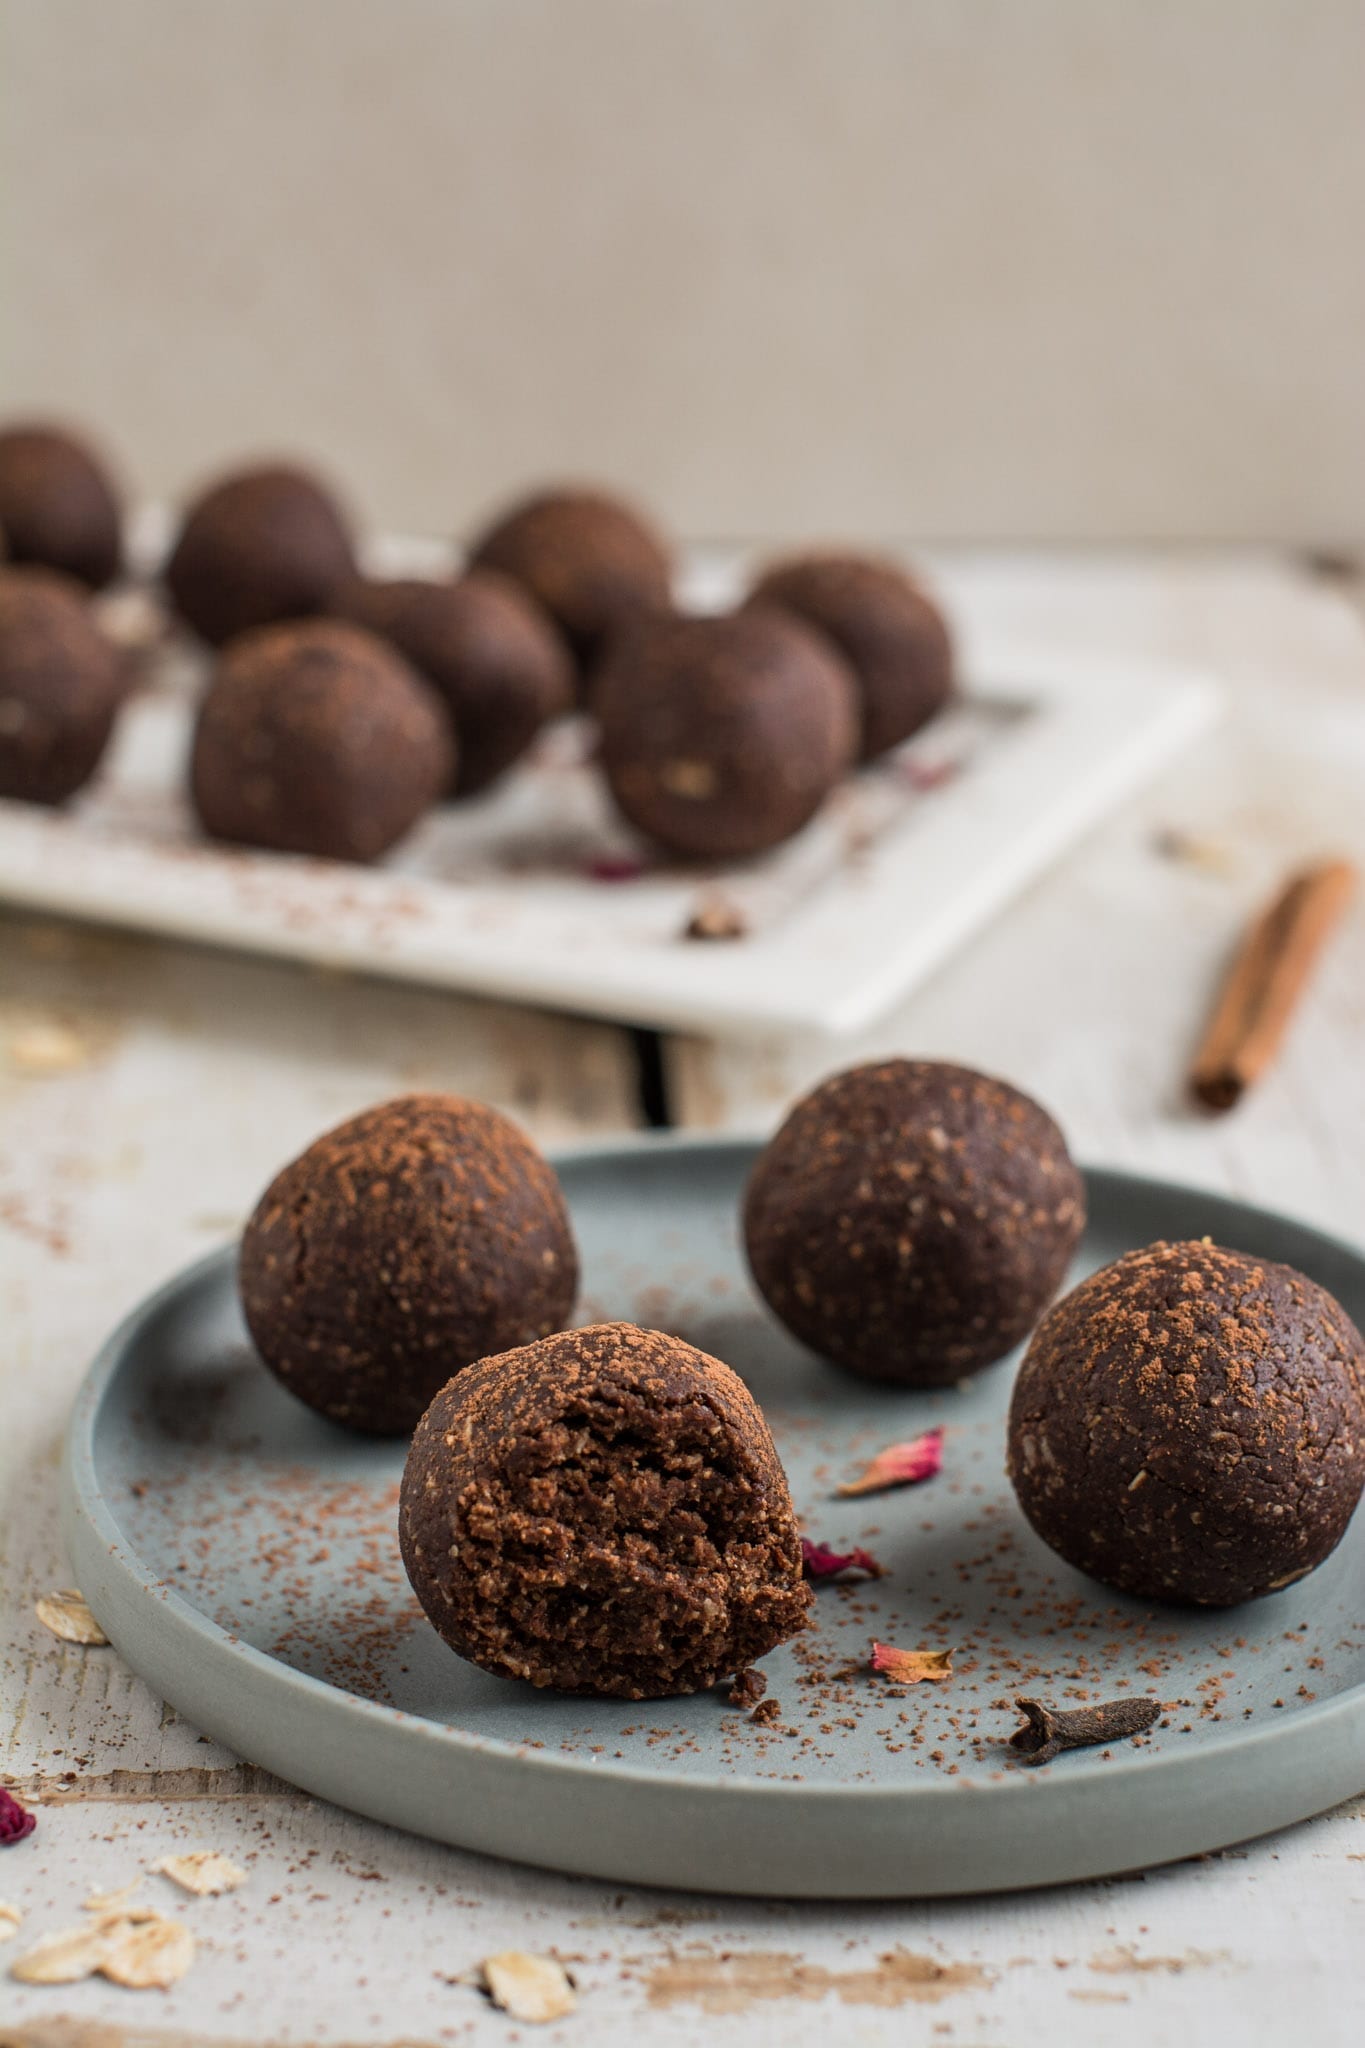
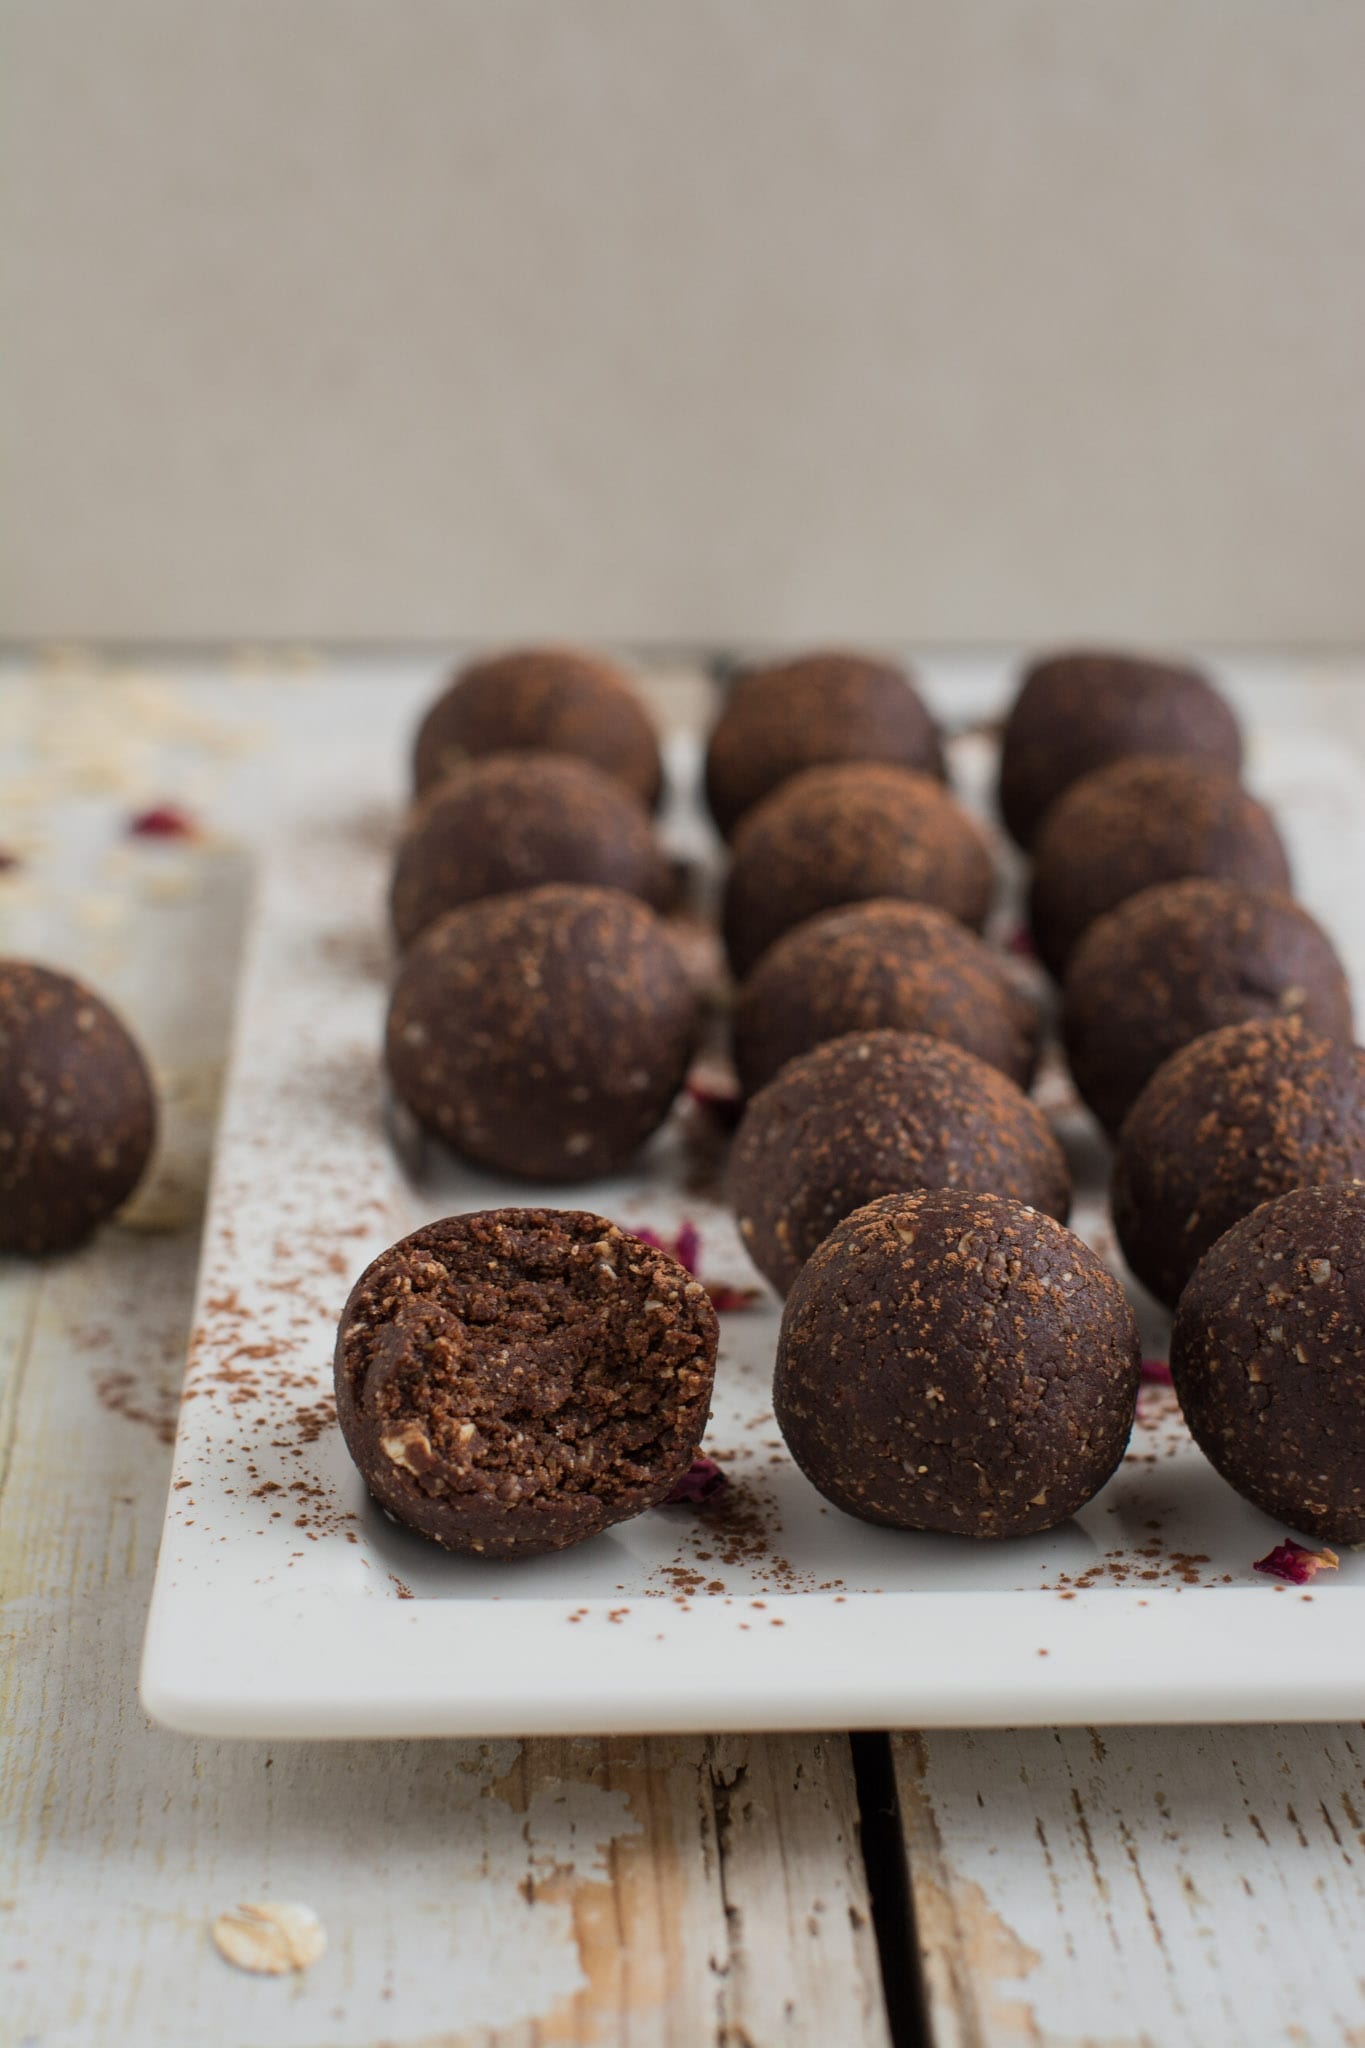
- Then, form energy balls between your palms, about 1 heaping tablespoon (25 grams, 0.9oz) each. In case of grit dough, press each portion down with a spoon to make it stick together faster and avoid crumbling.
- Chill the energy balls in the fridge for at least an hour and enjoy! Keep them refrigerated.
Directions for coating the balls:
- Optionally, in a double boiler, water bath melting dish, or microwave oven, melt some dark chocolate. I’d suggest taking about 100-gram (3.5oz) bar to be able to coat the energy balls conveniently. You’ll have leftovers though. Let it cool a bit to make it thicker. If you don’t have a double boiler or microwave oven, simply put a fitting heatproof bowl with chopped chocolate onto the mouth of a saucepan filled with hot water. Stir occasionally as the chocolate melts.
- Next, one-by-one, drop each ball into melted chocolate and, using a spoon or fork, coat it well. Then, with the help of the fork, lift it up, let the excess chocolate drip back into the bowl and place the truffle onto plate. To have a thicker layer of chocolate, let the first coating firm up a bit and coat them once more. You may repeat this process for as many times as you like. If you see that your energy balls are sitting in a pool of melted chocolate, you may consider transferring them to another plate using the help of two forks.
- Finally, refrigerate the balls for at least an hour before serving. For a festive look, I sprinkle some beetroot powder and/or cacao powder on the chilled chocolate coated balls.
Notes
I sometimes like to substitute some of the carob powder with mesquite flour.
Feel free to use any preferred additive-free (without added salt and sweetener) nut butter. This energy ball recipe works especially well with peanut butter or almond butter. Or make your own nut butter.
Opt for gluten-free rolled oats if you’re after gluten-free energy balls.
Instead of oat milk use any preferred plant milk, i.e. almond milk, soymilk, rice milk etc. You might want to add a bit more of sweetener should you choose a naturally NOT sweet milk. Remember that oat milk and rice milk have a sweet taste per se.
As far as sweeteners are concerned you may substitute date sugar with coconut sugar, xylitol, erythritol, or even liquid stevia. By the way, 12 drops of liquid stevia equal 1 tablespoon of date sugar/xylitol/coconut sugar. Erythritol has about 70% of sweetness of other granulated sugars, so use 4 tablespoons.
It’s worth mentioning that my gingerbread energy balls are not overly sweet, so give the batter a taste and feel free to add more sweetener if necessary.
I make my own gingerbread mix by combining cinnamon, ginger, cardamom, cloves, nutmeg, allspice, and black pepper. You’re welcome to follow my recipe or buy a ready-made mix from store.
You may grind some shredded coconut and roll the energy balls in it for a festive look. That goes for uncoated balls though.
If you’re a real chocolate chunky, feel free to mix some chocolate chips into the energy ball batter.
- Prep Time: 25
Nutrition
- Serving Size: 1 ball
- Calories: 90
- Sodium: 49mg
- Fat: 4.7g
- Carbohydrates: 7.8g
- Fiber: 3.1g
- Protein: 3g
Disclaimer: this post contains affiliate links. As an Amazon Associate and Goodio affiliate I earn from qualifying purchases. For every purchase made from the links in this post, you’ll be able to support my work. So, you can look after your health, and contribute to my mission at the same time. Thank you!