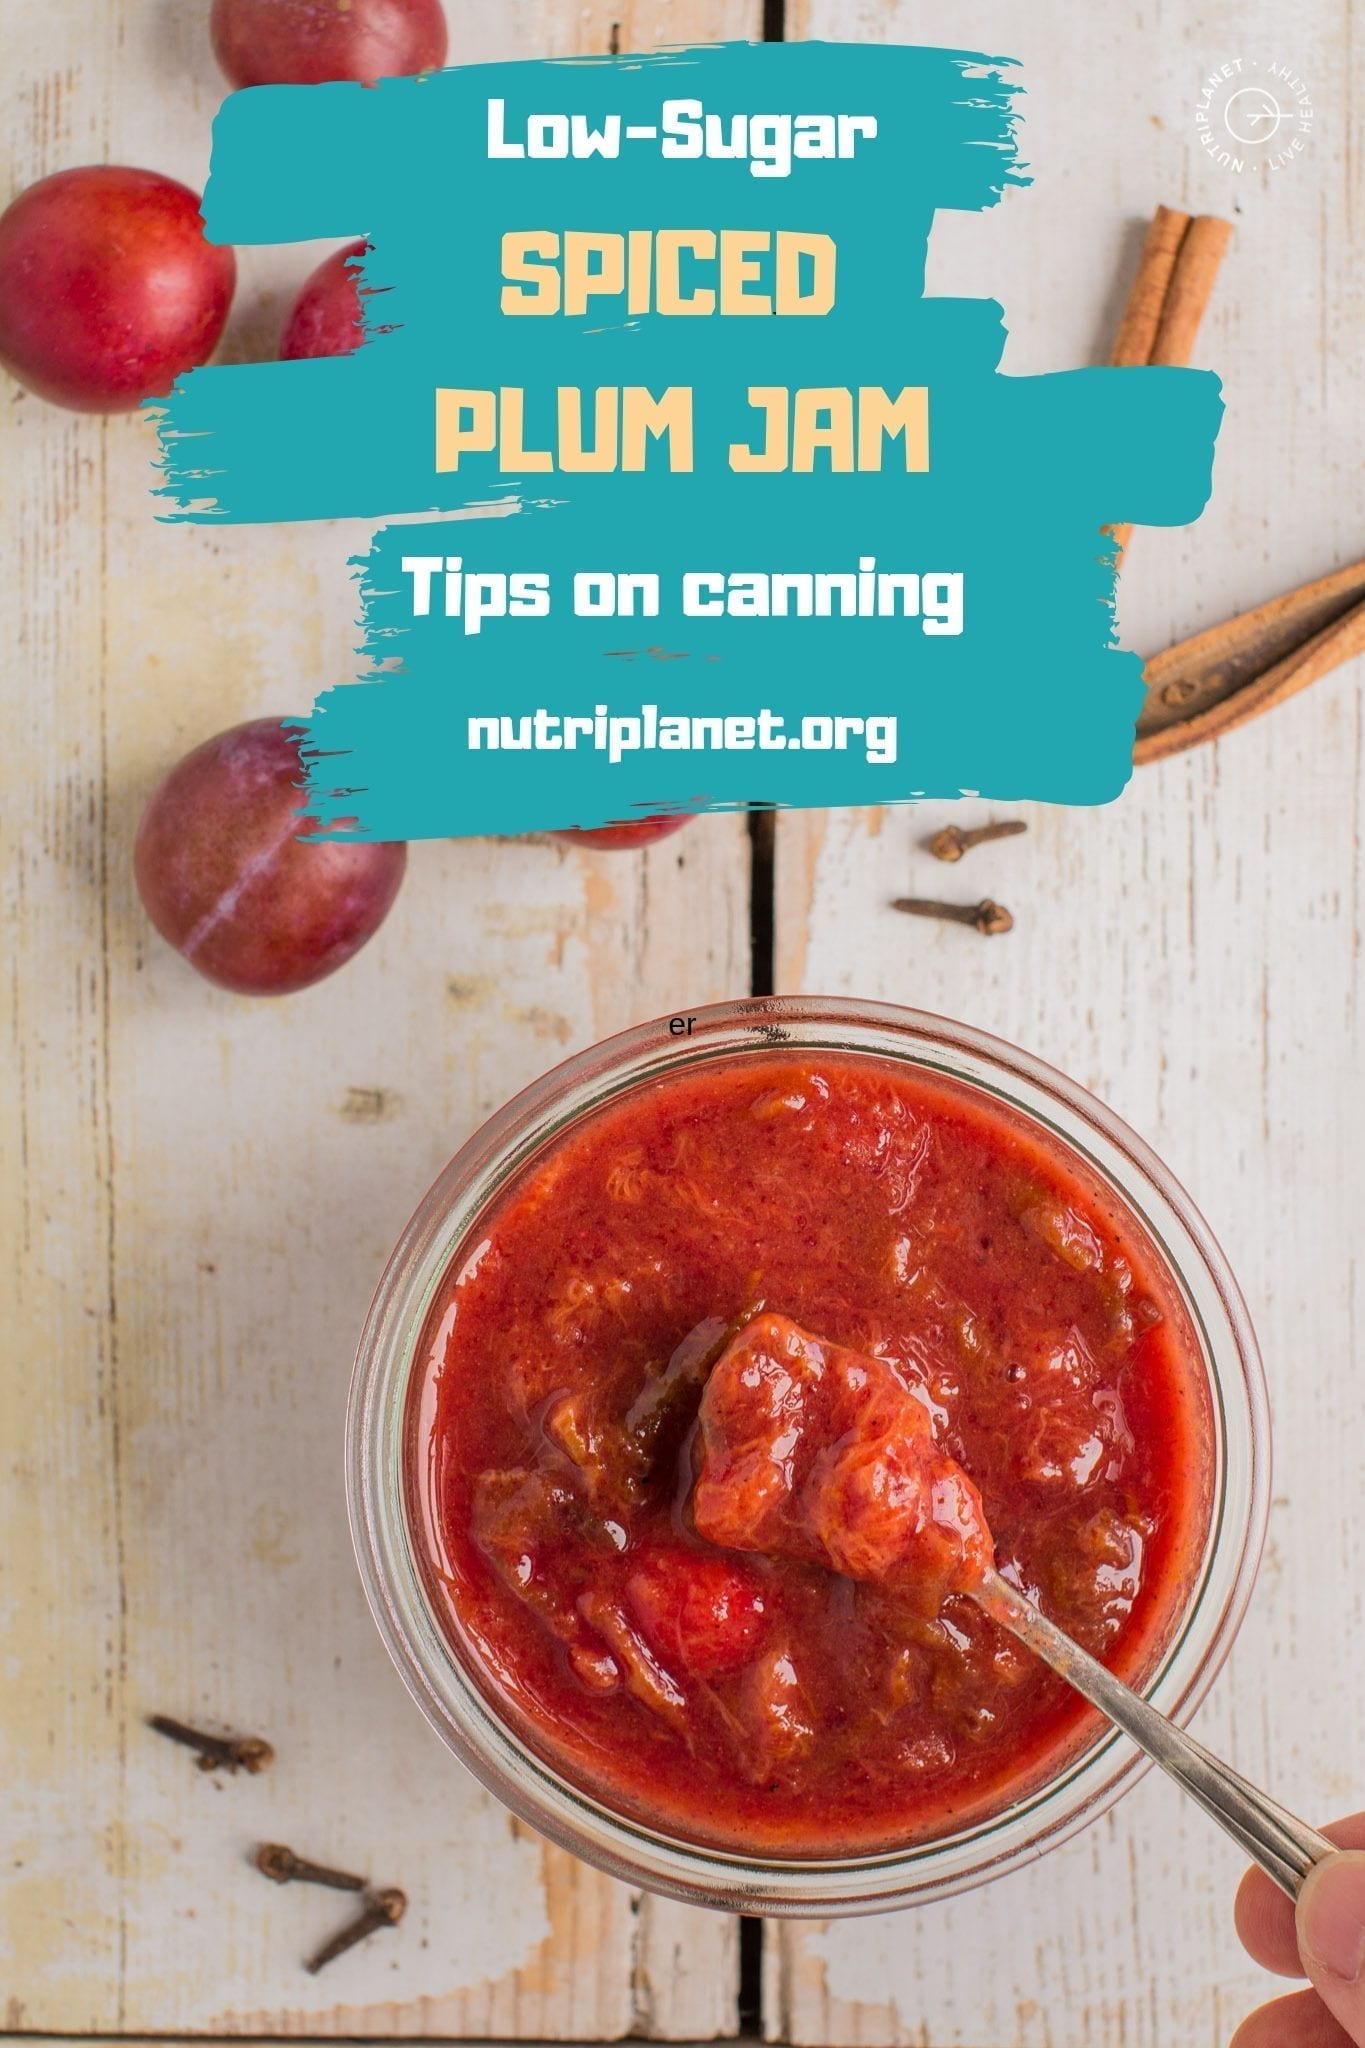
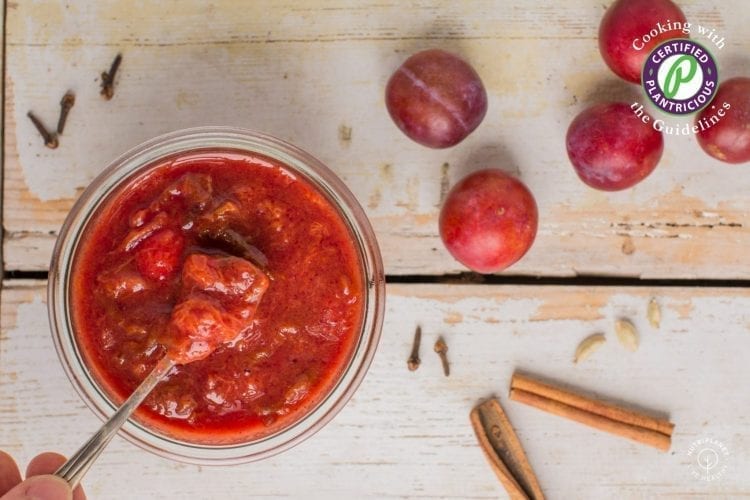
More plums than you can ever eat? Learn how to make plum jam! This spiced low-sugar plum jam is perfect for canning and will make a perfect spread for toast or topping for porridges, pancakes and waffles.
This spiced plum jam:
- Requires very minimal cooking skills.
- Fills your kitchen with heavenly flavours of spices.
- Is perfect for batch cooking.
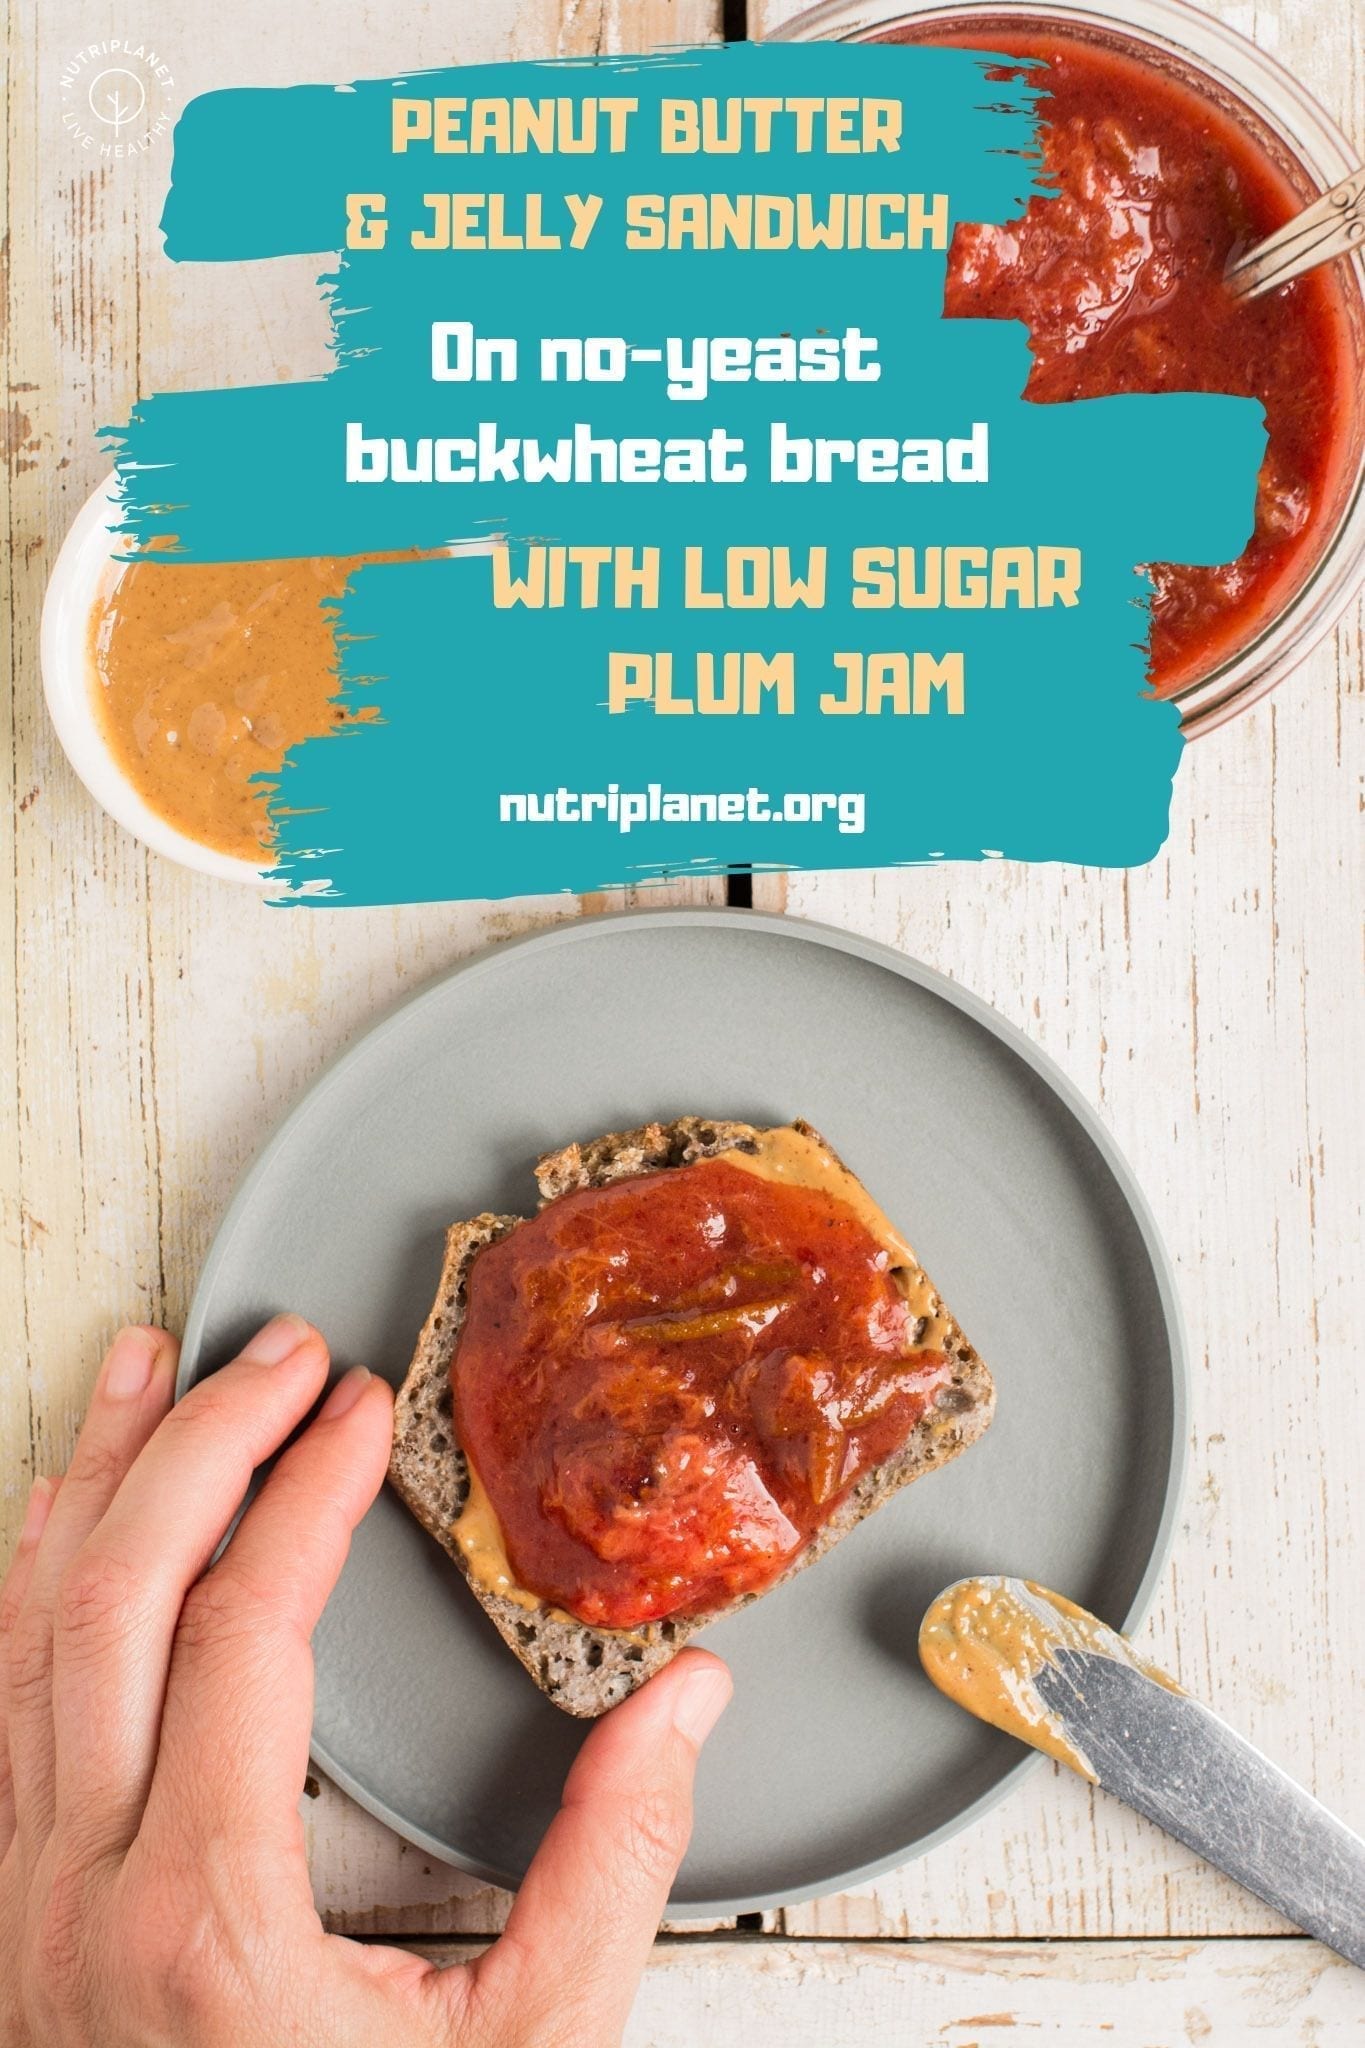
- Will be so rewarding when you need a quick healthy peanut butter and jelly sandwich.
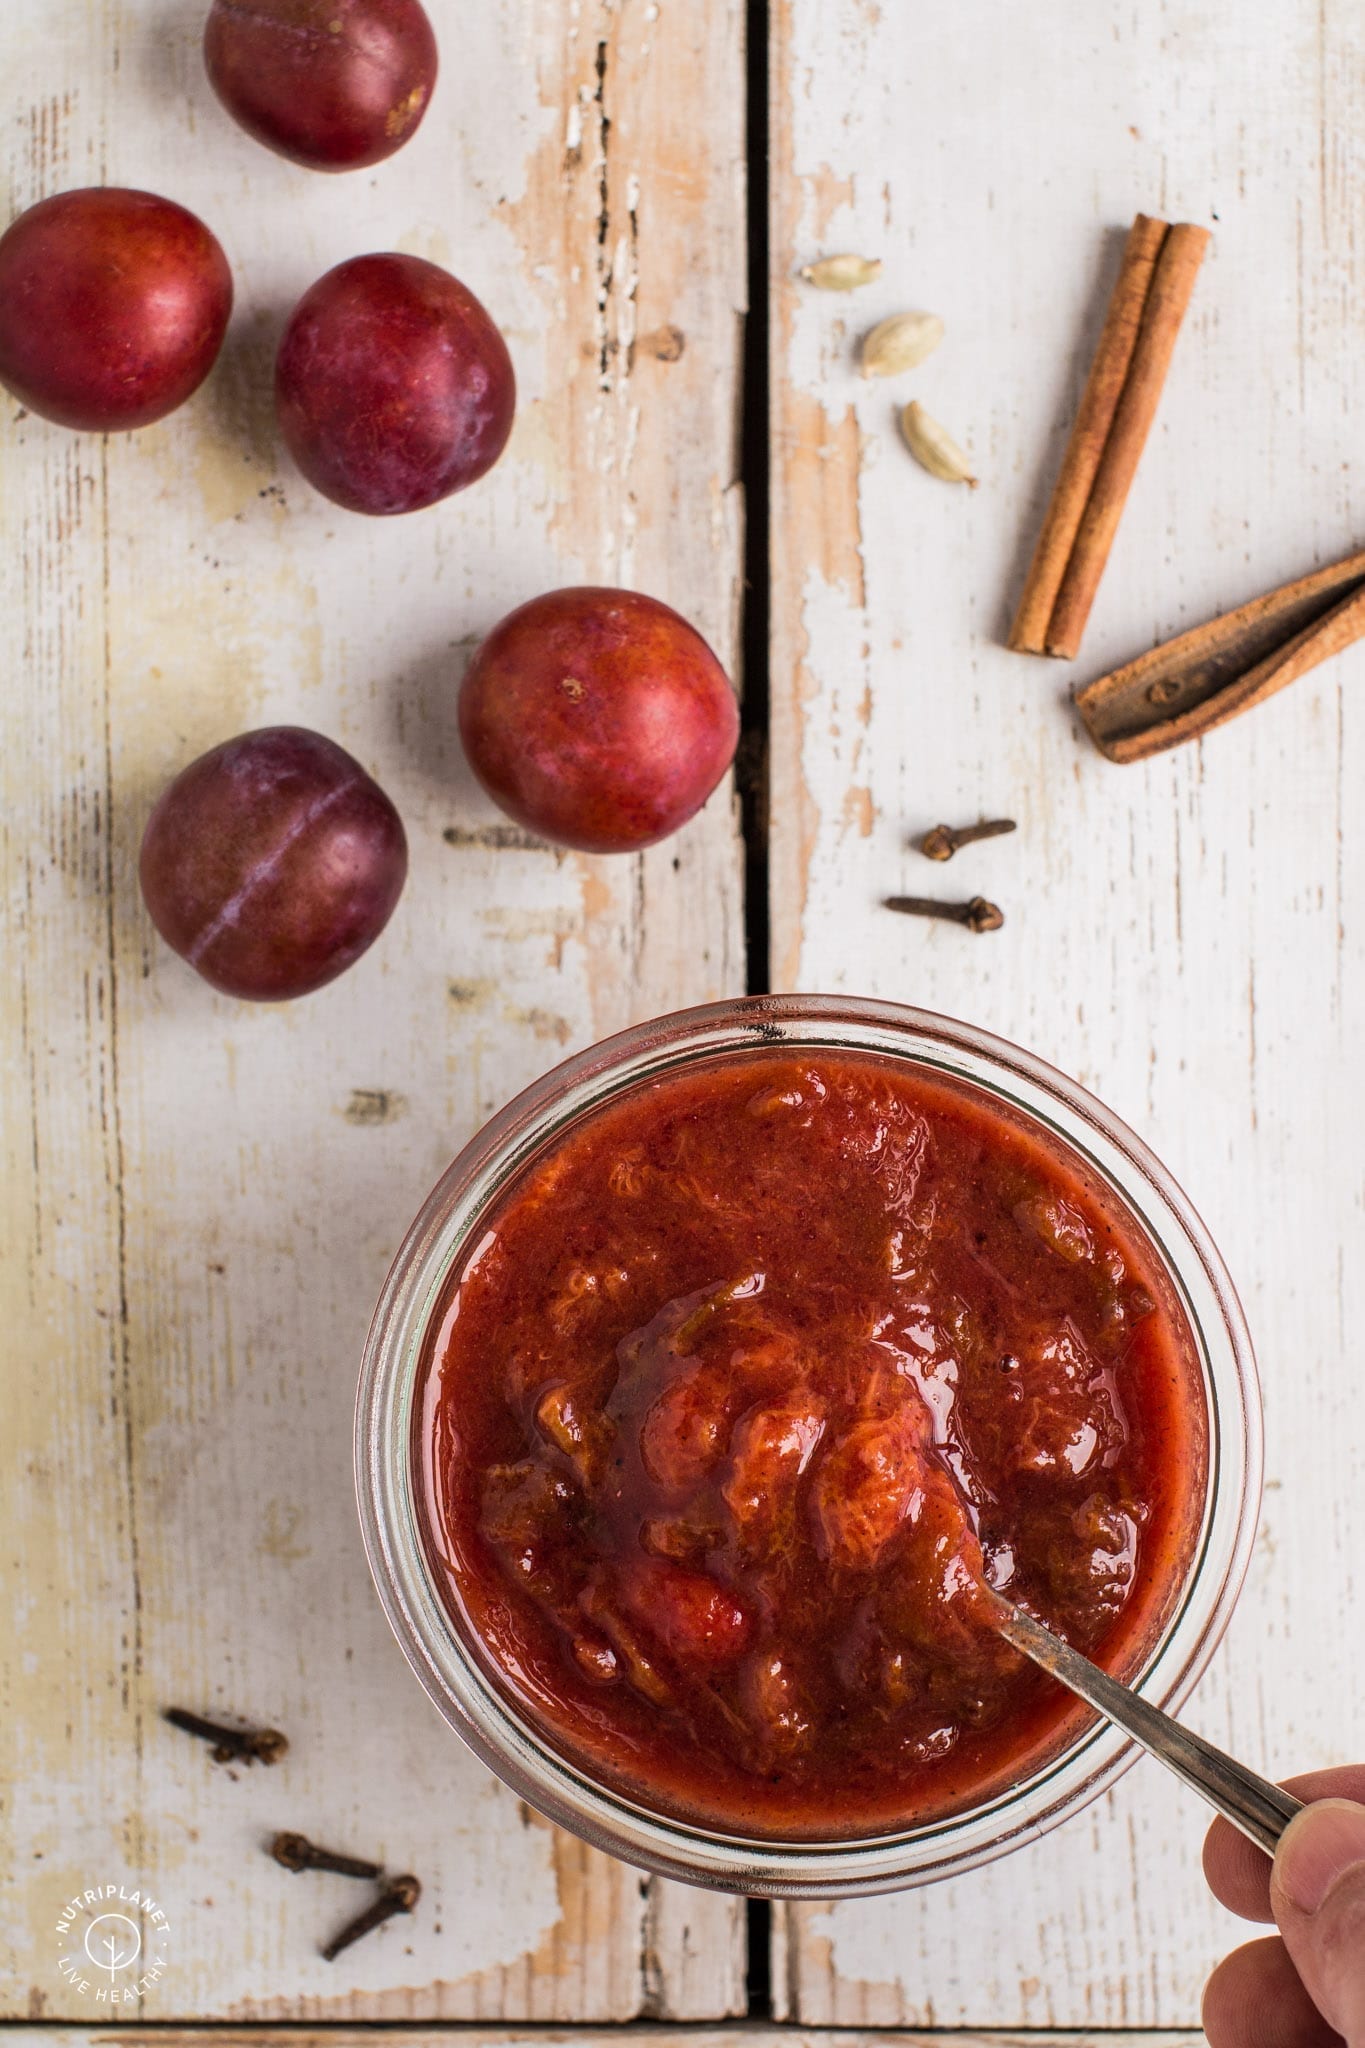
I’m lucky that my grandmother as well as uncle have plum trees in their gardens. This year the nature has blessed them with abundant crops – so much so that we’re struggling to make a good use of all of the lovely plums. Furthermore, I even got a big bucket of home grown plums from my friend’s mother’s garden a few weeks ago! So, it’s been literally raining plums and I needed a good way of conserving them. After all, how much plum pie can one eat, even it is super delicious! Of course, plum juice would be an option, but I hate the idea of wasting the fibrous pulp. So, plum jam it is!
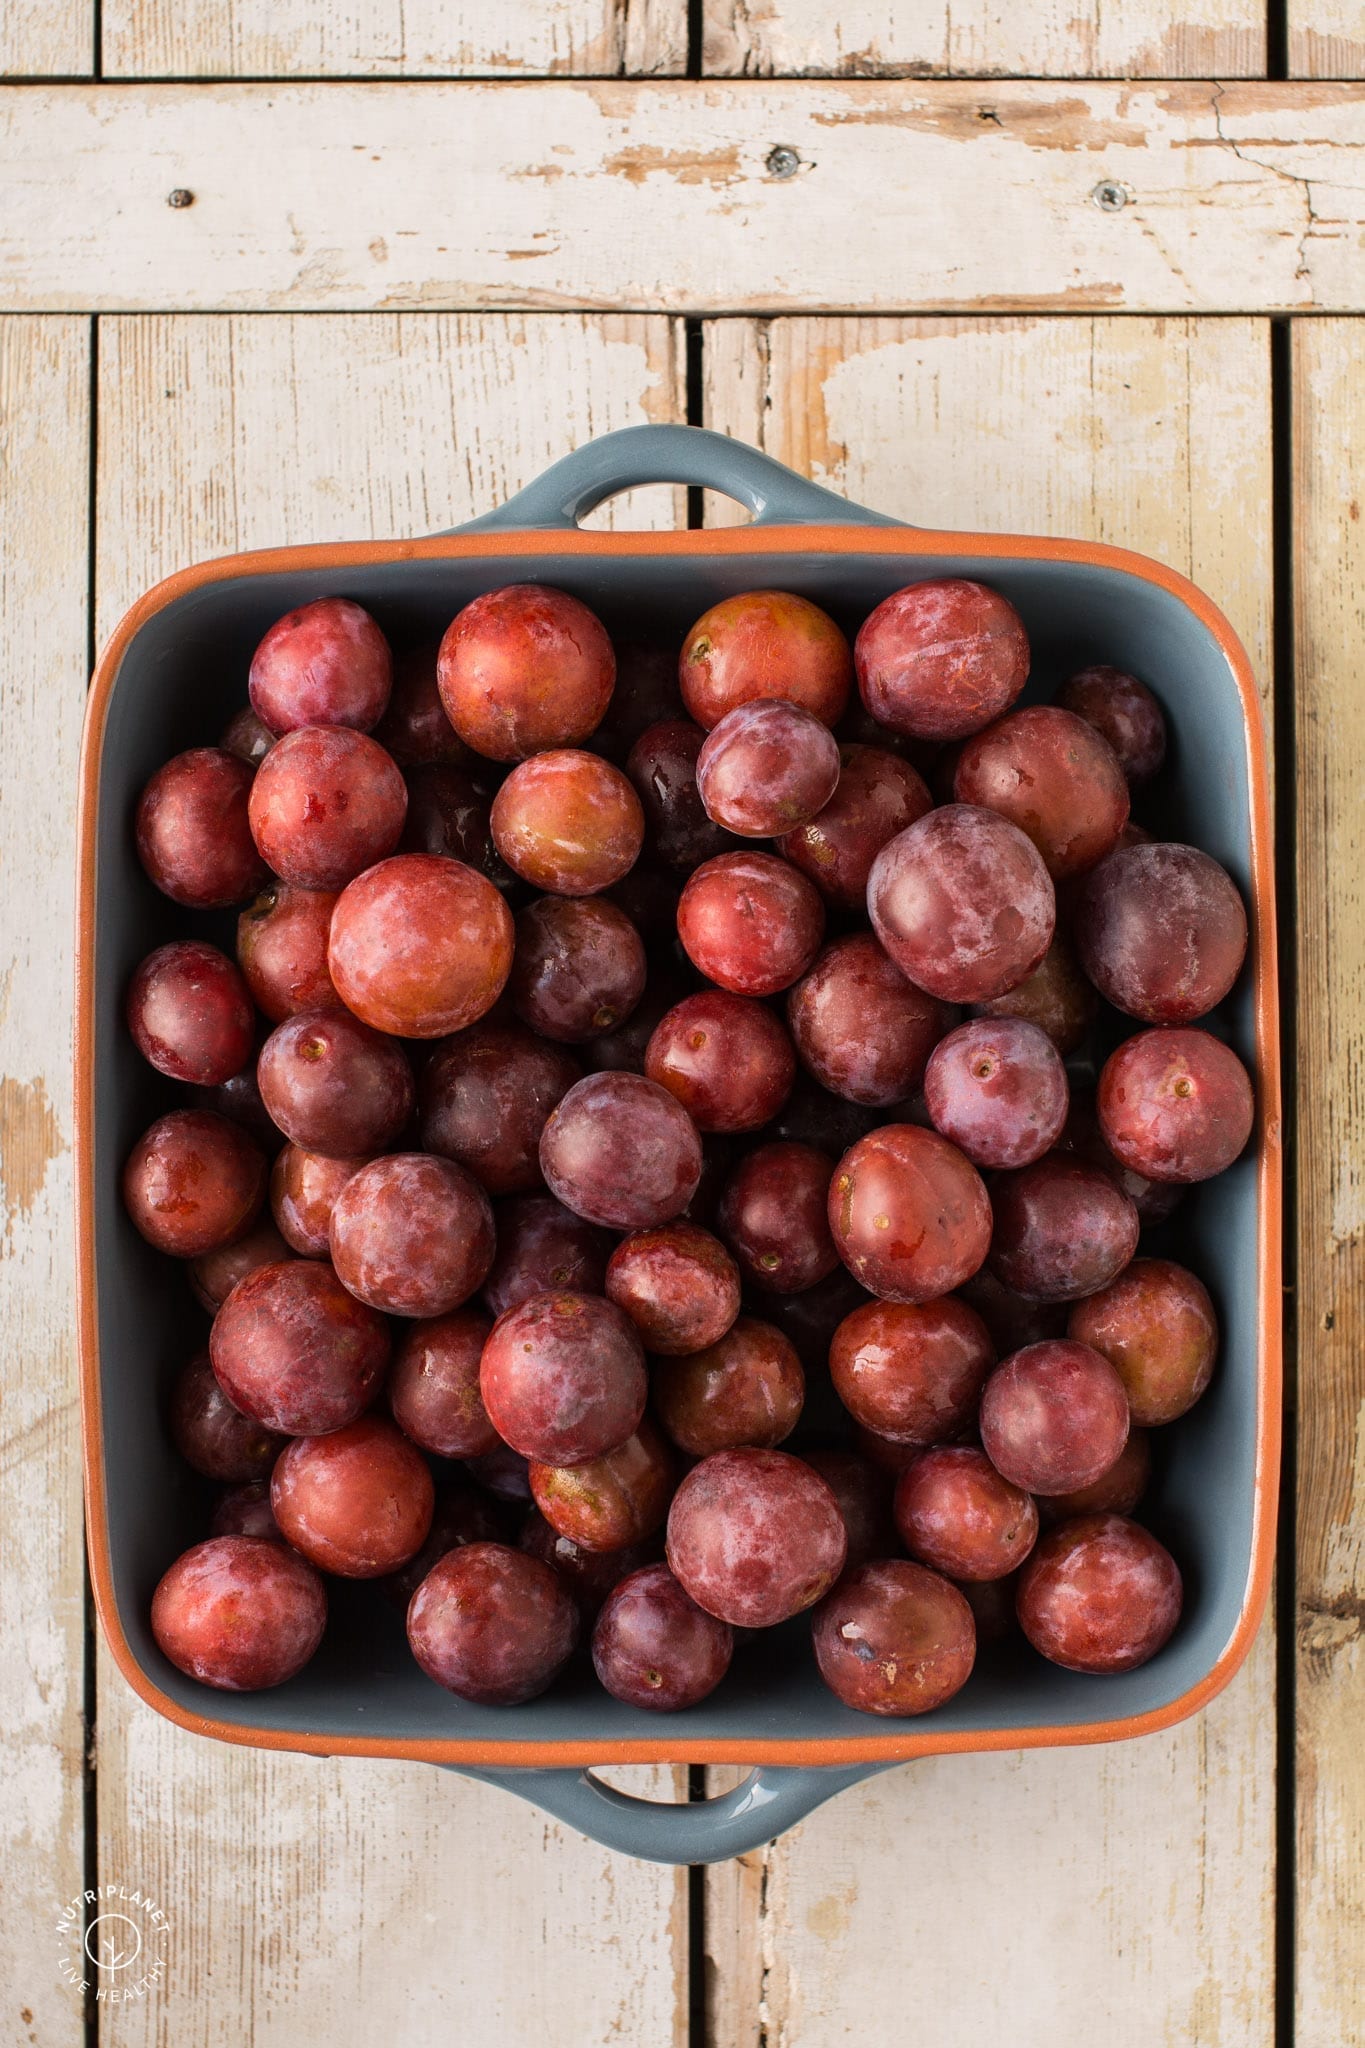
What is My Plum Jam Made of?
Now, ideally you’d want to use organic plums. However, should this not be an option, wash the plums in 10% salt water (1 part salt and 9 parts water). According to nutritionfacts.org this has proven to be the most effective way to remove pesticide residues. Make sure to rinse the plums with plenty of water to get rid of the salt.
As autumn is basically here (and it definitely will be when I consume those jams), I crave for warming spices like cinnamon, ginger, cardamom and clove. You can read more on each spice from my post Gingerbread Spice Mix. Evidently, all those spices found their way into my plum jam to make it extra warming and comforting.
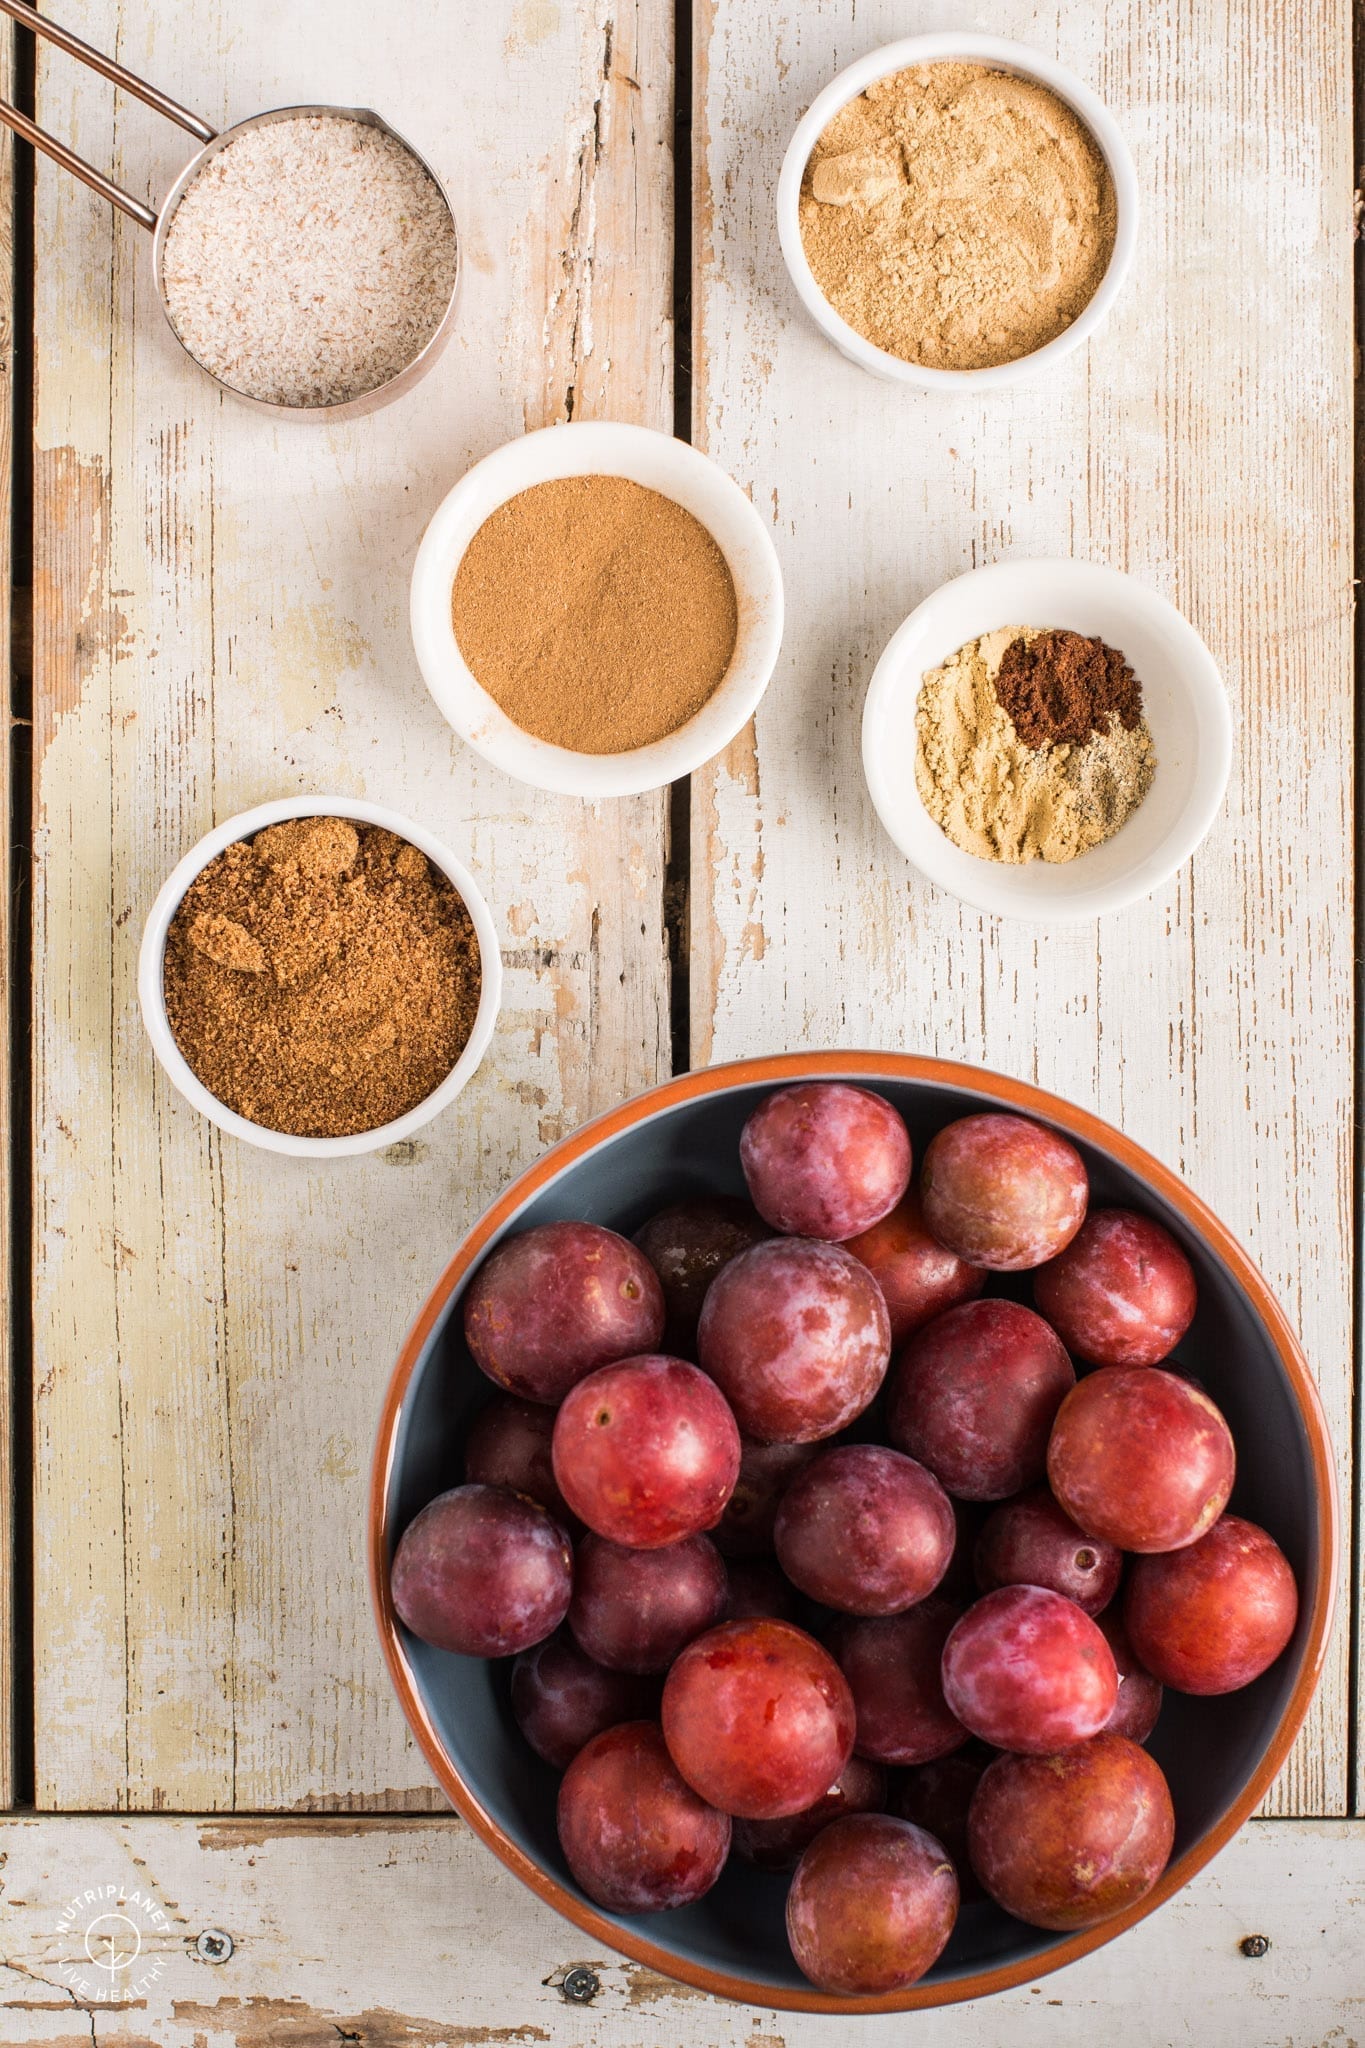
Mesquite Powder
Next, I’ve grown to appreciate mesquite powder for its natural sweetness and caramelly taste. In addition, it absorbs liquid – a useful quality in many recipes!
I understand that mesquite might be quite an alien ingredient for many people, so you have an option to leave it out (see more under tips). However, I really encourage you to try it out – once you have it in your kitchen, you’ll have plenty of ways to use it up! You won’t even imagine your life without it 🙂
There are a number of recipes up on my blog that include mesquite – Plum, Pie, Cardamom Cookies, Lemon Cake, Peanut Butter Cups, Apple Pie, Cinnamon Rolls, Paleo Brownies, Chickpea Cookie Dough, Chocolate Mint Brownies, Chocolate Chip Blondies, Vegan Caramel Sauce.
I discovered mesquite when I started on vegan Candida cleanse diet when even coconut sugar and date sugar are to be avoided. Fortunately, I could get all the caramel taste I needed from mesquite powder. So, it is really good news to everyone just starting out.
The Sweetener
Even though raw plums taste sweet, they become quite sour when cooked or baked. So, we really can’t go without a sweetener. Although mesquite provides some sweet taste, we cannot overdo with it to avoid its flavour becoming overly intense.
I decided to go for coconut sugar as it pairs so well with plums and all the spices. However, date sugar would be the next best choice. Everyone on Candida diet already having reintroduced plums, but still staying away from coconut and/or date sugar, don’t be sad! You can easily use xylitol and/or liquid stevia to sweeten your plum jam (see more under tips).
Psyllium Husk Powder
Finally, I add psyllium husk powder to make the jam thicker. Psyllium is a form of fibre made from the husks of the Plantago ovata plant’s seeds. It is especially appreciated in gluten-free baking, as it’s an excellent binder.
You can buy it as husks or as powder, i.e. ground husks. In some recipes powder works better than husks – this plum jam being no exception. Should you find only husks, grind them yourself with coffee or spice grinder. Alternatively substitute ground chia seeds for psyllium – you’ll need twice as much.
Many plum jam recipes use lemon juice as an ingredient. However, I don’t see the need unless you have the halved plums sitting on countertop for ages and they start to oxidize – this is when you’d need to toss them with some lemon juice to prevent that from happening.
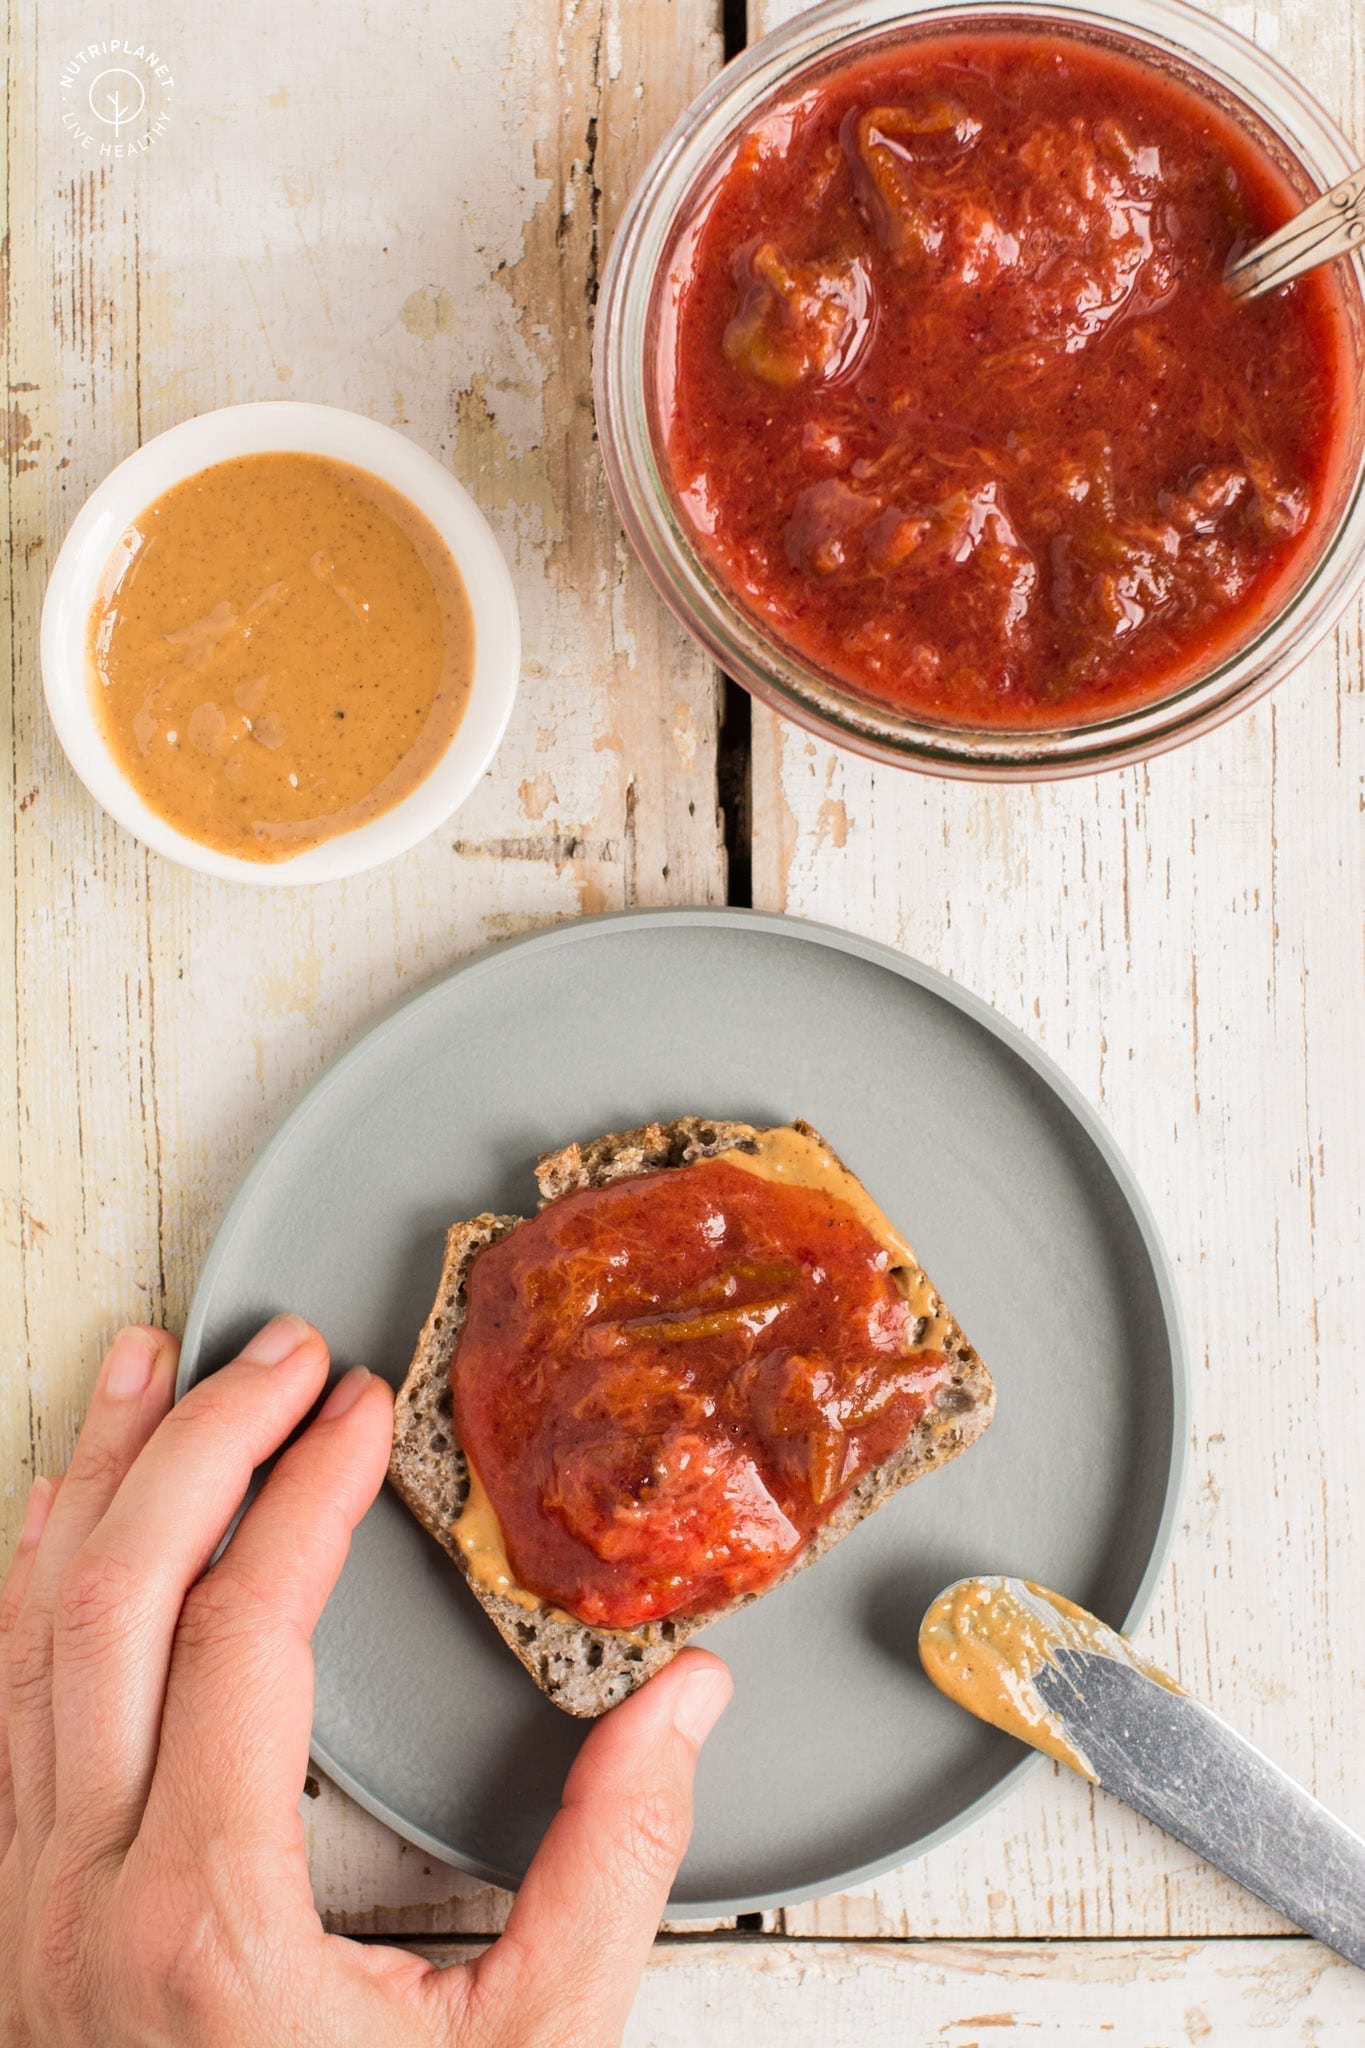
How to Use Plum Jam
- Use it to make healthy peanut butter and jelly sandwich. I love this jam on my fermented buckwheat bread!
- Add the jam to plain plant yogurt with muesli and eat as breakfast or dessert.
- This jam would also make a great topping to your porridges along with some nuts and/or seeds. Finally, spread it on pancakes and waffles for perfect autumnal breakfast.
- You can also use the jam as pie filling! Follow the instructions of my Rustic Apple Pie, but use plum jam instead of the apple filling. See the video below:
To sum it up, this spiced low sugar plum jam is:
- Gluten-free
- Vegan
- Nut-free and peanut-free
- Soy-free
- Dairy-free
- Refined sugar free
- Low-fat
- Grain-free
Watch How I Make Applesauce:
Finally, I’d love to hear from you! Let me know what is your favourite fruit for canning! What are your favourite spices that you add to your conserves? Comment below!
Also, please tag me in social media when you share your creations! Instagram @thenutriplanet and Facebook @nutriplanet.health.hub
Print
How to Make Plum Jam: Guide to Spiced Low Sugar Jam
- Total Time: 1 hour
Description
Try my spiced low-sugar plum jam for canning that will make a perfect spread for toast or topping for porridges, pancakes and waffles.
Ingredients
- 2kg (4.4lbs) of raw plums (pitted)
- 1½ tbsp. cinnamon
- 1 tsp. ginger
- 1 tsp. cardamom
- ⅛ tsp. clove
- 3 tbsps. mesquite
- 4 tbsps. coconut sugar or date sugar (for Plantricious version)
- ½–1 tbsp. psyllium husk powder
Instructions
- Start by rinsing the plums. Then, one-by-one cut the plums in half pit them. It’s the easiest to cut them around the equator, twist the halves apart, and discard the pits. Throw the plum halves into a big pot. I suggest you wear gloves not to stain your hands. You’ll need to cut the pits out with knife, if your plums are not ripe.
- Next, cover the pot with lid and turn on heat. When you start getting steam on the lid, give the plums a good stir. And again, when the plum halves in the bottom start to boil, stir again. Repeat this until the whole potful is heated through and simmering. I didn’t need to add any liquid as heating and mixing will get the juices flowing. Simmer on low and covered with lid for 10 minutes (stirring occasionally) and then turn off the heat.
- Now, use a whisk to mix in all the spices, mesquite and coconut sugar (don’t touch the psyllium powder yet). I suggest you sieve mesquite powder as it may have chunks in it that won’t dissolve.
- Finally, sprinkle psyllium husk powder on top of the jam and mix it in. Start with ½ tablespoon and add more if you prefer thicker result.
Notes
Alternatively prepare the jam in small batches and store the jars in refrigerator.
This plum jam is deliberately of sour side, so feel free to adjust the amount of sugar to you liking.
You’re welcome to use other types of sweetener, i.e. date sugar, xylitol or liquid stevia. Remember, 12 drops of liquid stevia equals 1 tablespoon of sugar.
Should you struggle with Candida overgrowth and still haven’t reintroduced coconut and date sugar, be sure to use xylitol and/or stevia in your plum jam.
Should you not be able to get your hands on mesquite powder, simply leave it out and use a bit more coconut sugar. You also might need to add a little more of psyllium powder as mesquite powder absorbs some liquid.
Grind your own psyllium powder from husks – use coffee or spice grinder.
Finally, substitute ground chia seeds for psyllium powder. Use at least twice as much, i.e. 4 tablespoons or more.
The amount of psyllium powder greatly depends on how ripe your plums are – the riper the plums, the mushier and runnier the cooked jam. Thus, you’ll need more psyllium with really ripe plums and a bit less if your plums are not ripe.
- Prep Time: 40 minutes
- Cook Time: 15-20 minutes
- Method: Stovetop
Nutrition
- Serving Size: 100g
- Calories: 59
- Sugar: 11.8g
- Sodium: 0.6mg
- Fat: 0.3g
- Carbohydrates: 12g
- Fiber: 2.5g
- Protein: 0.9g
How to Can Jam
How to properly can jam to avoid spoiling.
- Sterilizing the jars.
Start by sterilizing jars. You can put the jars upside down in the oven and heat them at 100°C (215°F) for 15 minutes. Wash the lids in hot suds and rinse in scalding water. You may also boil them for 5 minutes. Alternatively you can use washing machine to sterilize jars and lids. Finally, boiling the jars in a deep pot (covered) for 15 minutes is another option.
- Filling the jars.
Then, fill the jars with your freshly made hot jam leaving 1½ cm (½-inch) headspace. Wipe the rims. Remember, jars should be filled while still hot, unless you store the jam in fridge.
- Closing and cooling.
Tightly close the lids and let the jars cool completely. You should hear the “ping” of the jar lids sealing. Check to be sure jar lids have sealed by pushing on the centre of the lid. If the lid flexes up and down, it did not seal. Refrigerate jar and use up within five days.
Disclaimer: this post contains affiliate links. As an Amazon Associate I earn from qualifying purchases.




are you using sweet plums or sour plums?
Hi Nathalie! I used sweet plums.