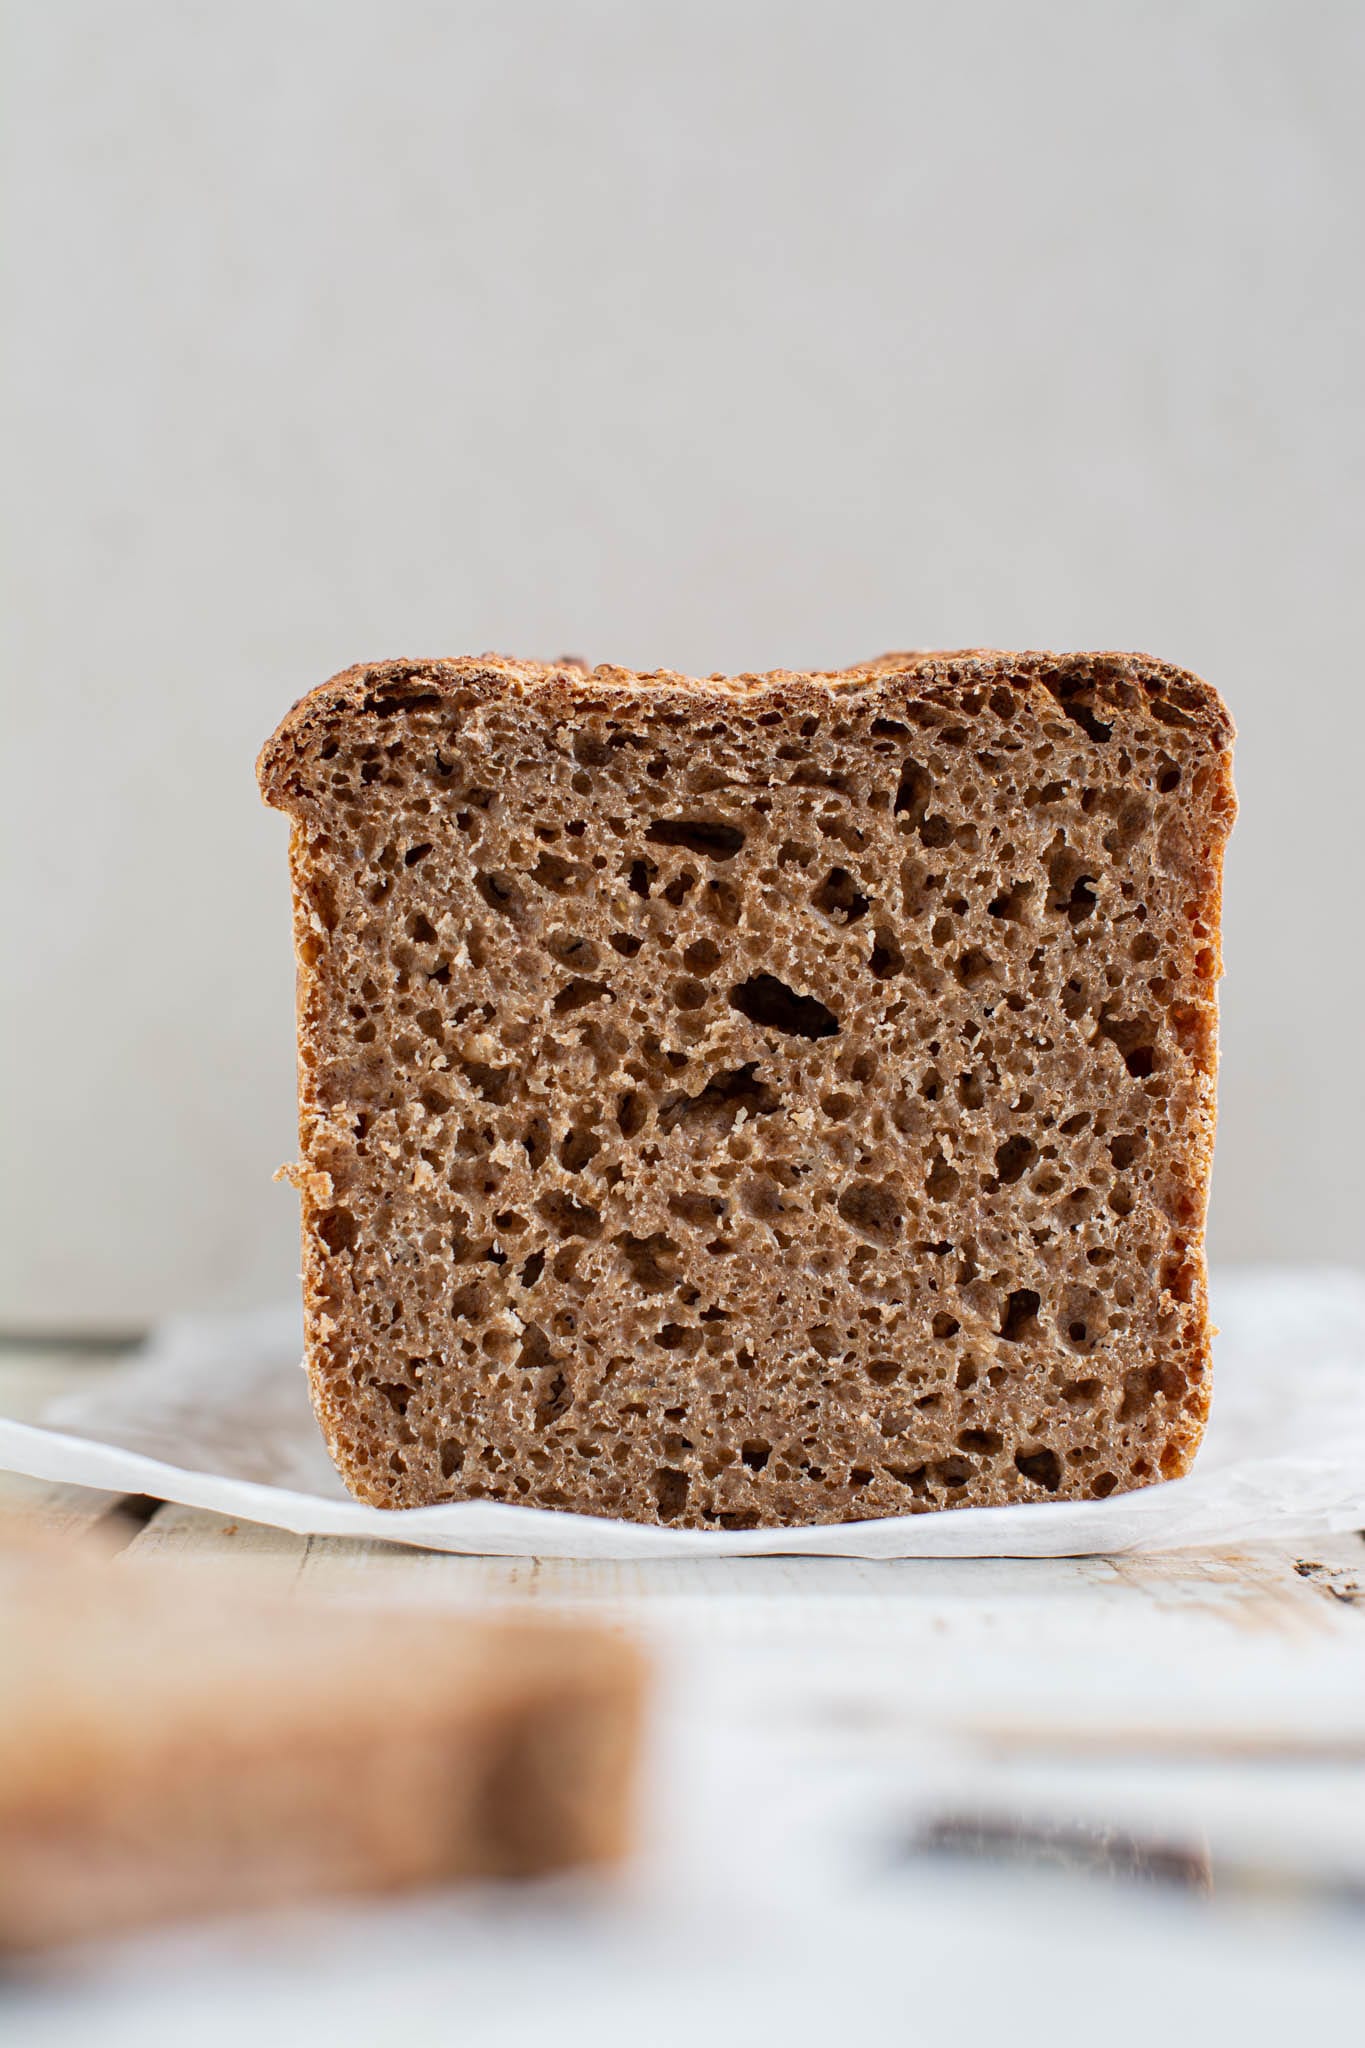
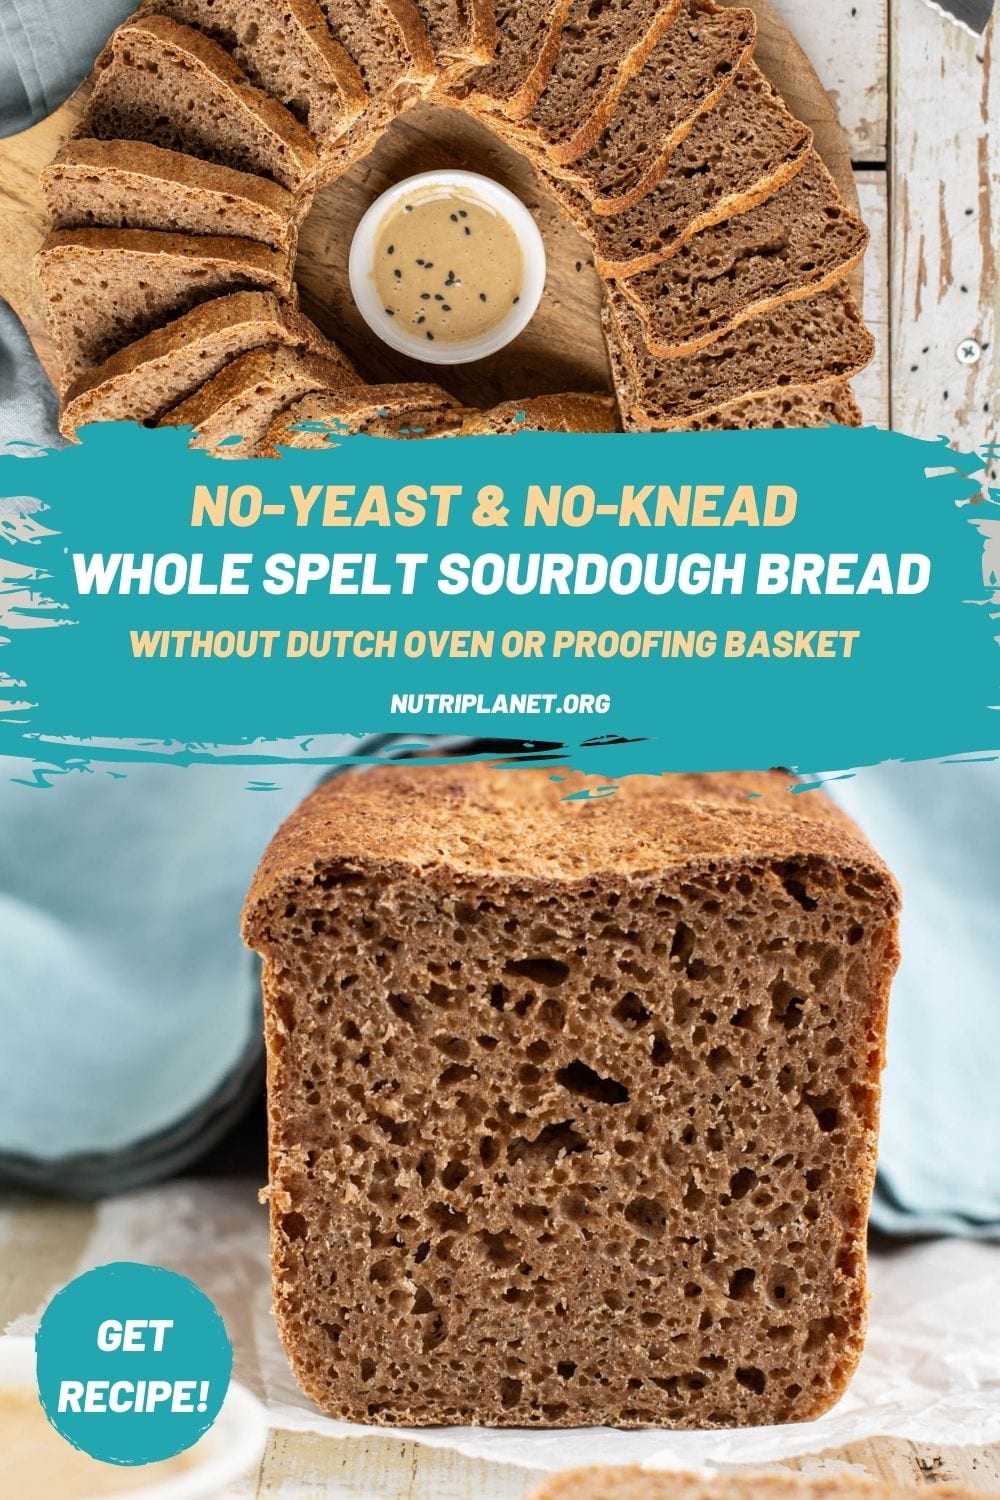
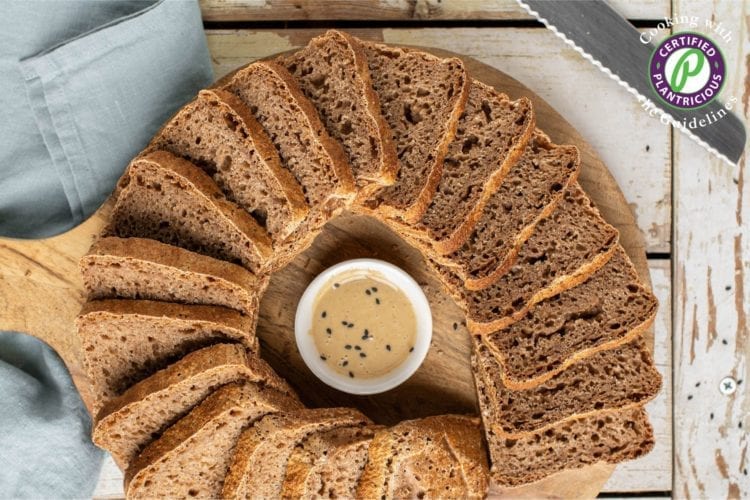
Learn how to make no-yeast and no-knead whole grain spelt sourdough bread without dutch oven or proofing basket! Follow my simple procedure and your bread will be ready in just 8½ hours.
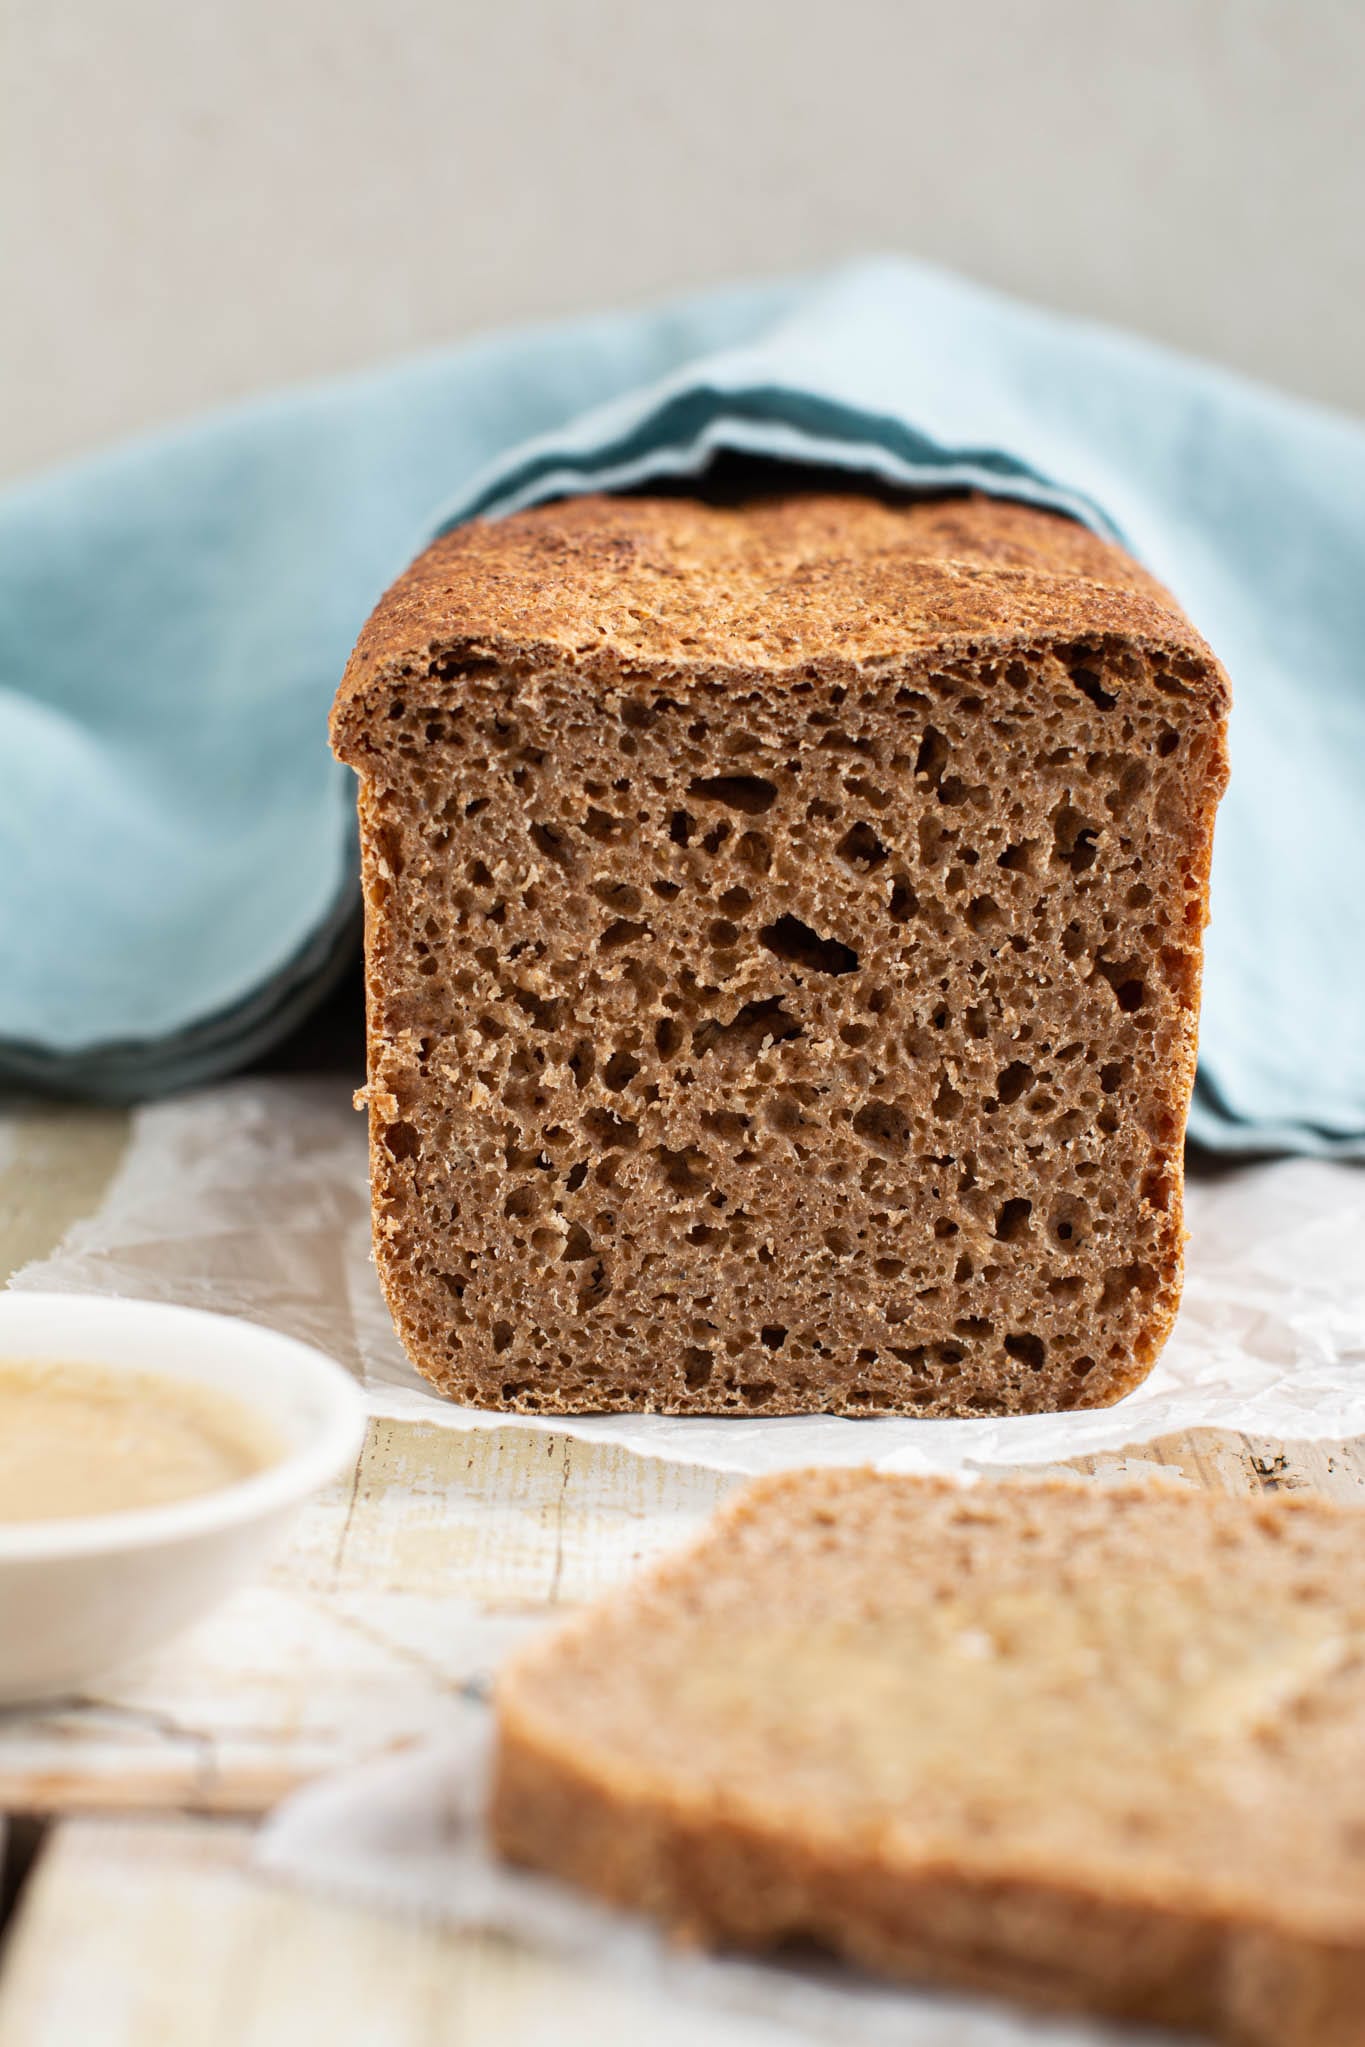
Watch the below video about how to make whole spelt sourdough bread (including the stretch and folds as well as feeding the sourdough starter):
Table of contents
How to Make No-Knead Whole Grain Spelt Sourdough Bread
Before I move on to the ingredients and process of this bread, let me tell you more about spelt itself.
Spelt is an ancient grain grown in many parts of the world. Its scientific name is Triticum spelta and it is considered a distinct type of wheat.
If you’re intolerant to gluten, then spelt is not for you! Should this be the case, I’d suggest you try out my Fermented Buckwheat Bread instead.
Nutritionally, spelt is very similar to wheat. However, it has proven to be slightly higher in manganese, zinc, copper, protein, and less phytic acid.
Additionally, spelt contains small amounts of calcium, selenium and vitamins B1, B6 and E. Like most whole grains, it is also an excellent source of dietary fibre. [source]
The Ingredients
In order to follow this easy spelt sourdough bread recipe, you’ll need:
Sourdough Starter
The easiest and quickest way to get a sourdough starter is to buy it from an organic shop. I live in Northern Europe and several of the shops have it in the refrigerator section. Alternatively, if you have a friend or a family member who bakes sourdough bread, ask them to share a bit with you.
The starter doesn’t need to be spelt sourdough mother but also rye or wheat based starter will do just fine. Later on you’ll feed it with spelt flour and your starter will gradually become spelt sourdough starter.
Whole Grain Spelt Flour and Fine Spelt Flour
While we are going to use whole grain flour for the body of the bread, I prefer to utilize a bit of fine flour to sprinkle on the dough as well as on my hands when doing the stretch and folds (more about that later).
I suggest you take a good look at the whole grain spelt flour I use in the video, especially its grinding grade. You’ll notice that it’s quite grit. In case your flour is finer, you might need to use a bit more and vice versa.
Water and Salt
Evidently, we are going to need some filtered water and Himalayan salt to make this delicious spelt bread.
Syrup
And last but not least we are going to add a bit of sweet syrup to feed the sourdough. Don’t worry, the bread will not taste sweet as the fermentation process eats up all the sugar. Now, you may use date syrup, agave syrup, coconut nectar or even honey if you’re comfortable with that. However, be sure not to use neither xylitol nor erythritol as those two would kill the fermentation process before it can start.
The Equipment
Fortunately, you do not need anything fancy and expensive to make this delicious loaf of bread. Here’s the short list:
- A glass jar or a simple container with lid to store your sourdough starter or the mother (as I like to call it).
- A large ceramic or glass bowl for mixing the bread dough and letting the dough rest.
- A kitchen or tea towel or a plastic bag to cover the bowl with while the dough rests.
- A ceramic or glass bread pan for baking the bread.
- Parchment paper to line your bread pan with when baking the bread.
This is a good moment to mention that I tried to make this spelt sourdough bread recipe as simple as possible. For that reason, you will not need some of the equipment that many recipes call for.
For example, I first followed the instructions by Breadtopia but found that the flour and water ratio didn’t work for me. Furthermore, I don’t own a proofing basket nor a dutch oven (which can be quite an investment) but wanted to make the bread, nonetheless. So, I came up with an easier process that works just as fine resulting in a delicious and well risen spelt sourdough bread.
How to Feed Sourdough Starter
Before you start making the bread, you need to feed your sourdough starter. Here’s how I do it (make sure to watch the bread video for visual guidance):
- Measure your sourdough starter.
Take a clean jar and scoop 4 tablespoons of sourdough starter in there.
- Add flour and water.
Next, add 4 tablespoons of whole grain spelt flour and 4 tablespoons of filtered water.
- Mix and let rest.
Then, mix it gently together, cover with lid and leave at room temperature until it has doubled in size. It can take just a few hours or even 12 hours, depending on the room temperature.
- Store in fridge.
Finally, refrigerate until you make your next sourdough bread.
It’s noteworthy that you don’t need to throw away the leftover starter. Instead, use it up to make sourdough pancakes or flatbread. Other delicious options include waffles or even pizza base.
The Process
The making of this spelt sourdough bread is easier and quicker than you might think. In fact, if your oven allows low temperatures, the bread will be ready in just 8½ hours (cooling time included).
Step 1: Preparing the Dough
- In order to make this no-knead spelt sourdough bread you first need to measure out the whole grain spelt flour.
- Next, in a large bowl mix together water, sourdough starter, Himalayan salt and preferred syrup or honey.
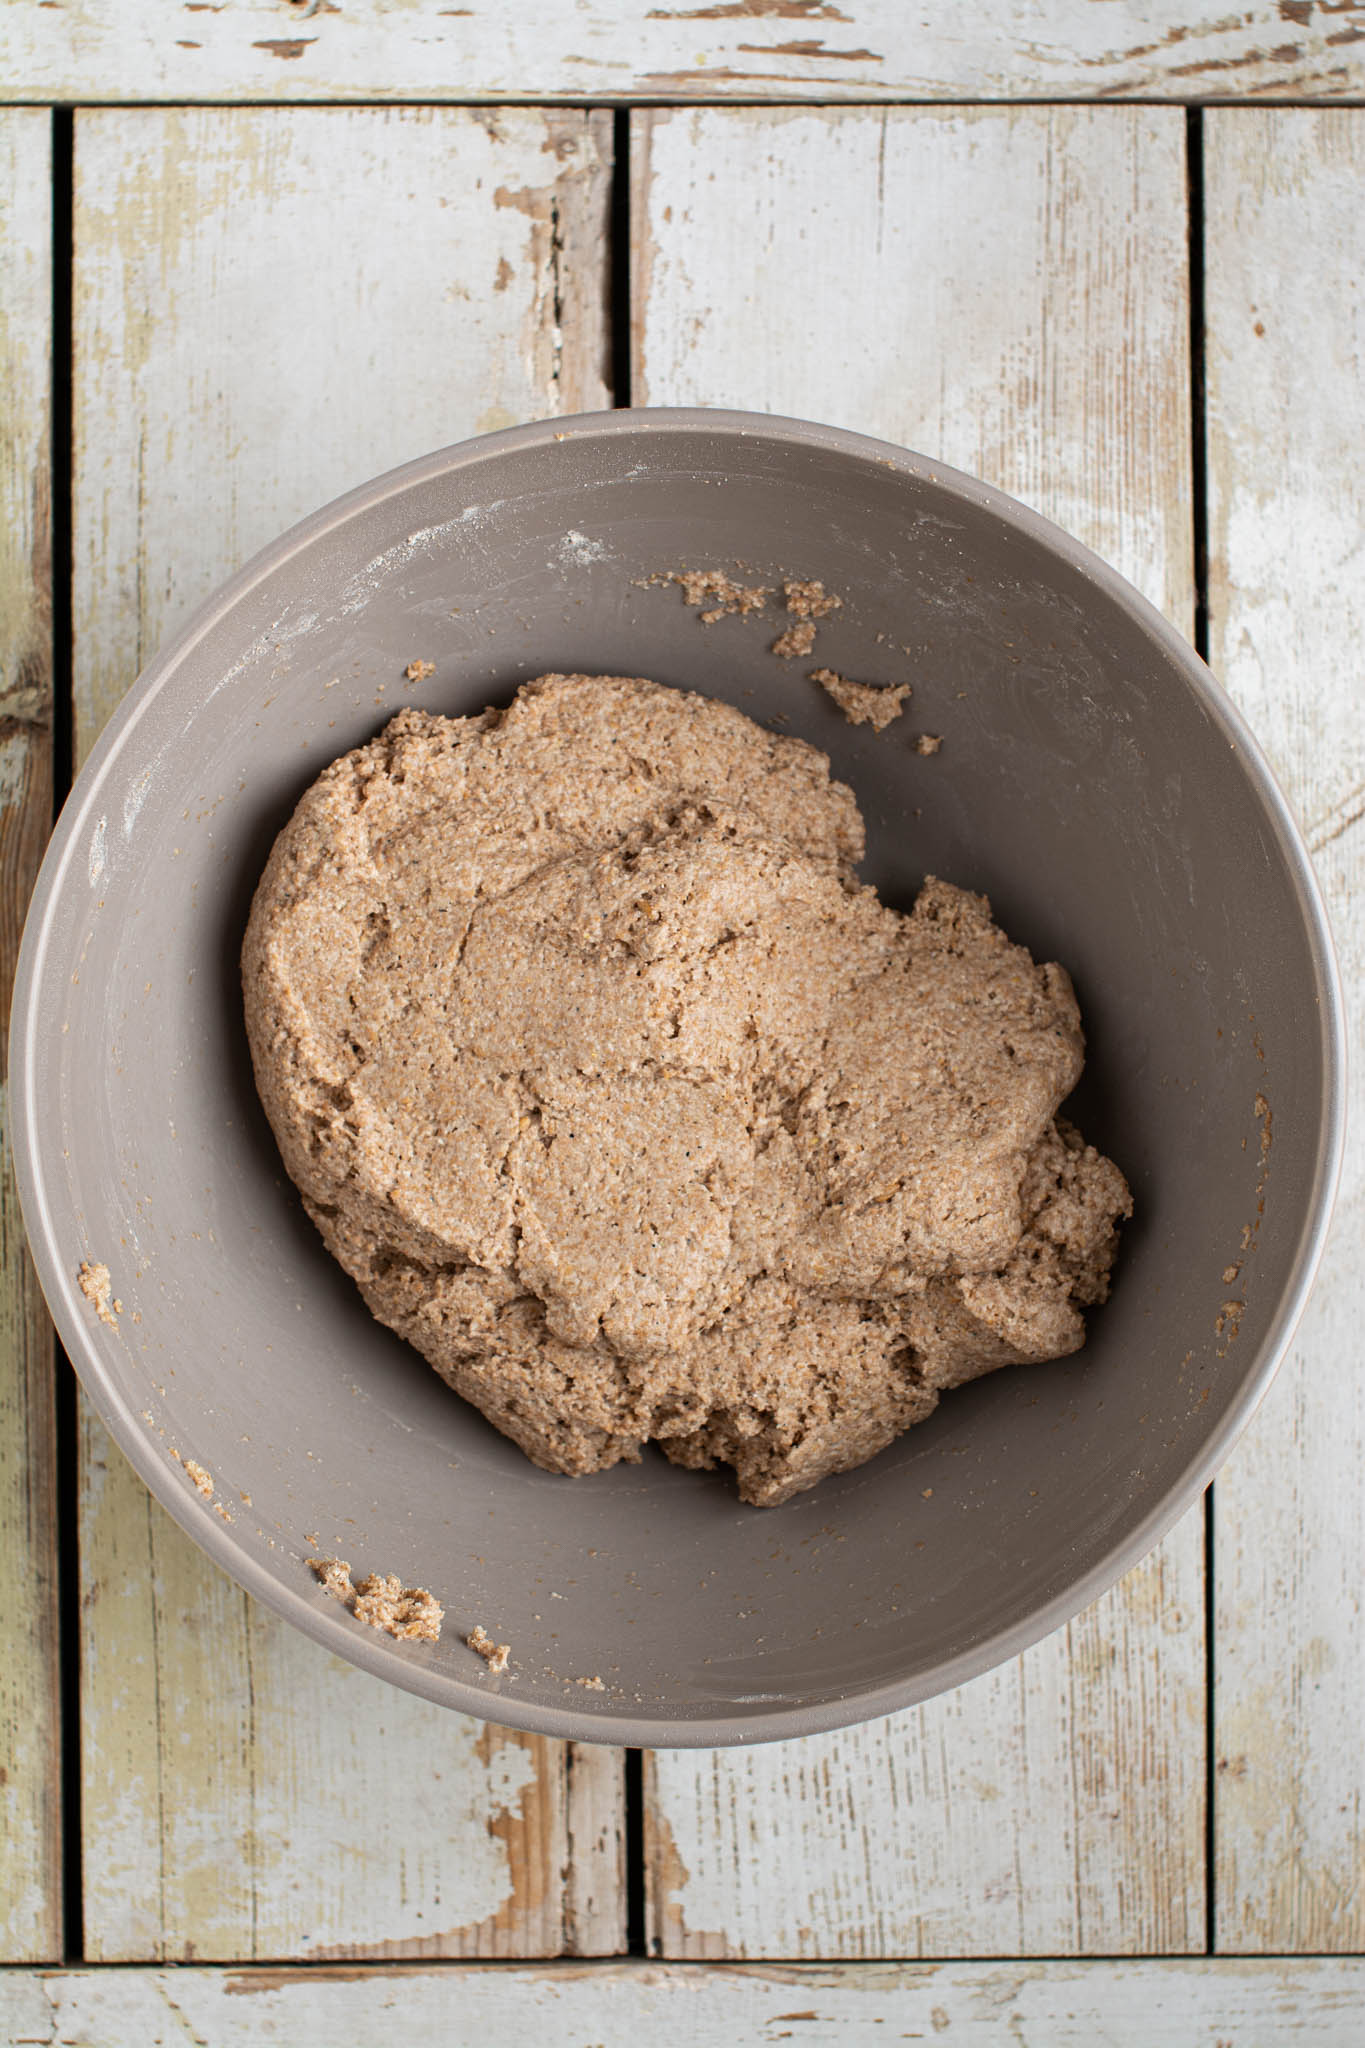
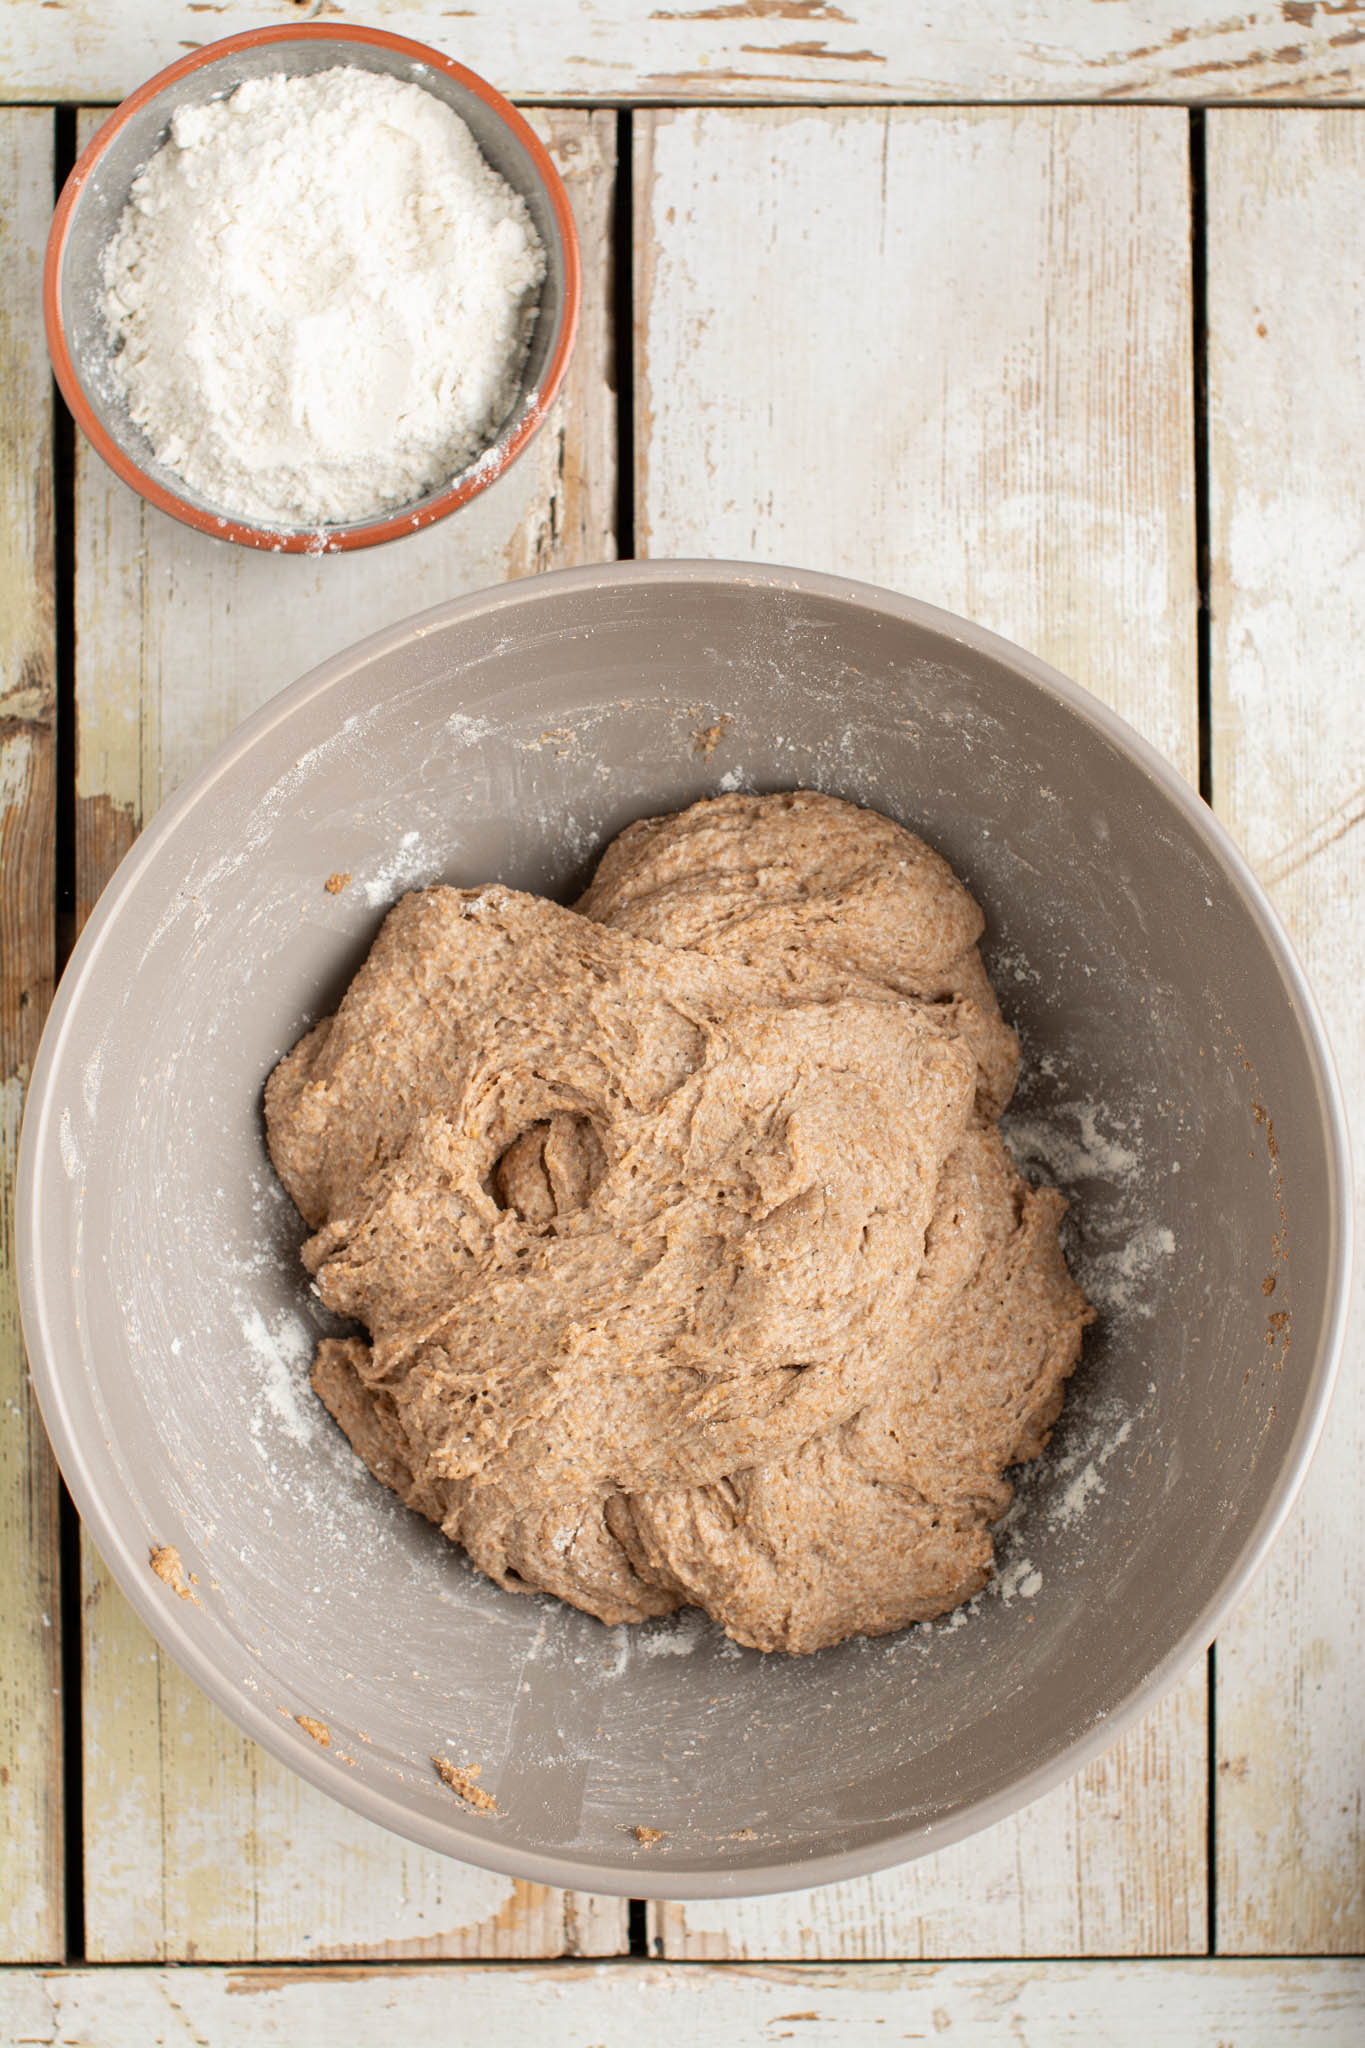
- Now, pour the flour into the large bowl. Using a spatula start incorporating flour with the wet mixture until you have homogeneous batter.
Step 2: Stretch and Folds
- Next, cover the bowl with a tea towel or stick it into a plastic bag and let it rest for an hour.
- When the hour is up, flour the dough and your hands with fine spelt flour and do the first stretch and fold. But first, using silicone spatula separate the dough from the edges of the bowl. Go and watch the video to see how exactly the stretch and fold looks like.
- Then, cover the bowl again and let the dough rest for 15 minutes after which do the second stretch and fold. Cover the bowl once again and let it rest for another 15 minutes before you do the third and final stretch and fold.
Step 3: Fermentation
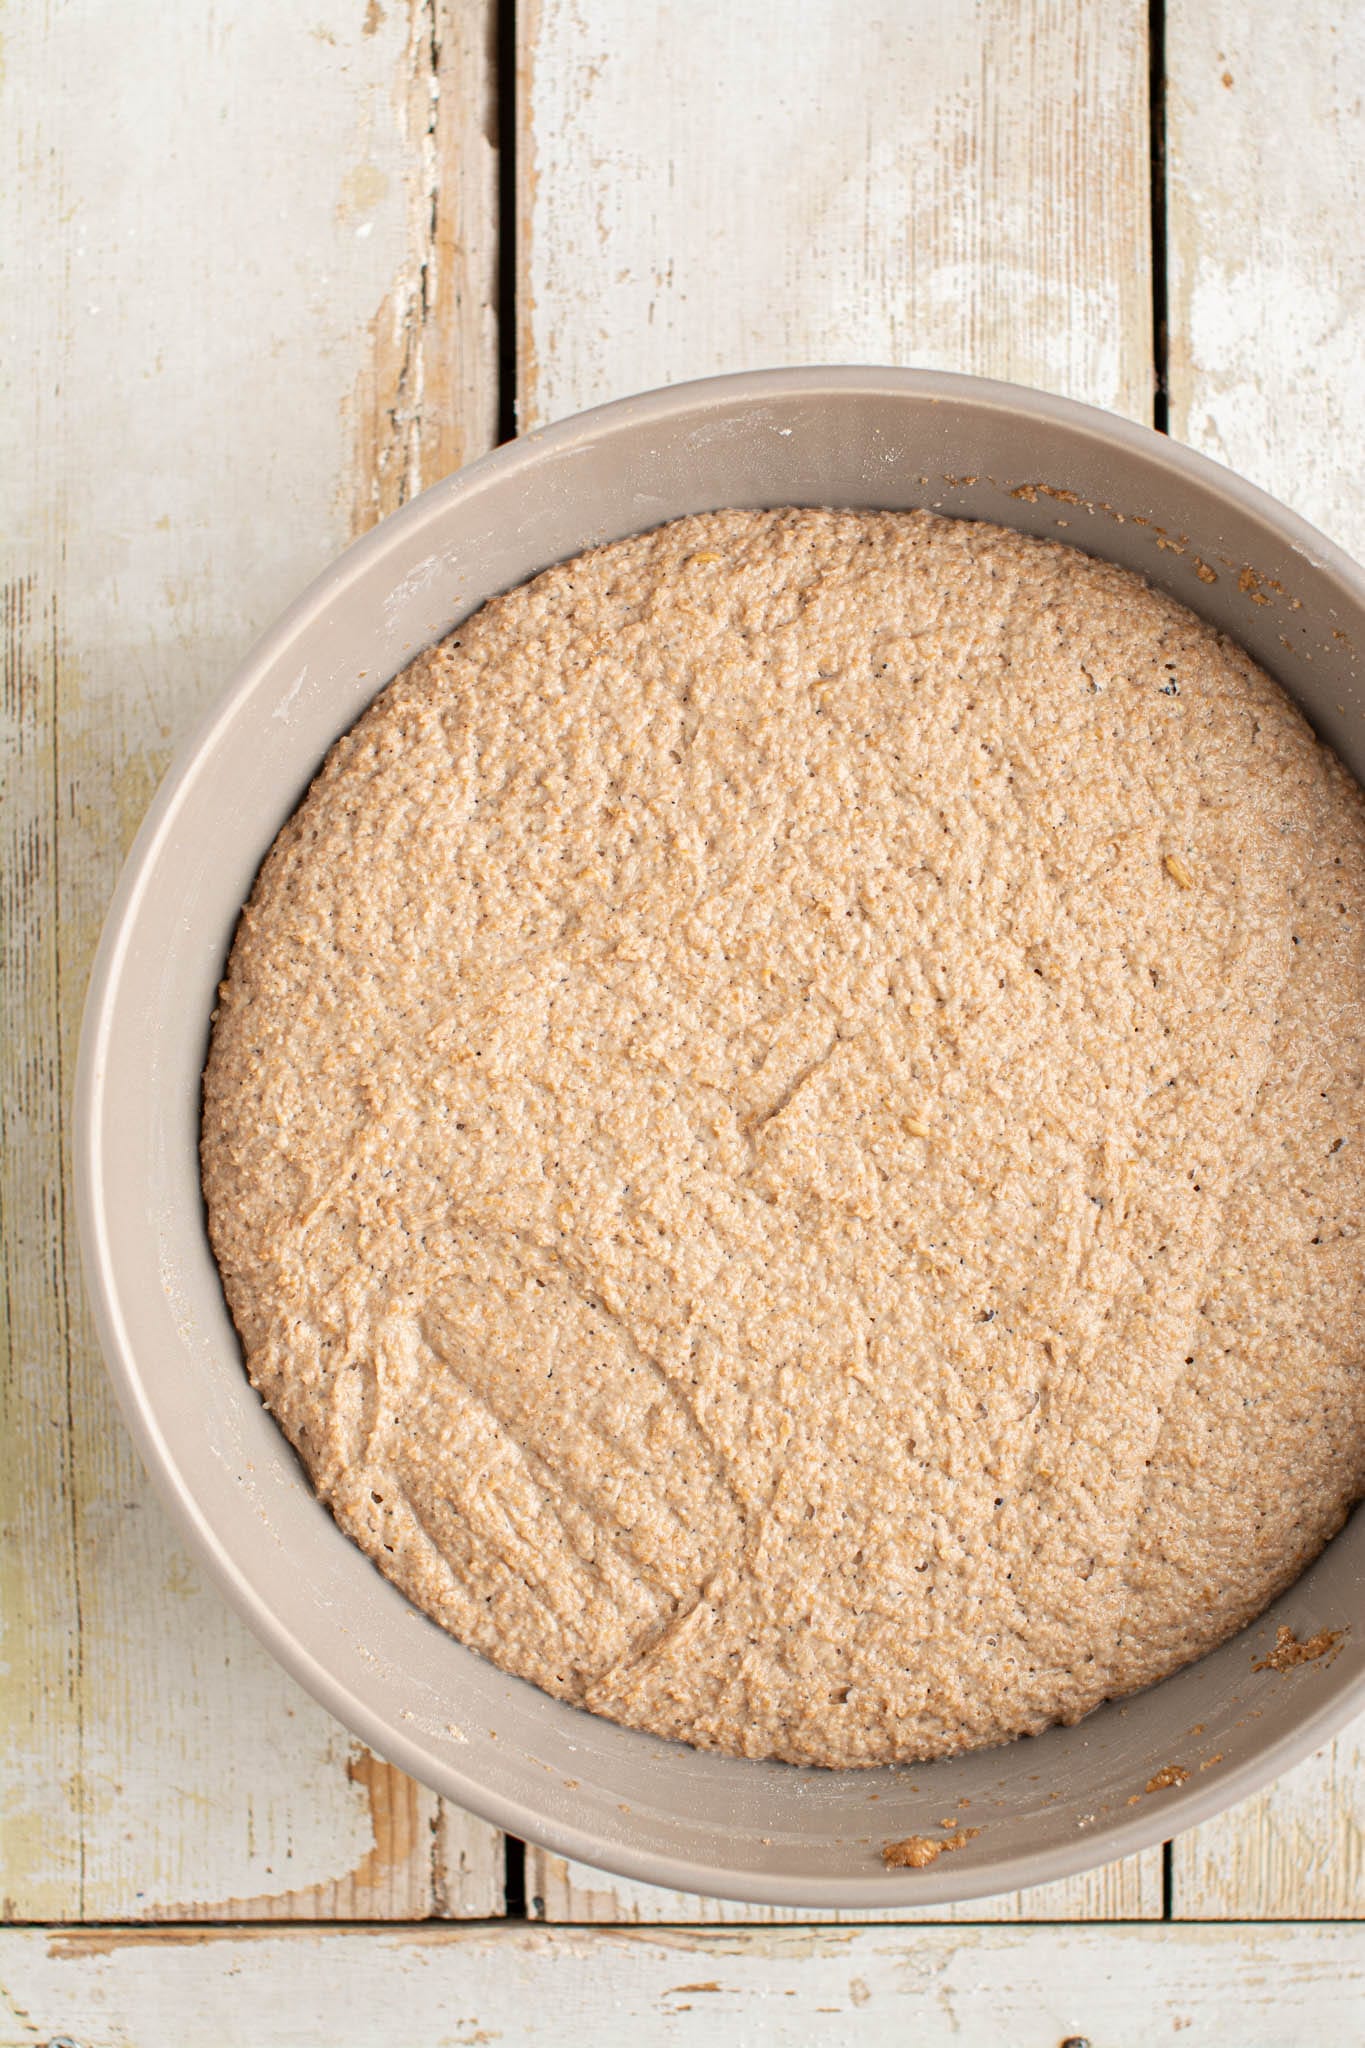
After the final stretch and fold, cover the bowl and place it into warm (35°C, 95°F) oven for fermentation. It will have doubled in size in 4-5 hours. Now, you can also leave it for longer if you want your bread to taste tangier. I find that 4-5 hours is just perfect.
In case your oven doesn’t allow such low temperatures and you leave the dough at room temperature it’ll take up to 12 hours for the dough to double in size.
Step 4: Final Proofing
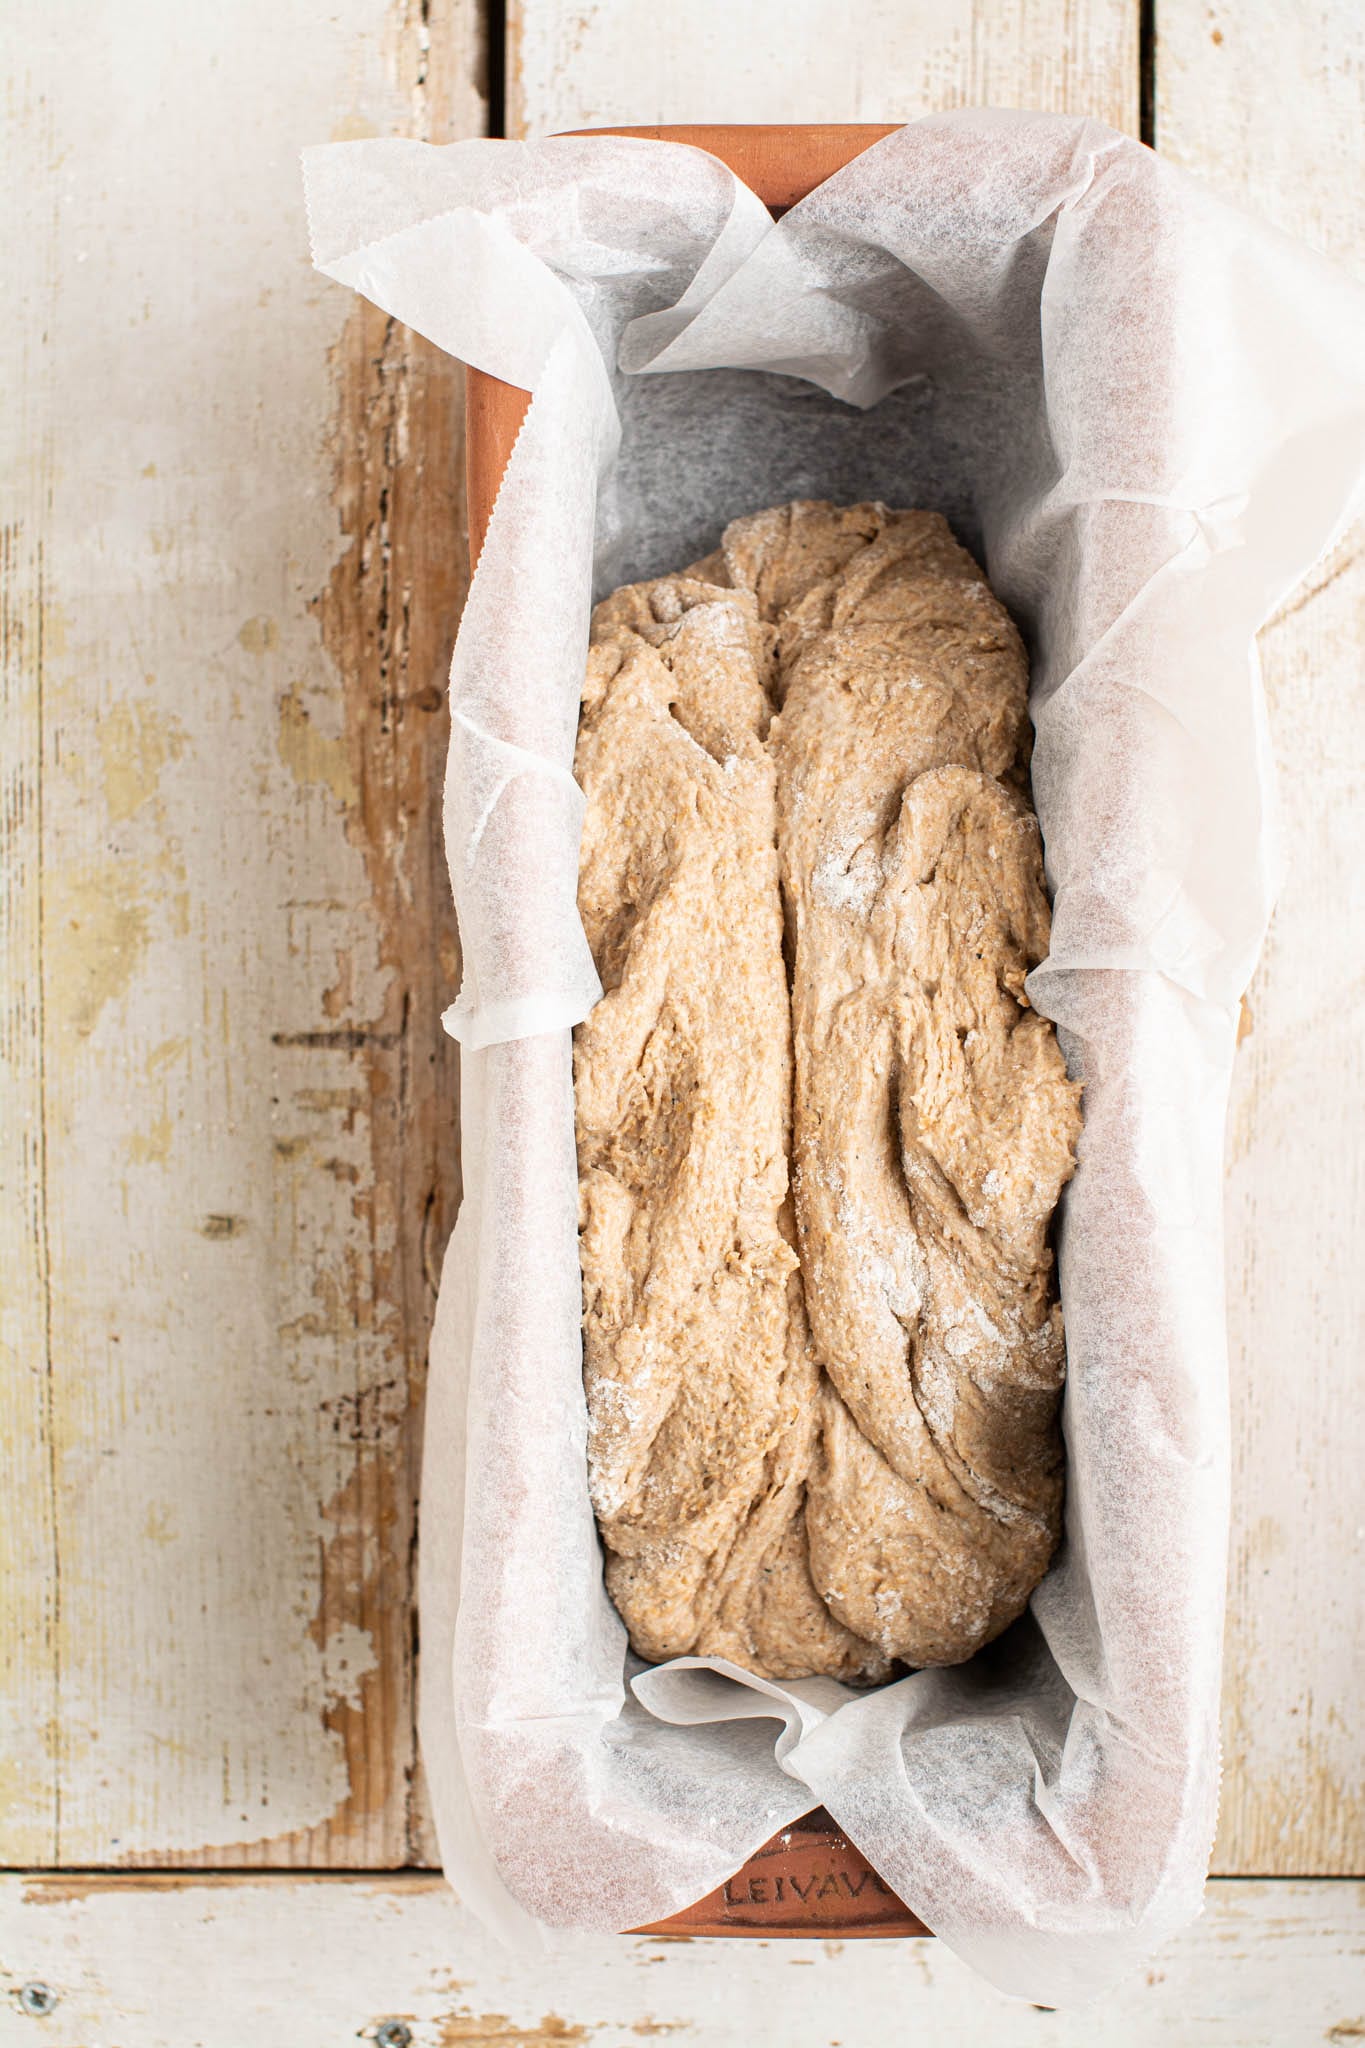
When the dough is done fermenting, line your bread pan with parchment paper.
Then, remove the cover from dough bowl and dust the dough with fine spelt flour. Use spatula to separate the dough from the edges of the bowl and flour your hands.
Now, flip the dough over, so that the floured surface faces down and lightly dust the other side as well.
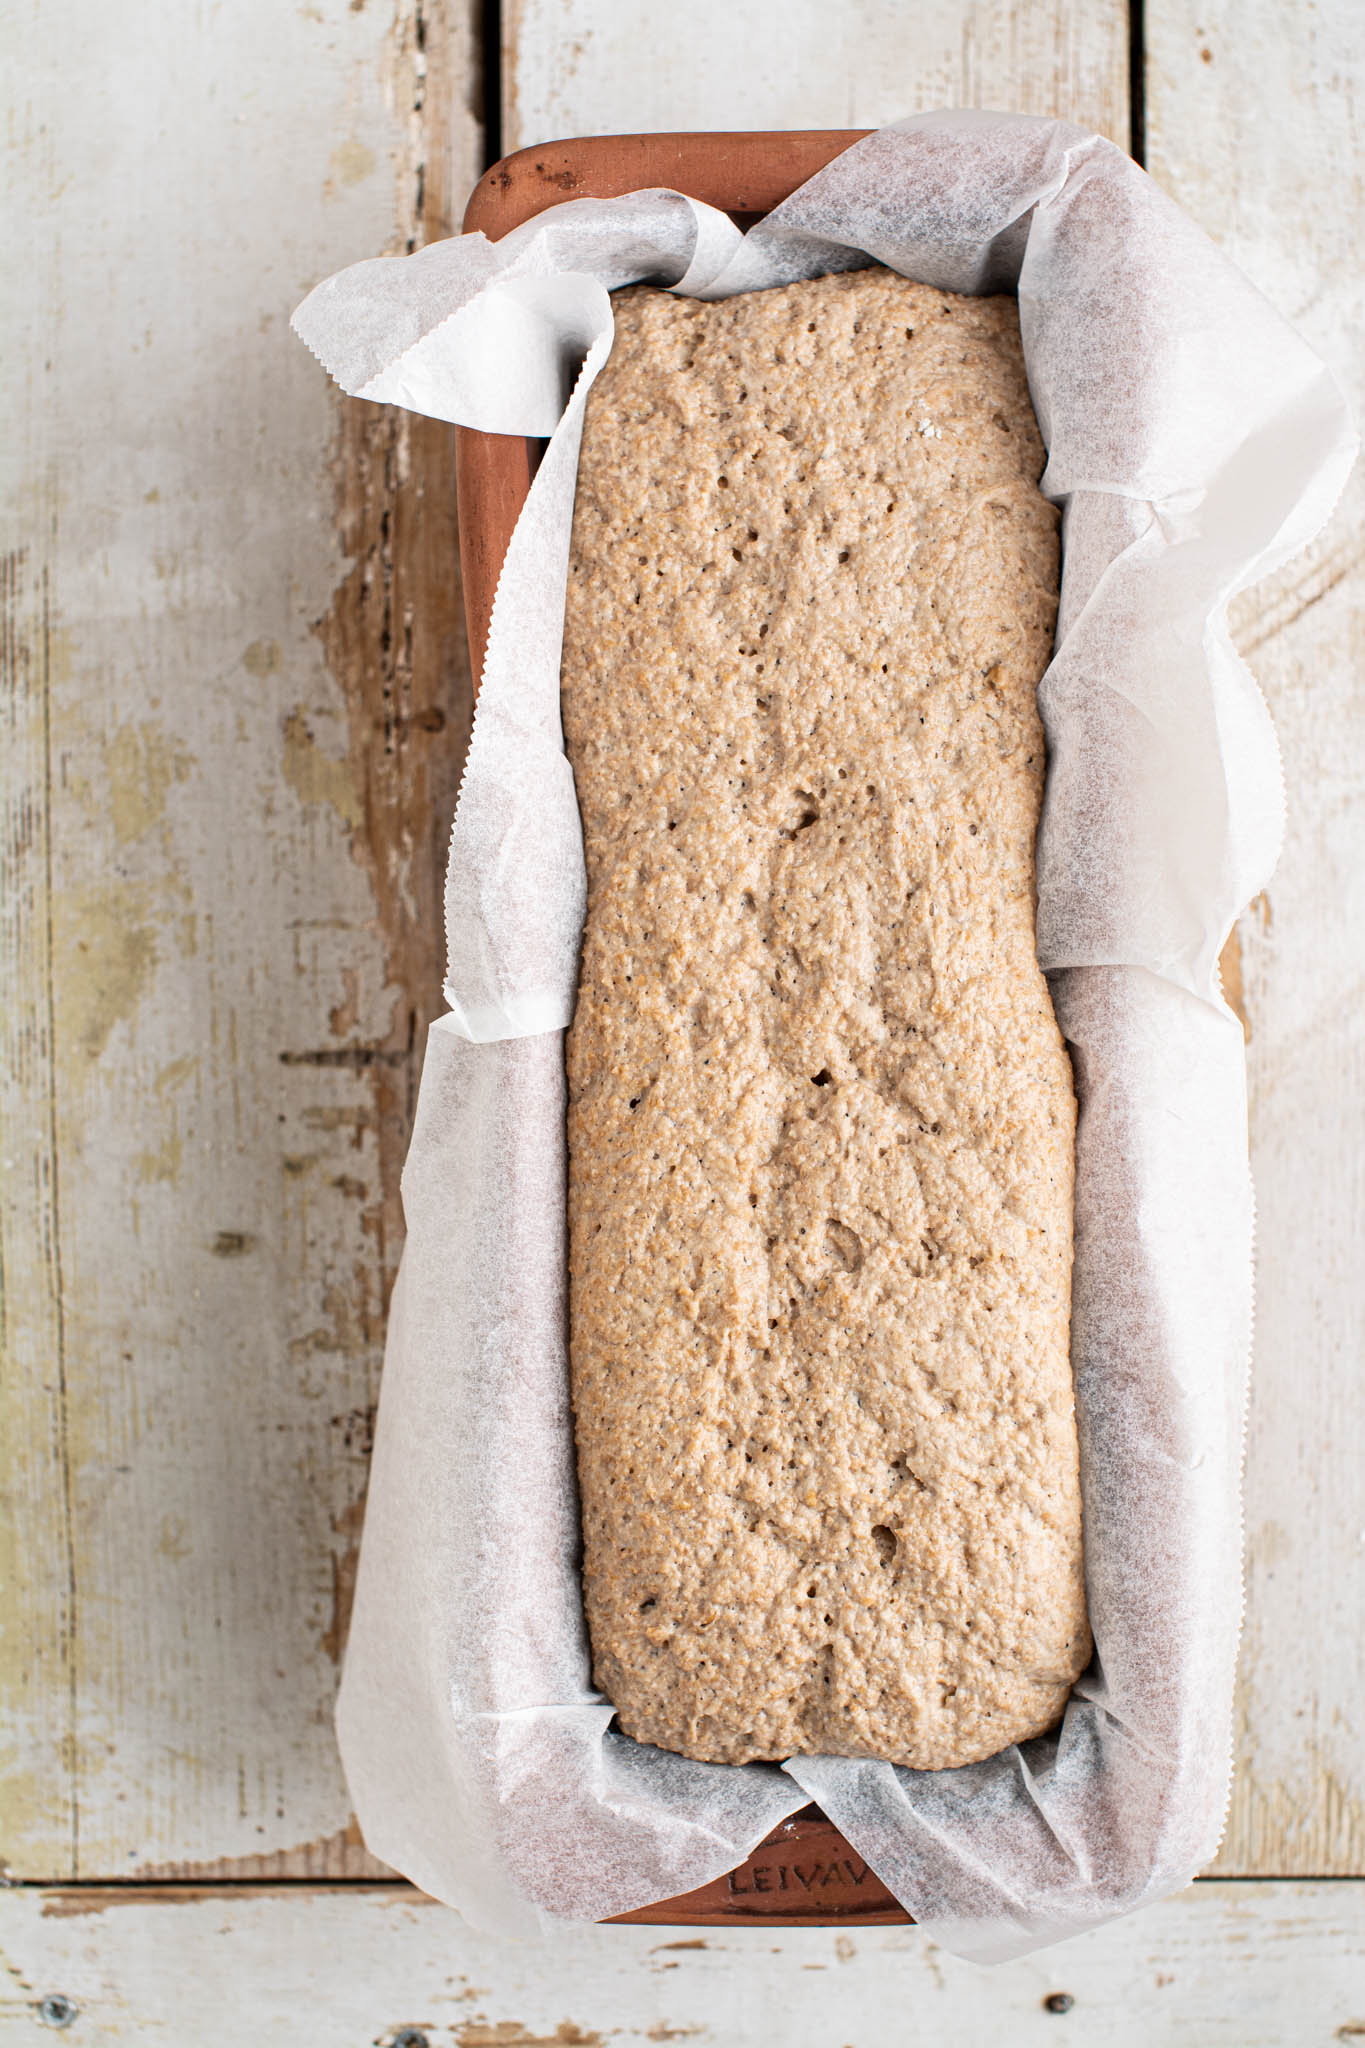
Next, fold the sides of the dough up and pinch together the top by kind of drawing it up (check the video for more details). You can do this in the bowl or alternatively, transfer the dough onto a floured wooden chopping board and do the folding and pinching there. Then, gently transfer the dough into bread pan, cover and put back into warm oven for final 1-hour proofing.
Step 5: Baking and Cooling
To bake the sourdough spelt bread first remove the plastic or tea towel, then close oven door and heat the oven up to 190°C (375°F). Make sure you DON’T turn on the fast heat function! At the same time, set the timer to 1 hour and 10 minutes and let the bread bake.
When there are 5 minutes left, open the oven door and knock on the crust. The bread is done, if it sounds hallow. If not, bake for another 5-10 minutes.
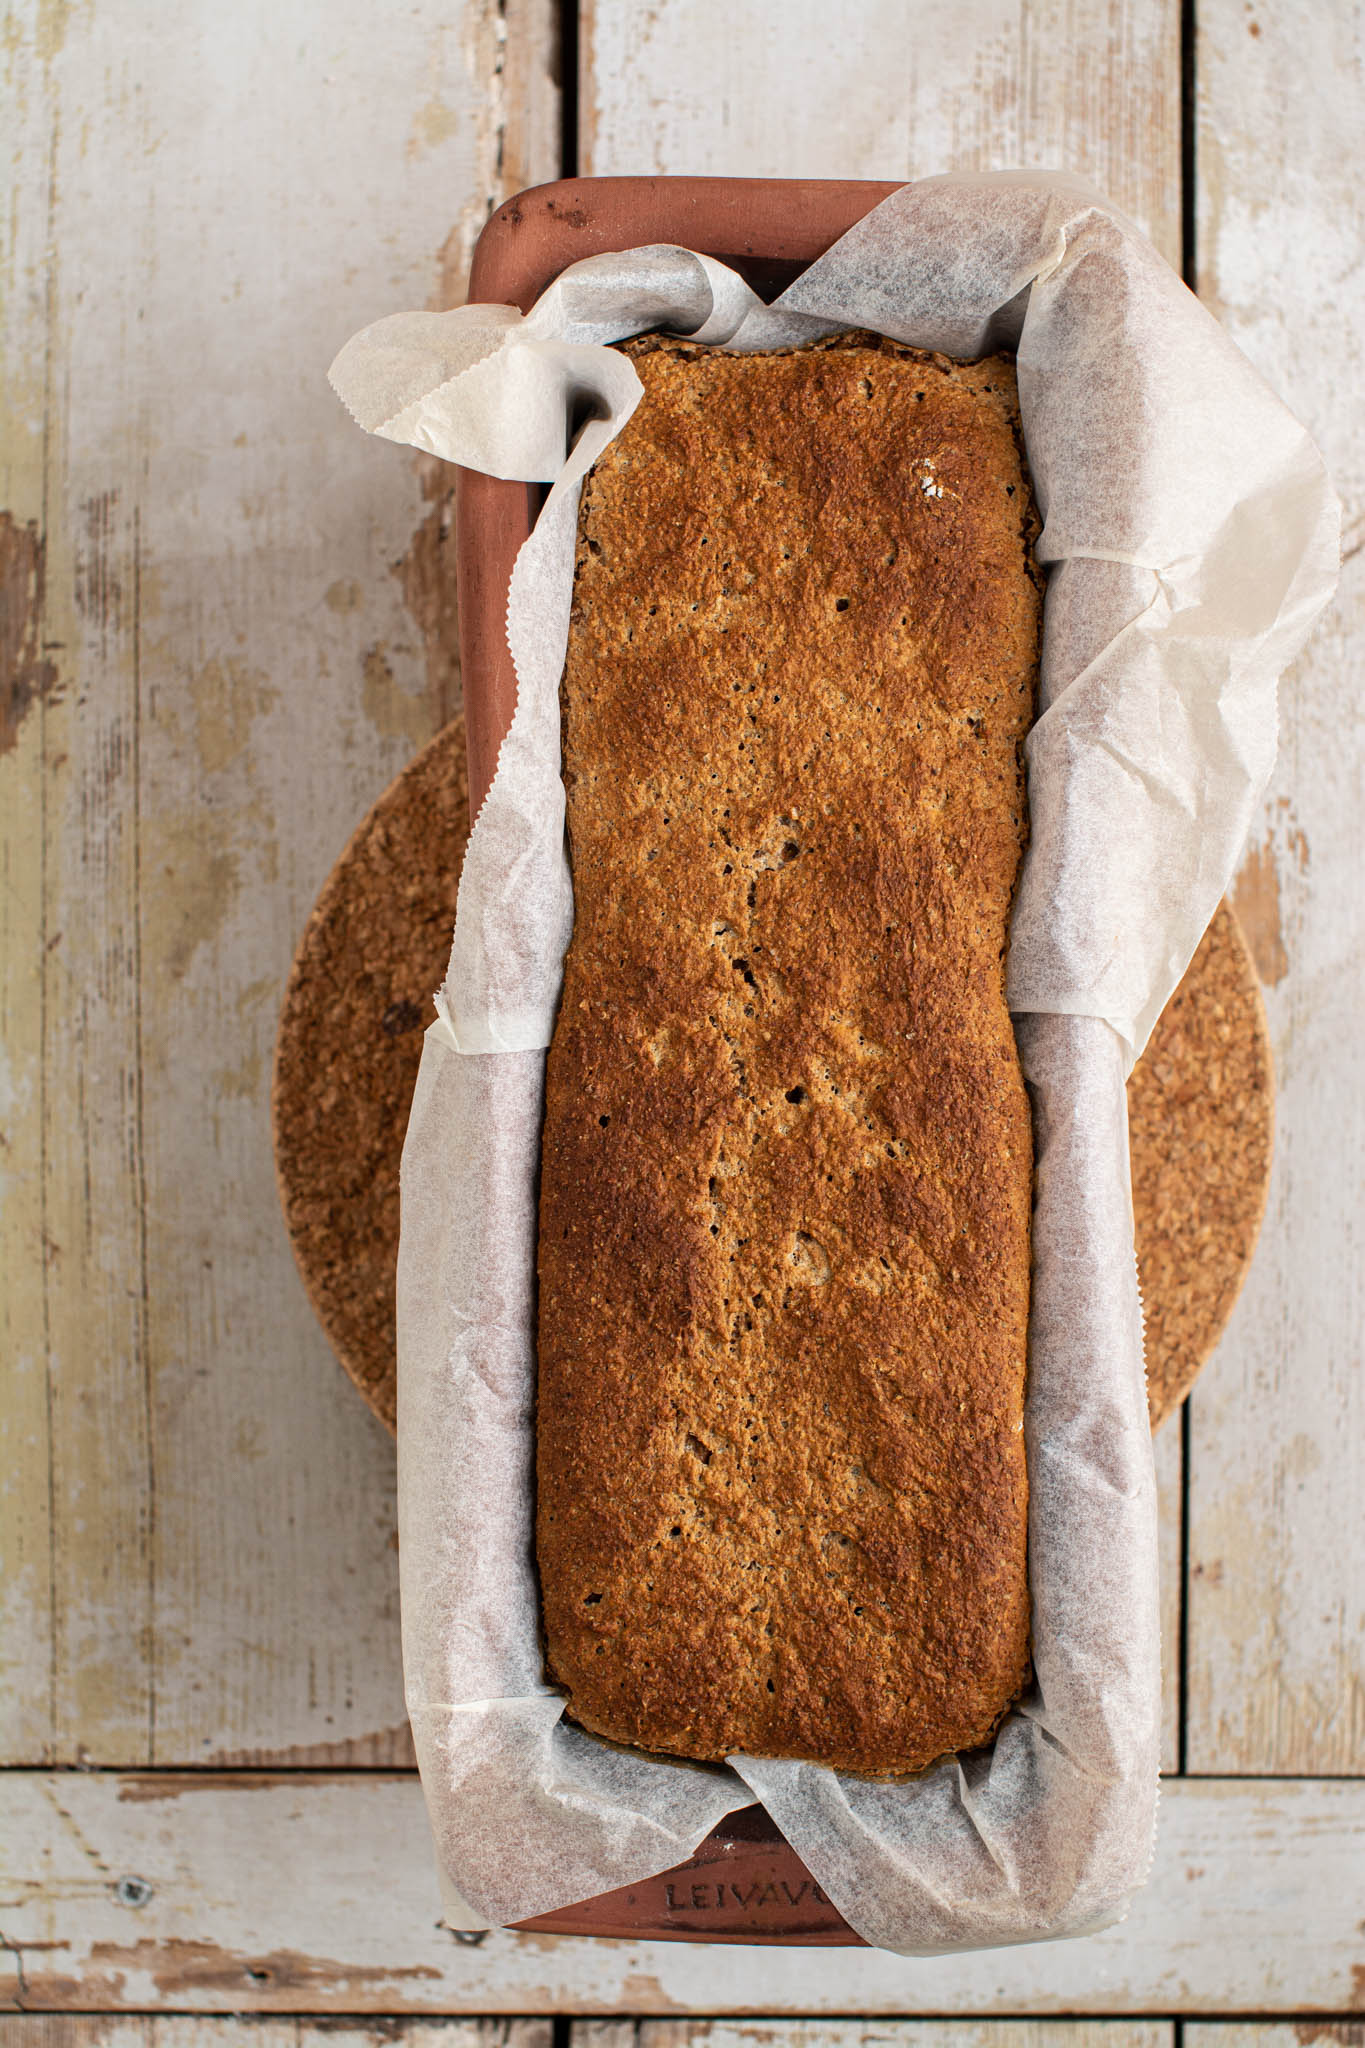
Remove the bread from oven and place it onto any heat-resistant surface or placemat.
Next, take 2 sheets of kitchen paper and fold them once (so that you have 4 layers of paper) and place it onto a wooden board.
Lift the bread out of the pan by grabbing the edges of parchment paper and place it onto folded kitchen paper. Let cool for at least an hour before cutting.
How to Store Spelt Sourdough Bread
When the bread is cooled wrap it into a clean kitchen towel and stick it into a plastic bag to prevent losing too much moisture. It keeps well on countertop for 2 days.
For longer keeping slice the bread up as soon as it’s cooled and store the individual slices in freezer. Heat them up in a microwave (for soft result) or in oven or toaster (for crunchy slices).
In order to toast frozen spelt sourdough bread slices in the oven, place them onto the rack (not on a baking sheet), set the oven to fast heat function (175°C, 350°F is enough) and timer to 10 minutes. When the time’s up, you’ll have fresh and crispy bread ready to enjoy.
Ideas for Serving Spelt Sourdough Bread
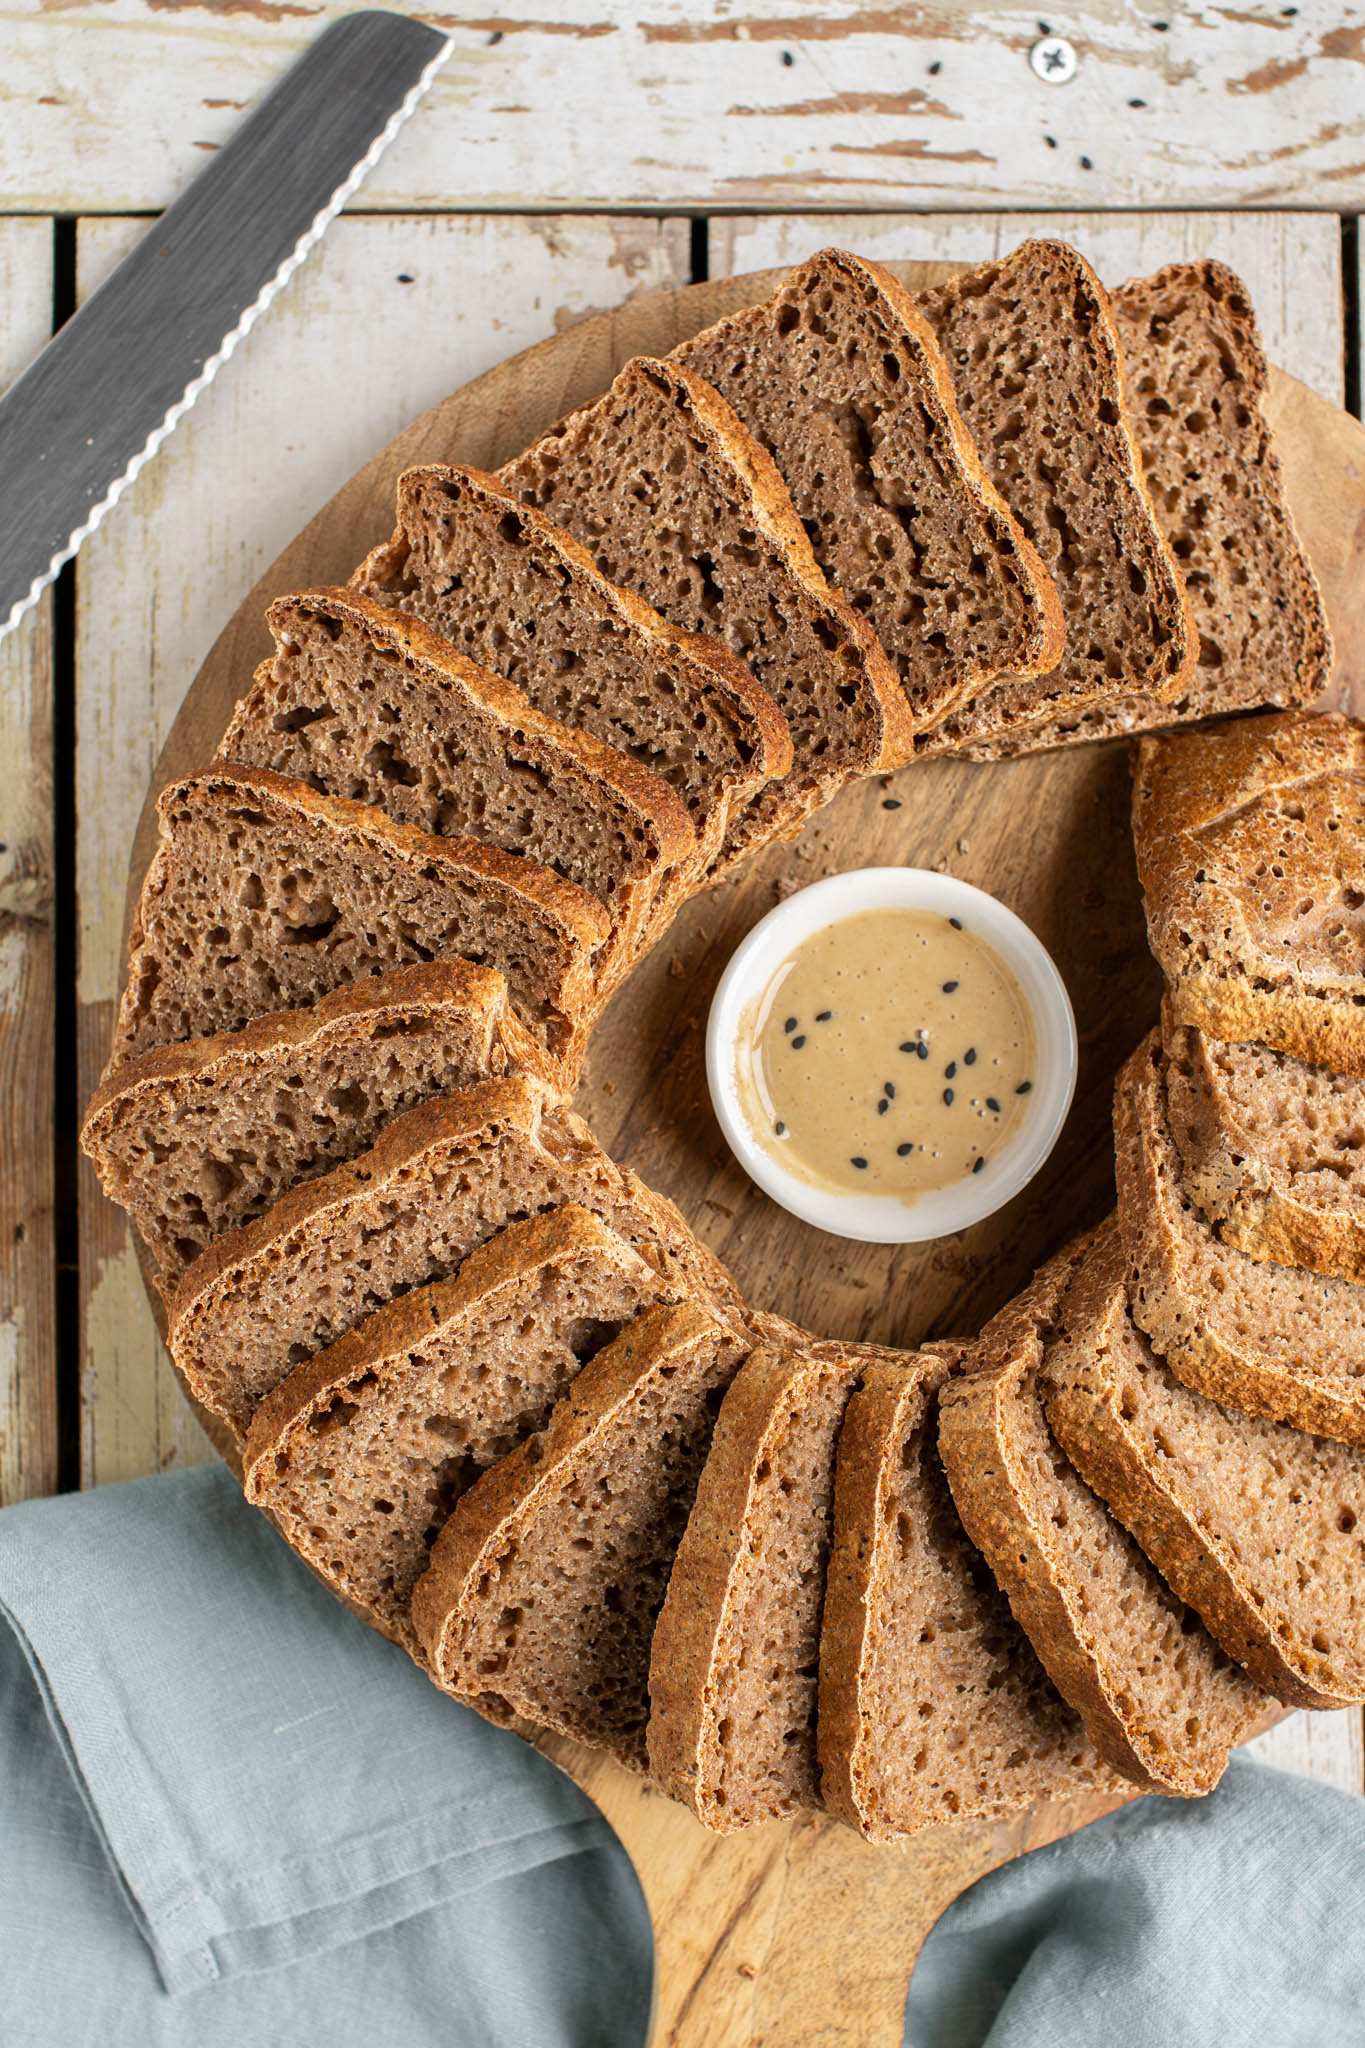
In my experience, freshly baked spelt bread is so damn good that you don’t even need anything to accompany it with. However, should you disagree, here are some ideas:
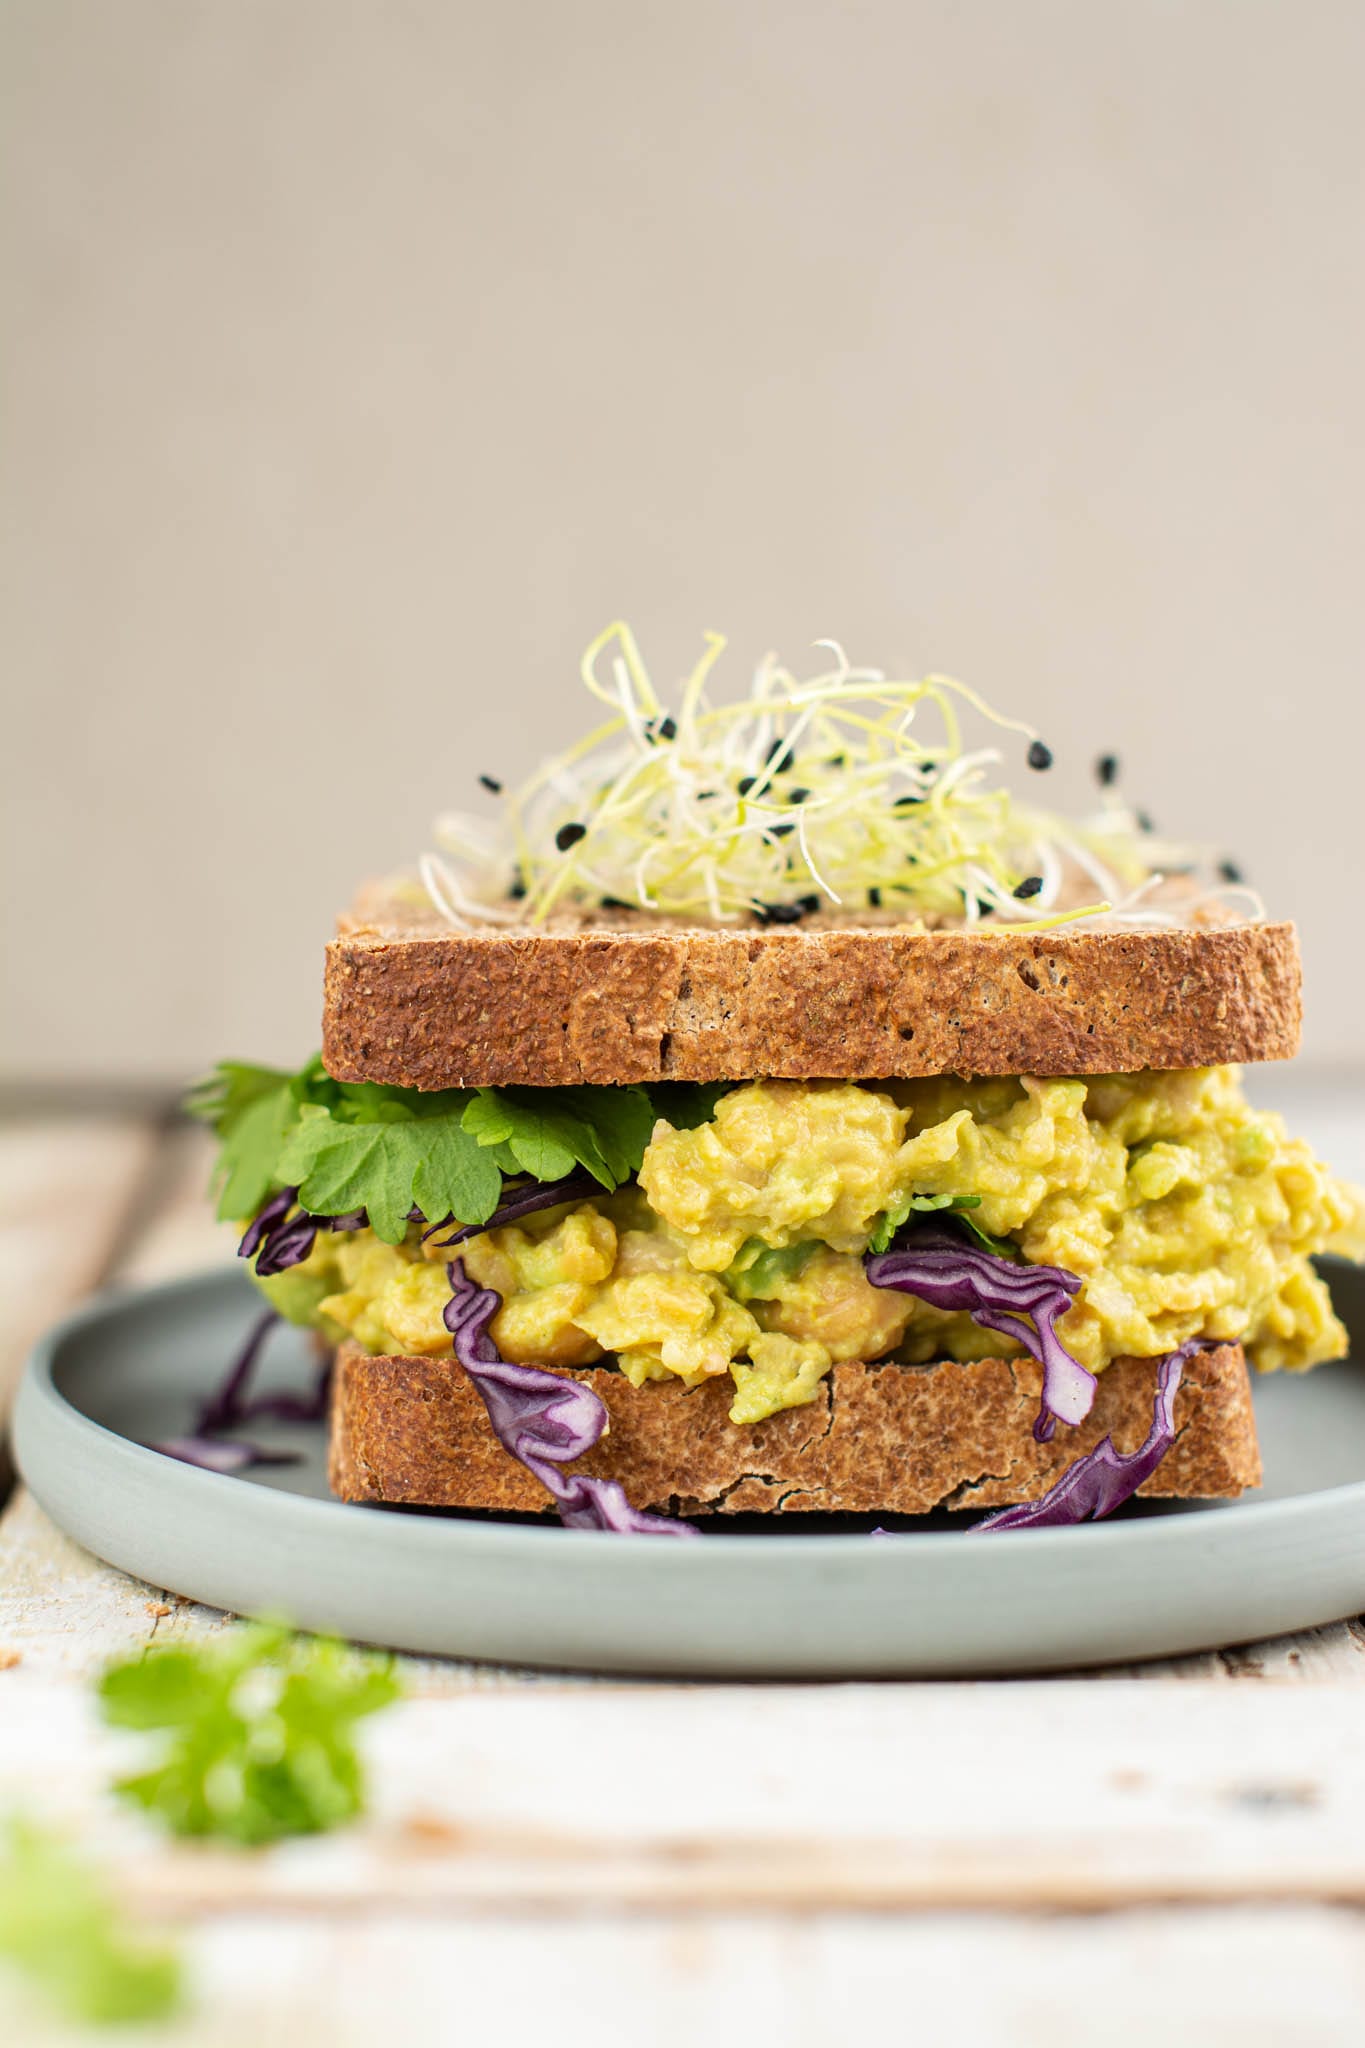
Spread the bread with avocado, nut or seed butter (tahini, almond butter, peanut butter, cashew butter), homemade applesauce, hummus, homemade vegan mayonnaise, or even sweet buckwheat ricotta.
In addition, top it with red cabbage coleslaw, sauerkraut, kimchi, tofu or tempeh slices, or vegan egg salad.
You can use a few or many of the options mentioned above and build an epic healthy vegan sandwich.
Given your interest in sourdough bread, you might also like to check out the following recipes:
- No-Starter Fermented Buckwheat Bread
- Basic Buckwheat Sourdough Recipe and How to Use It
- Chocolaty Buckwheat Sourdough Pancakes
- Buckwheat Sourdough Pancakes
Download my FREE Guide to Plant-Based Diet
Including a full day’s meal plan!
Learn the basics, prepare your kitchen and pantry, compile a balanced meal plan, handle challenges with family and friends, learn the tricks of dining out as well as travelling.
Learn the secrets of weight loss, better health and happiness!
Sign up to download your copy!
Whole Grain Spelt Sourdough Bread
- Total Time: 8h 30min
- Yield: 21 slices 1x
- Diet: Vegan
Description
Learn how to make no-knead whole grain spelt sourdough bread like a master! Follow my simple procedure and your bread will be ready in just 8½ hours.
Ingredients
- 480g (16.9oz) whole grain spelt flour + some fine spelt flour for dusting [read notes]
- 350g (12.3oz) filtered water
- 4 tbsps. sourdough starter [read notes]
- 1½ tsps. Himalayan salt (max ¾ tsp. for Plantricious version)
- 2 tbsps. date syrup or coconut nectar or agave syrup (date sugar for Plantricious version)
Instructions
Step 1: Prepare the Dough
- In a large bowl mix together water, sourdough starter, Himalayan salt and preferred syrup or honey.
- Now, pour the flour into the large bowl. Using a spatula start incorporating flour with the wet mixture until you have homogeneous batter. The batter is supposed to be quite soft and wet.
- Next, cover the bowl with a tea towel or stick it into a plastic bag and let it rest for an hour.
Step 2: Stretch and Folds
- When the hour is up, flour the dough and your hands with fine spelt flour and do the first stretch and fold. But first, using silicone spatula separate the dough from the edges of the bowl. Go and watch the video to see how exactly the stretch and folds look like.
- Then, cover the bowl again and let the dough rest for 15 minutes after which do the second stretch and fold.
- Cover the bowl once again and let it rest for another 15 minutes before you do the third and final stretch and fold.
Step 3: Fermentation
- After the final stretch and fold, cover the bowl and place it into warm (35°C, 95°F) oven for fermentation. It will have doubled in size in 4-5 hours. Now, you can also leave it for longer if you want your bread to taste tangier. I find that 4-5 hours is just perfect.
- In case your oven doesn’t allow such low temperatures and you leave the dough at room temperature it’ll take up to 12 hours for the dough to double in size.
Step 4: Final Proofing
- When the dough is done fermenting, line your bread pan with parchment paper.
- Then, remove the cover from dough bowl and dust the dough with fine spelt flour. Use spatula to separate the dough from the edges of the bowl and flour your hands.
- Now, flip the dough over, so that the floured surface faces down and lightly dust the other side as well.
- Next, fold the sides of the dough up and pinch together the top by kind of drawing it up (check the video for more details). You can do this in the bowl or alternatively, transfer the dough onto a floured wooden chopping board and do the folding and pinching there.
- Then, gently transfer the dough into bread pan, cover and put back into warm oven for final 1-hour proofing.
Step 5: Baking and Cooling
- To bake the sourdough spelt bread first remove the plastic or tea towel, then close oven door and heat the oven up to 190°C (375°F). Make sure you DON’T turn on the fast heat function! At the same time, set the timer to 1 hour and 10 minutes and let the bread bake.
- When there are 5 minutes left, open the oven door and knock on the crust. The bread is done, if it sounds hallow. If not, bake for another 5-10 minutes.
- Remove the bread from oven and place it onto any heat-resistant surface or placemat.
- Next, take 2 sheets of kitchen paper and fold them once (so that you have 4 layers of paper) and place it onto a wooden board.
- Lift the bread out of the pan by grabbing the edges of parchment paper and place it onto folded kitchen paper. Let cool for at least an hour before cutting.
Notes
Nutritional info for Plantricious version (1 slice, 1/21 of the recipe): 81 kcal, 15.6g carbohydrates (77% of kcal), 0.7g fats (7.8% of kcal), 3.5g protein (17.3% kcal), 1.4g fibre, and 79.58mg sodium.
The easiest and quickest way to get a sourdough starter is to buy it from an organic shop. Alternatively, if you have a friend or a family member who bakes sourdough bread, ask them to share a bit with you.
The starter doesn’t need to be spelt sourdough mother but also rye or wheat based starter will do just fine. Later on you’ll feed it with spelt flour and your starter will gradually become spelt sourdough starter.
I suggest you take a good look at the whole grain spelt flour I use in the video, especially its grinding grade. You’ll notice that it’s quite grit. In case your flour is finer, you might need to use a bit more and vice versa.
- Prep Time: 15 minutes
- Cook Time: 1 hour 10 minutes
- Category: Bread
- Method: Oven
Nutrition
- Serving Size: 1 slice
- Calories: 81.7 kcal
- Sodium: 159.39mg
- Fat: 0.7g
- Carbohydrates: 15.9g
- Fiber: 1.4g
- Protein: 3.5g
Disclosure: this post contains affiliate links. As an Amazon Associate I earn from qualifying purchases. For every purchase made from the links in this post, you’ll be able to support my work. So you can look after your health, and contribute to my mission at the same time. Thank you!
You’re welcome to PIN the below image!



Don’t be afraid to leave your questions or comments here! 🤗
GREAT POST!
THANK YOU FOR SHARING….
I’m happy you like it!
Hi, just want to check. I thought we are supposed to exclude spelt during candida diet? Would love to try it though.
Hi! My blog is not exclusively for Candida diet recipes but also includes whole food plant-based ones. However, many people can tolerate WHOLE grains containing gluten also during the Candida diet, it’s individual. By now, I personally have no problem with eating gluten grains, including some white sourdough every now and then.
Amazing post
thanx for sharing the post
Wow a Great whole Grain Bread recipe you have shared
I’m glad that you like it!