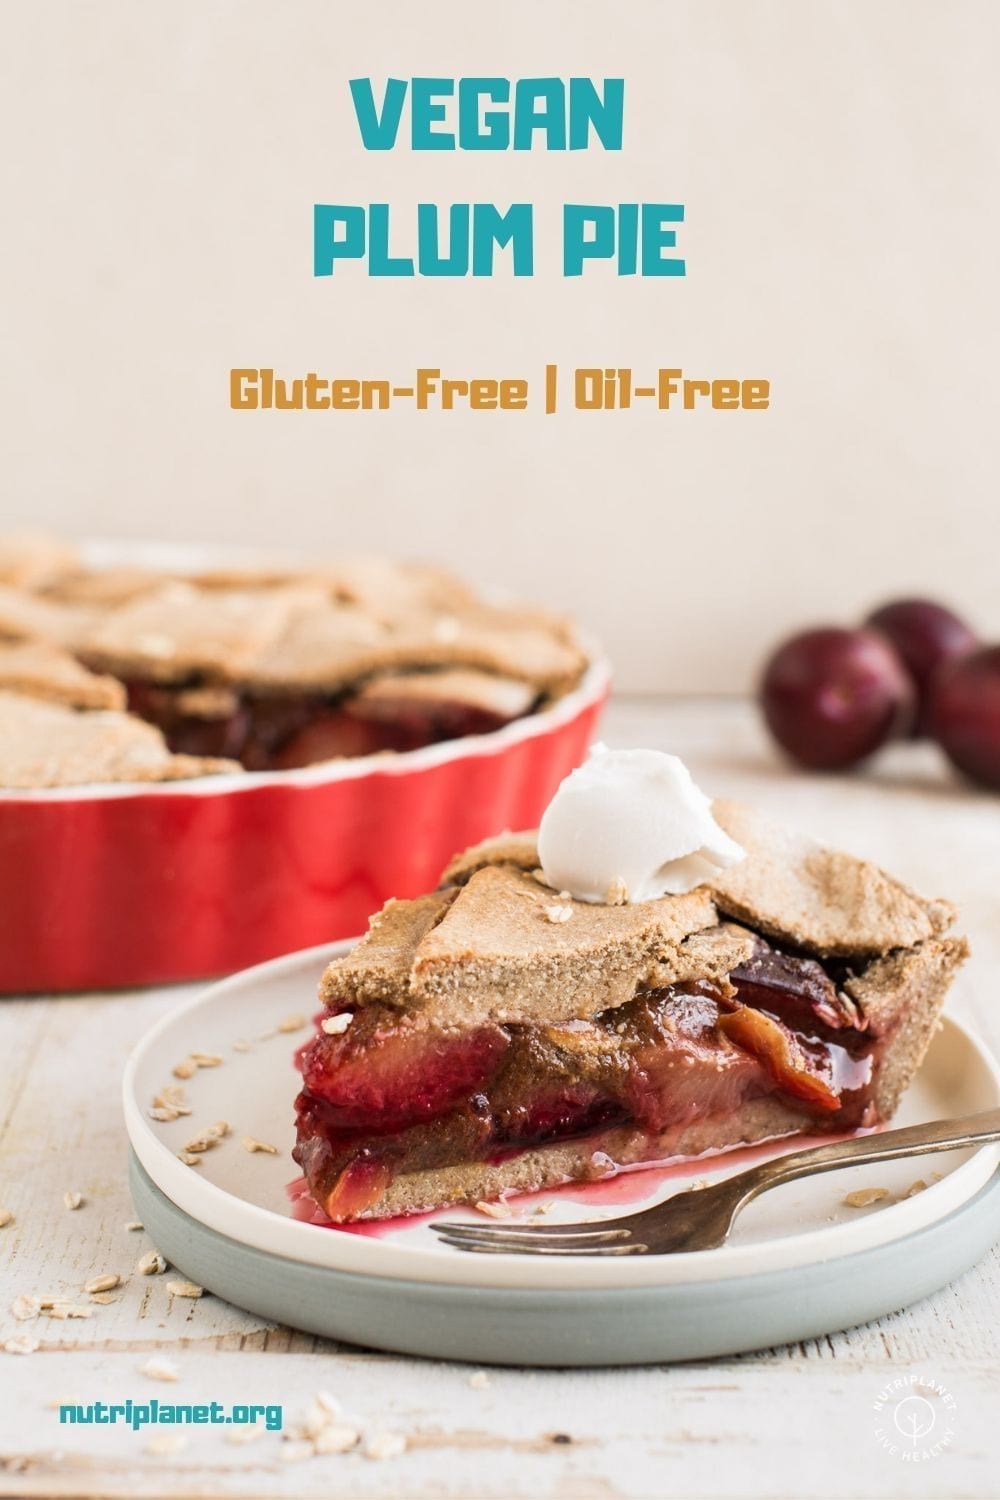
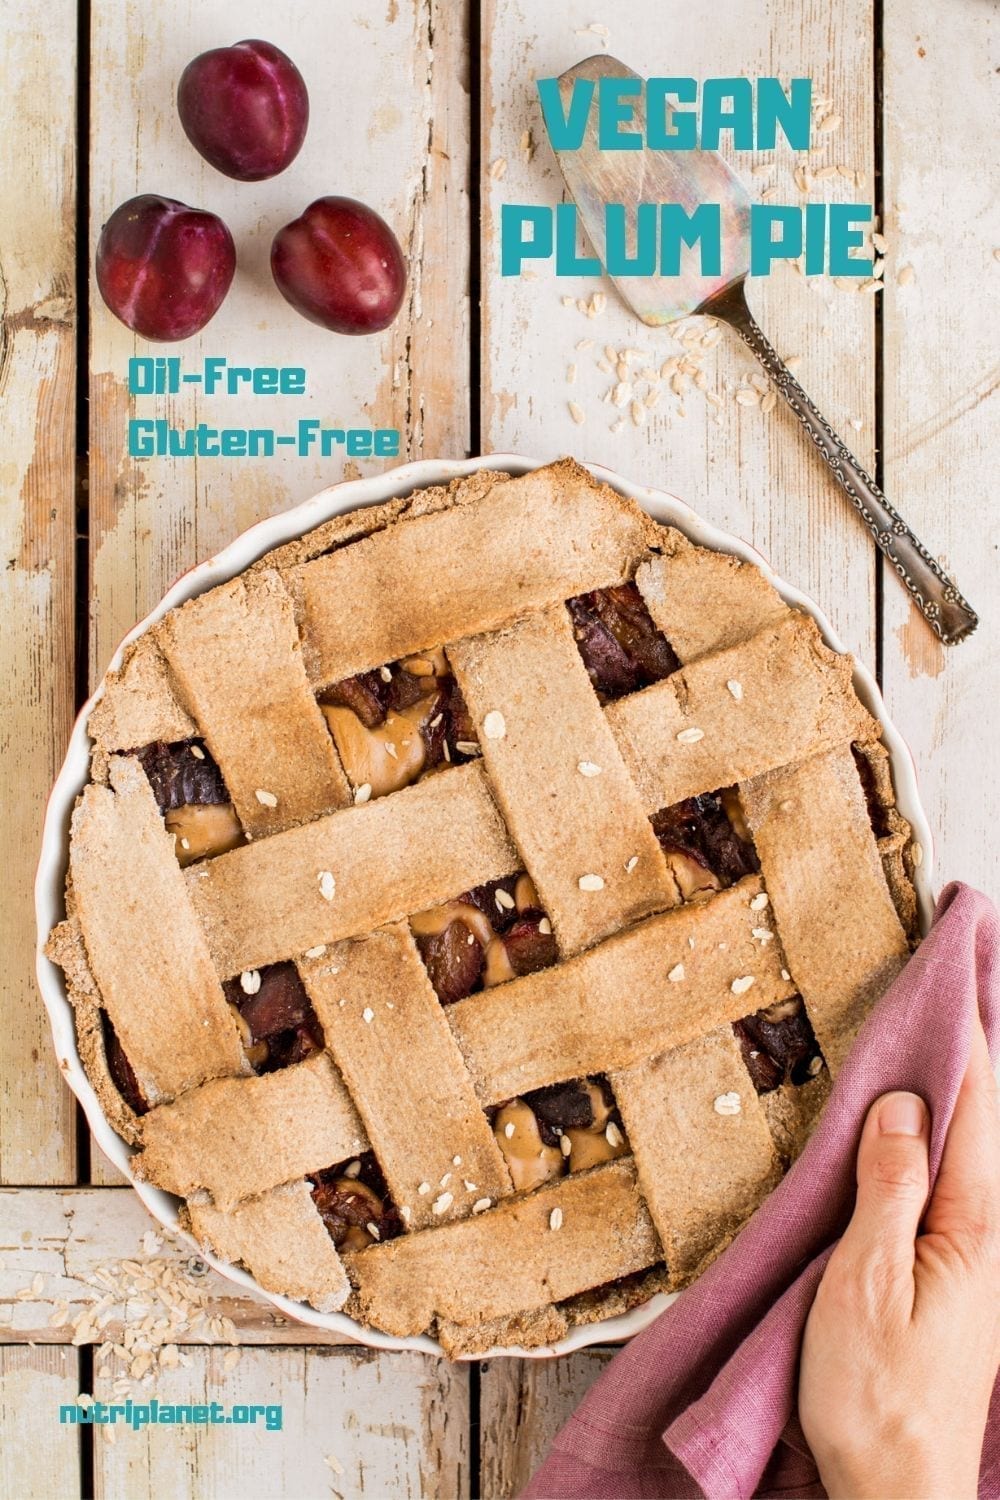
This gluten-free vegan plum pie will fill your kitchen with heavenly autumnal flavours. It is a perfect healthy oil-free and refined sugar free vegan treat for those chilly and rainy fall days.
I love this vegan plum pie recipe, because it’s:
- So heavenly delicious.
- Incredibly healthy (for a pie anyway).
- Such a great way to use up all those plums!
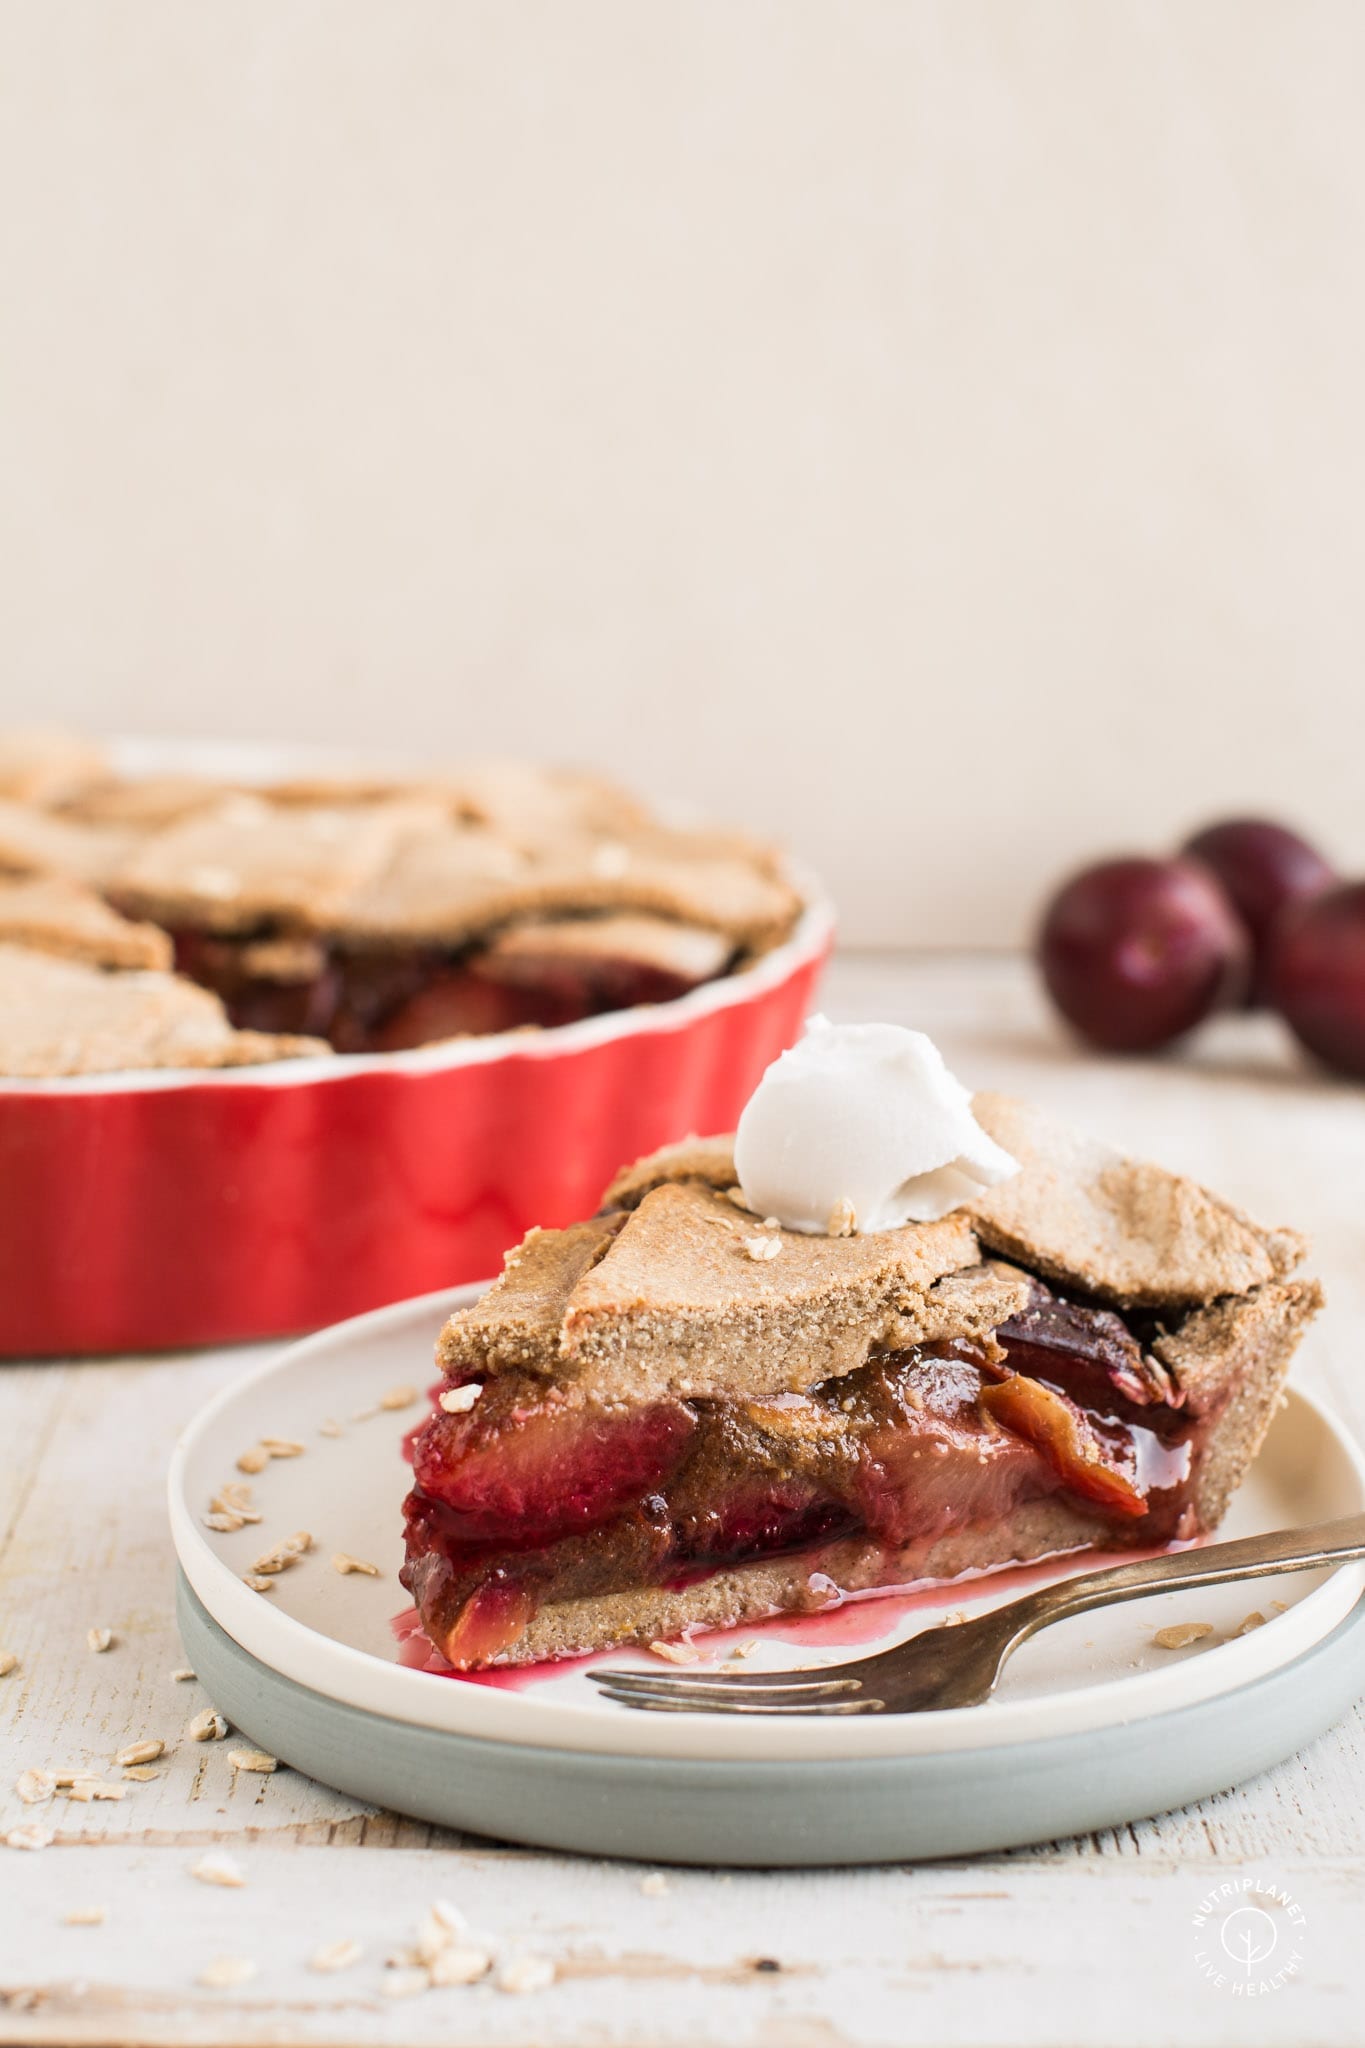
Furthermore, unless you have a big family, this plum pie will last for at least 3-4 days. Imagine the convenience of grabbing a piece from fridge in the afternoon, topping it with coconut cream or vegan ice cream and enjoying every bite with a good cup of tea or coffee!
The Ingredients in my Plum Pie
So, I was in my kitchen with all those homegrown plums my friend had brought me from her mother’s garden. Of course we ate a ton of them raw, but there was still plenty left to create a yummy and healthy vegan treat. Somehow my thoughts moved towards the lattice pie I had created a year before, but that I never got a chance to publish on blog.
For piecrust I used Rustic Apple Pie batter, but made a bigger batch to fill my 25cm (9.8-inch) pie plate and to have enough left over for top lattice.
Watch how I make the apple pie:
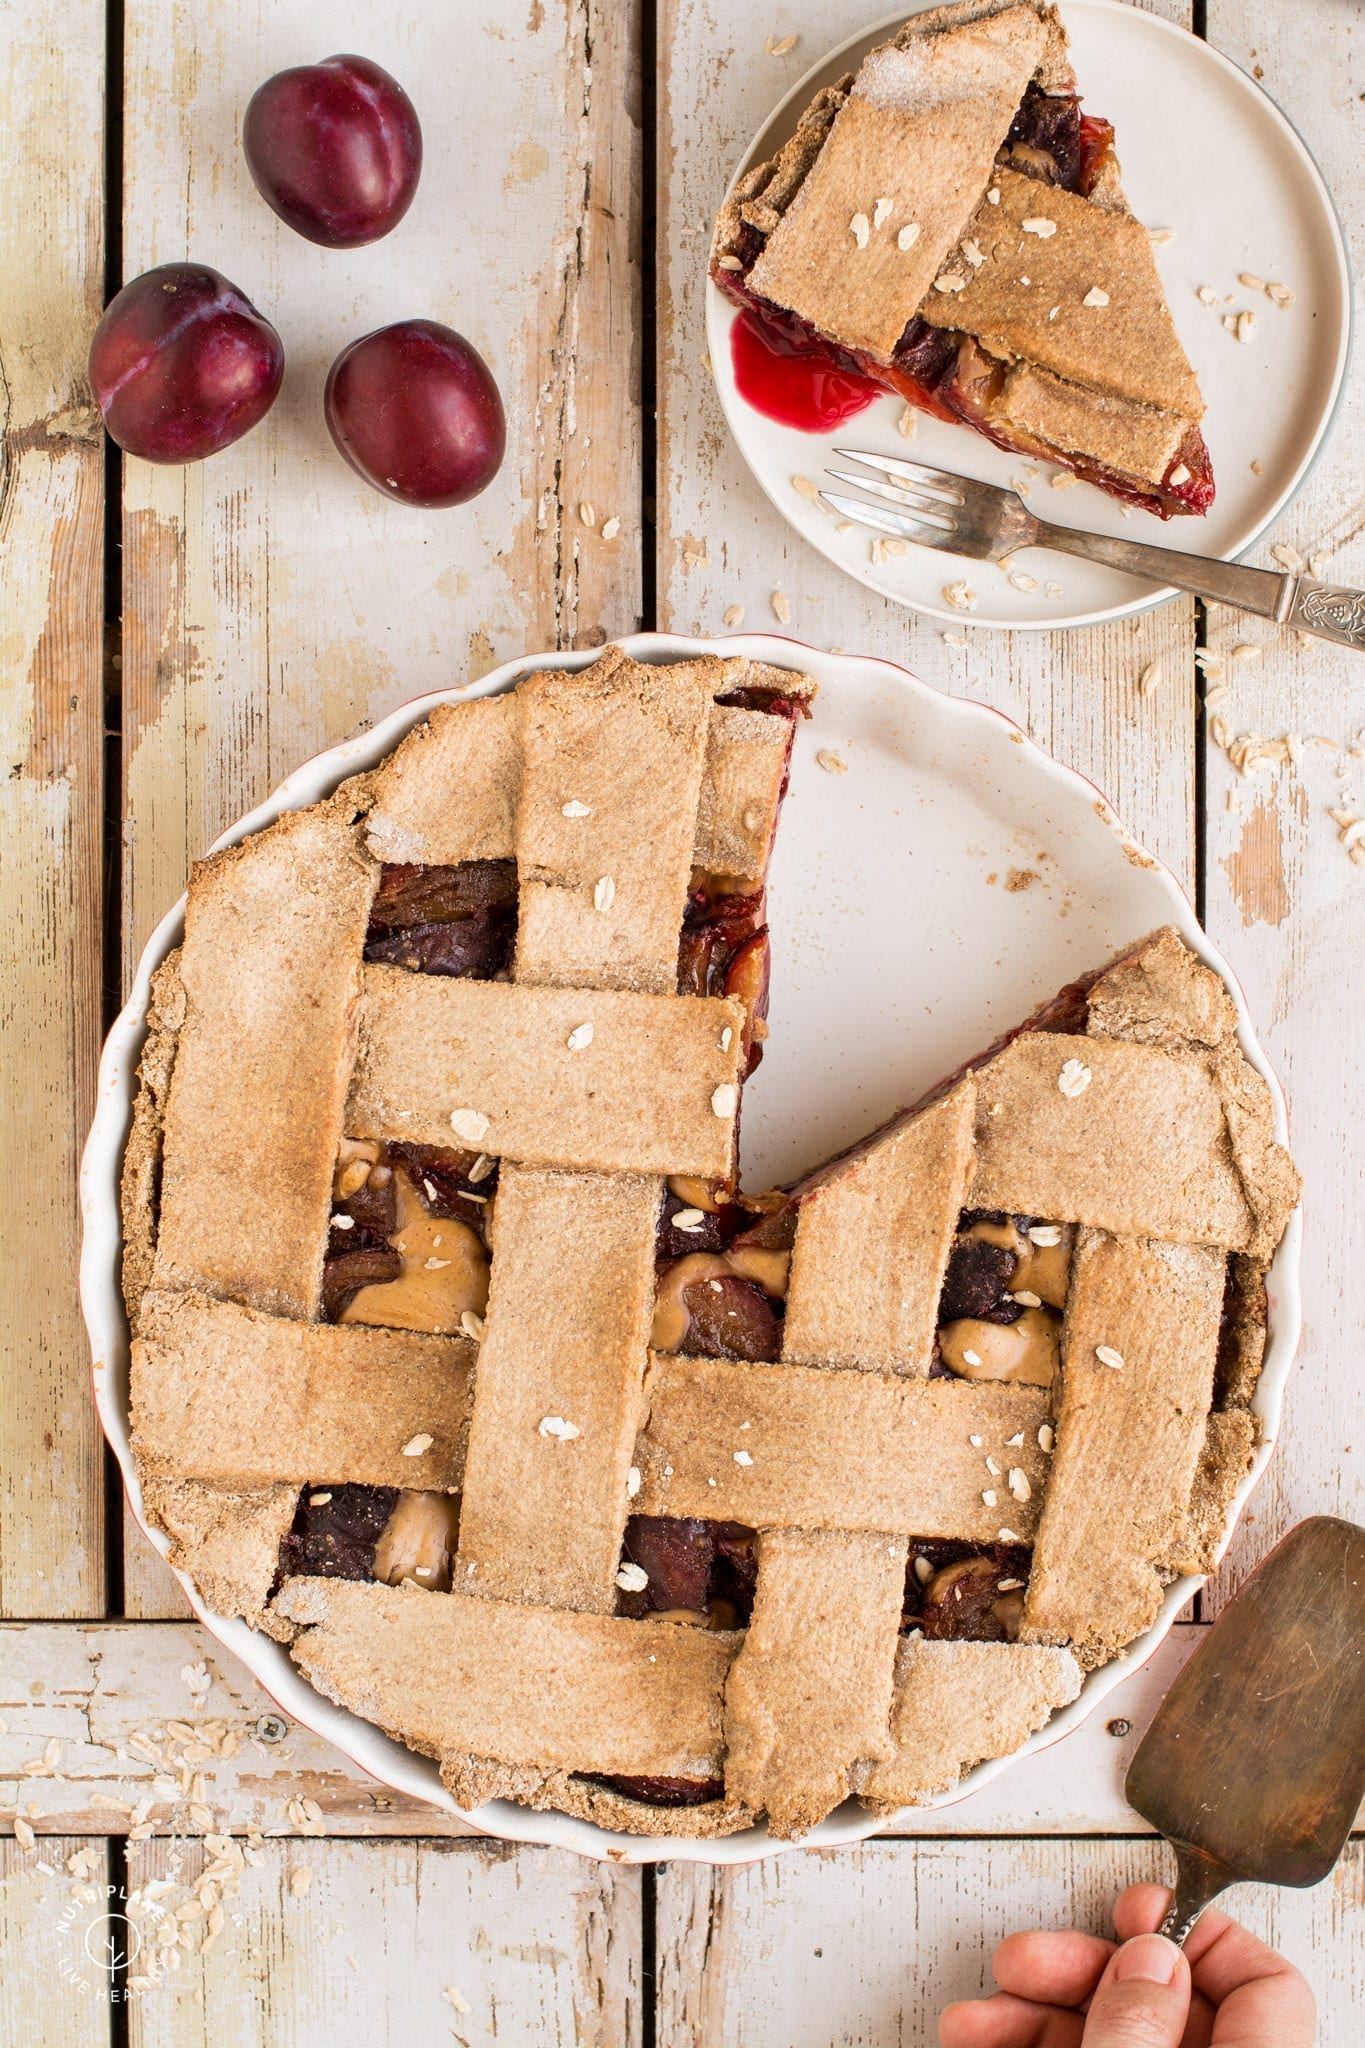
I then filled the pie with a whopping kilogram of plums that I had mixed with autumnal spices, i.e. cardamom, cinnamon and ginger. Strangely enough, plums get quite sour when heated, so sweetener(s) need to be added. I went for a combination of coconut sugar and xylitol. Finally, for some extra sweetness and caramelly taste, mesquite comes into play with its ability to absorb liquids as well. Since there will be quite a bit of plum juices flowing, I included psyllium husk powder to soak in the excess liquids. Usually pieces of butter are thrown on top of plum pie – no thank you, not me! 🙂 In my opinion nut butter does a fine job with adding extra heartiness. My absolute favourites are peanut butter and almond butter.
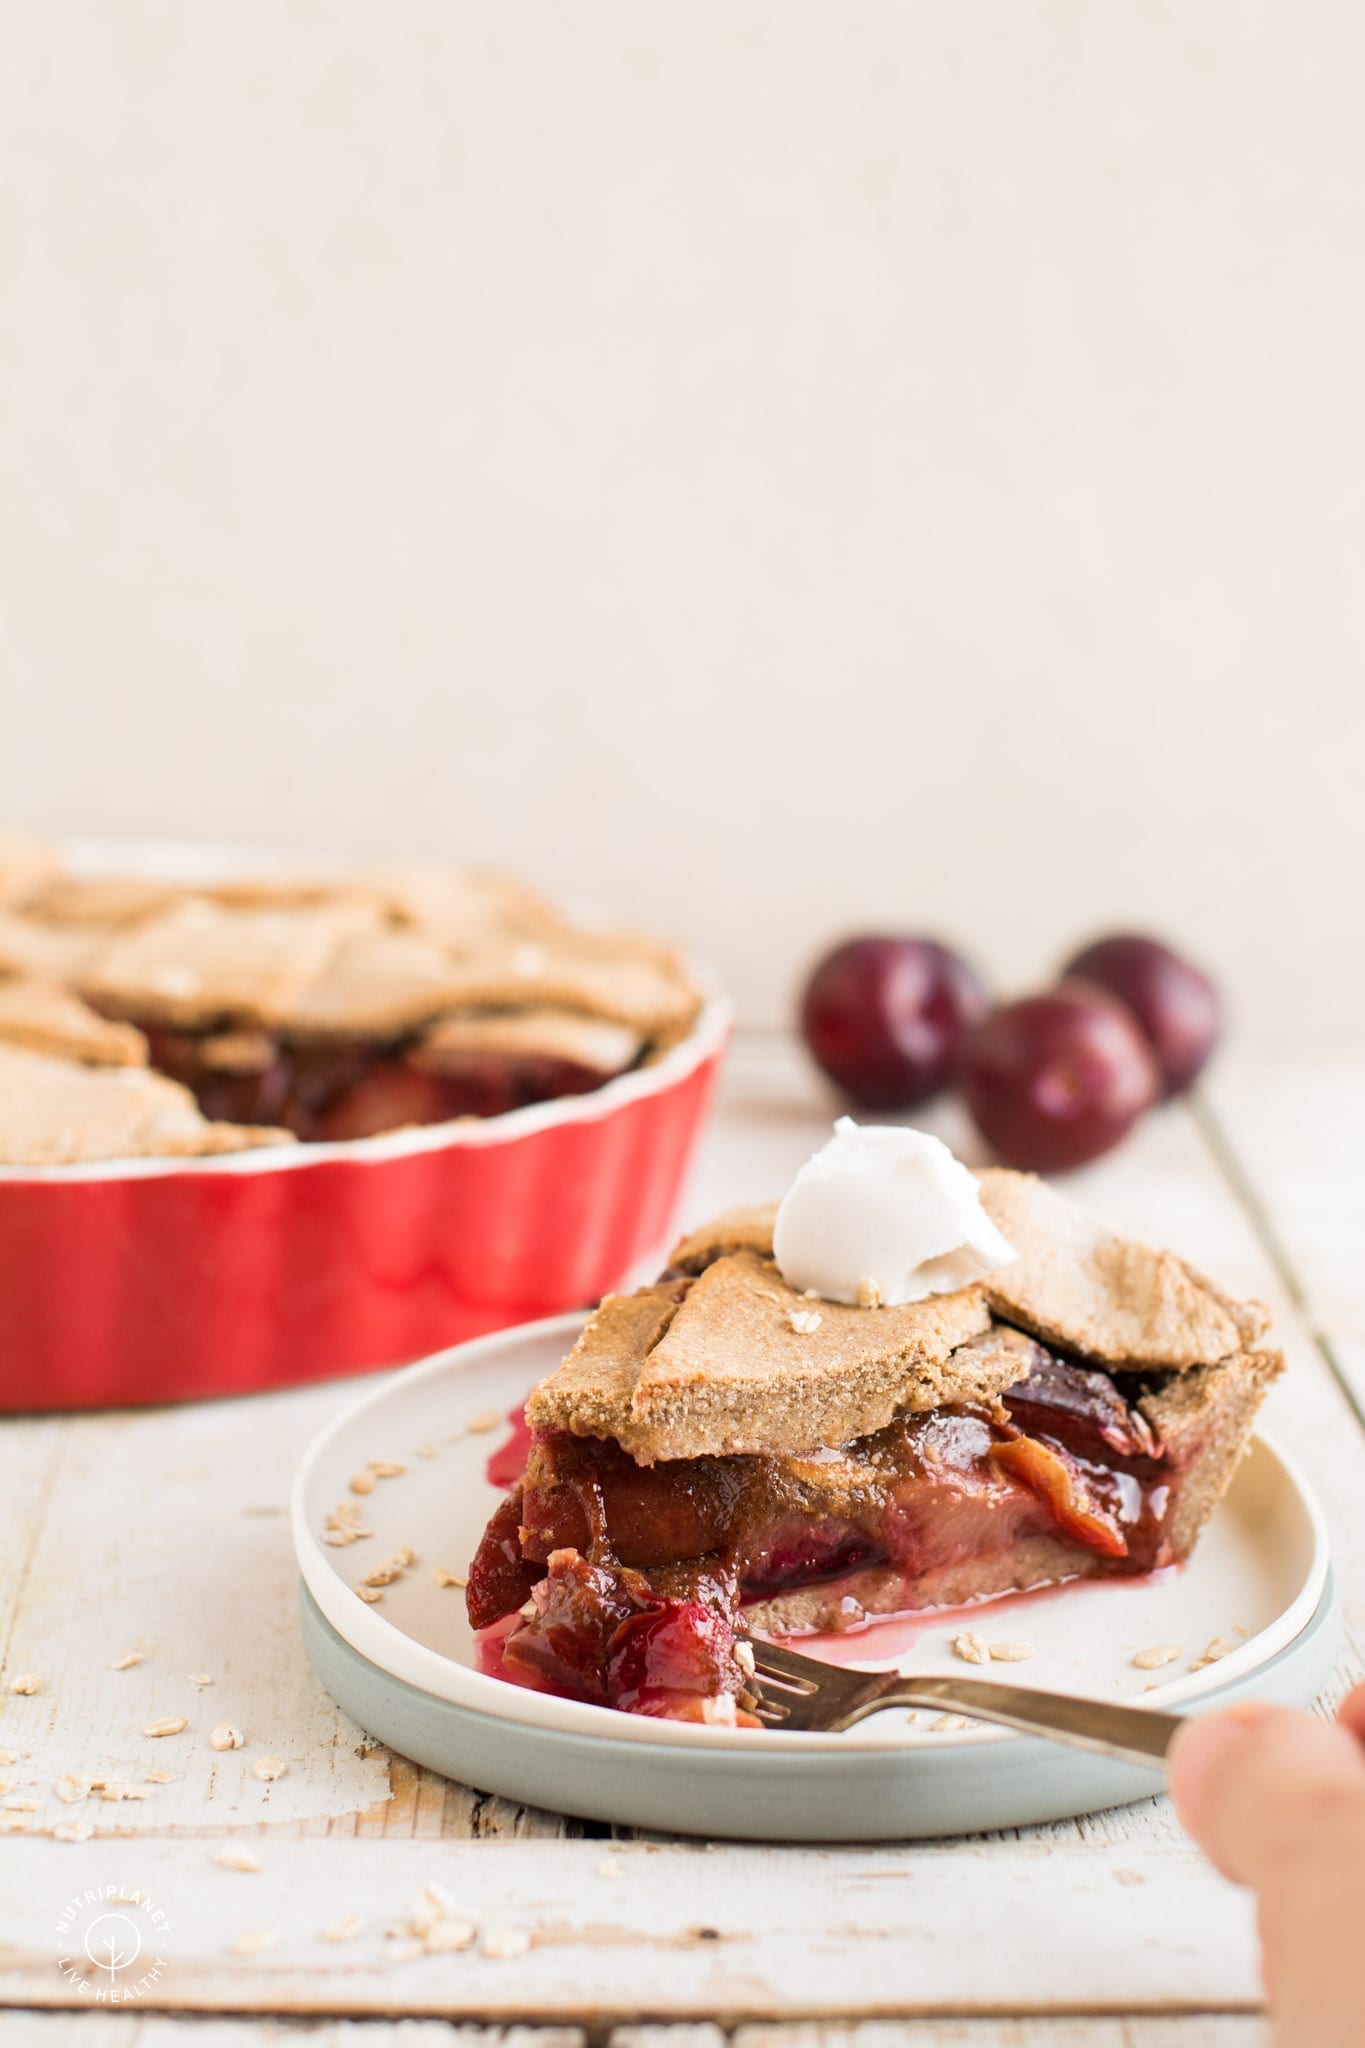
To sum it up, this plum pie is:
- Gluten-free
- Low-fat (23% of kcal)
- Refined sugar free
- Candida diet friendly
- Peanut-free and can me made nut-free
- Can be made soy-free
Finally, let me know whether you’re a plum pie lover! Or what is your favourite autumnal bake? Write in the comments below! Please tag me in social media whenever you try one of my recipes! I’d love to see your creations! Instagram @thenutriplanet and Facebook @nutriplanet.health.hub
Print
Plum Pie [Vegan, Gluten-Free]
- Total Time: 1h30min
- Yield: 10 servings 1x
Description
This gluten-free vegan plum pie will fill your kitchen with heavenly autumnal flavours. It is a perfect healthy oil-free and refined sugar free vegan treat for those chilly and rainy fall days.
Ingredients
Ingredients: Pie Crust and Lattice
- 150g (3.5oz) oat flour
- 150g (3.5oz) coconut flour
- 1½ tbsp. cinnamon
- ½+¼ tsp. Himalayan salt
- 3 tsps. (15g) psyllium husk powder
- ¾ cup (180ml) water
- 375g (13.2oz) soymilk (additive-free) + 1½ tbsp. apple cider vinegar
- 4½ tbsps. xylitol (or date sugar for Plantricious version)
Ingredients: Pie Filling
- 1kg (2.2lbs) of raw plums
- Lemon juice from half a lemon (about 2 tbsps.)
- 2 tsps. cinnamon
- ½ tsp. ginger powder
- ¼ tsp. cardamom
- 4 tbsps. coconut sugar, xylitol or date sugar (Plantricious version)
- 2 tbsps. mesquite
- 2 tsps. psyllium powder
- 2 tbsps. additive-free nut butter
Ingredients: Coating (optional)
- 1 heaping tsp. of nut butter
- Enough plant milk for spreadable consistency
- Pinch of Himalayan salt
Instructions
Crust:
- Start by mixing together soy milk and apple cider vinegar in a small bowl. Let it sit for at least 5 minutes.
- In a large bowl combine the dry ingredients: flours, salt, cinnamon, and psyllium husk powder.
- Next, dissolve xylitol (or other sweetener) in the soymilk. Then, pour water into the curdled soy milk and stir.
- Now, add the liquids to dry ingredients and mix until well incorporated. Cover the bowl with a lid or plastic wrap and refrigerate for 30 minutes.
Filling:
- While the crust dough is chilling, prepare the plum mixture. Start by cutting the plums in half, removing the stones and adding them to a large bowl. If you have huge plums, cut them in quarters. To prevent oxidizing, add lemon juice and toss the plums well (but gently).
- Next, sprinkle cinnamon, ginger, cardamom, sugar and mesquite on top of plum mixture and mix until the sugar and spices are well incorporated. I suggest you sieve mesquite to avoid any bigger chunks.
- You’ll now notice some liquid in the bottom of the bowl. This is why we add psyllium husk powder – sprinkle one teaspoon of it evenly onto plums and give it a stir. Then, do the same with the second teaspoon. Avoid making a pile of husk powder as you might end up having lumps of it in the mixture. Let the plums sit while you prepare the piecrust.
Assembling the pie:
- Grease 25cm (10-inch) pie plate with coconut oil by transferring some oil onto kitchen paper and rubbing the surface and edges.
- To roll the dough, place ⅔ of it on a floured surface (I prefer raw buckwheat flour) and roll it out into 30cm (12-inch) circle. It’s easier if you flour your hands and sprinkle some flour on top of the dough as well. Make sure the dough doesn’t stick to the surface by lifting it up every now and then while rolling (adding flour if necessary). Alternatively, press the dough into greased pie plate using your fingers. The result won’t be as perfect, but it’ll be under the plum mixture anyhow!
- Next, transfer the dough onto 25cm (9.8inch) pie plate. I used the help of a round cake lifter. Trim the edges.
- Then, bake the crust at 190°C (375°F) for 10 minutes. Remove from oven and let cool.
- While the crust is cooling, roll the remaining pastry into a 25cm (9.8inch) disk and cut dough into long slits (3-4 cm, 1.2-1.6-inch wide) with knife, pizza wheel or fluted pastry wheel. Cut off uneven edges, form a dough ball and roll it out again for extra strips. You can also cut thinner strips and have more of them on top of the cake.
- Pour the plum mixture onto cooled crust and even it out. Now add 2 tbsps. of preferred nut butter on top of plums – strips if it’s warm and pieces if taken from fridge.
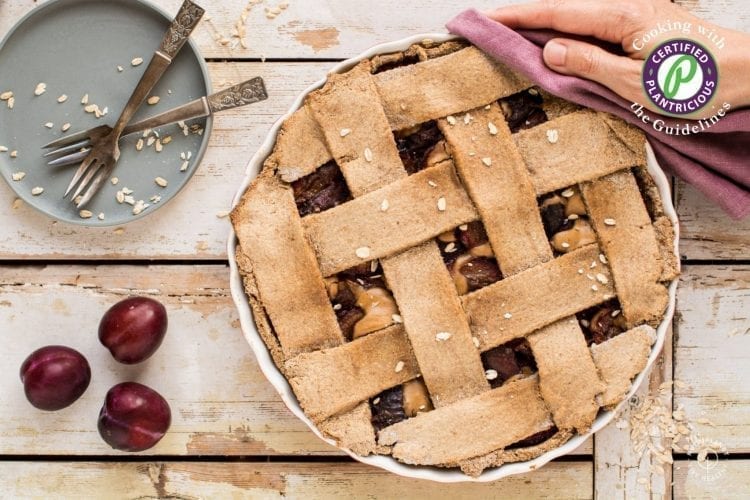
- Lay the dough strips in lattice pattern over top of fruit and nut butter gently pressing ends of strips onto edges of bottom crust. Trim excess dough from edges.
- To coat the dough strips combine nut butter, plant milk and pinch of Himalayan salt in a small bowl. Add enough milk to be able to use cooking brush for coating.
- Bake the pie at 190°C (375°F) for 50-55 minutes until golden brown. Let cool completely before slicing.
- Top with a dollop of coconut cream or vegan ice cream.
Notes
If you don’t struggle with Candida overgrowth, use any preferred sweetener in both piecrust and filling recipe, i.e. coconut sugar, date sugar or xylitol. In piecrust also liquid stevia could be substituted for sugar – 1 tbsp. of sugar = 12 drops of stevia.
My favourite nut butters to use on top of plums are almond butter and peanut butter. However, also cashew butter, sunflower seed butter, hazelnut butter etc. can be used.
Want to skip the lattice pattern? Simply place a whole dough cap on top of the plums or discard the top dough layer altogether. Or use cookie forms to cut out any shapes you like and place them on top of the pie for decoration.
Should your plums be extra ripe and juicy, use an extra teaspoon of psyllium powder. I used quite hard plums that didn’t fall apart or become mushy when mixed and stirred.
For soy-free version substitute soymilk with any other plant milk, i.e. oat milk or almond milk.
In case you’re allergic to nuts, use seed butter instead of nut butter to top the plum mixture, for example sunflower seed butter.
- Prep Time: 40 minutes
- Cook Time: 1 hour
- Category: Dessert
- Method: Oven
Nutrition
- Serving Size: 1/10 of recipe
- Calories: 254
- Sugar: 12.7g
- Sodium: 220.7mg
- Fat: 6.5g
- Saturated Fat: 2.9g
- Carbohydrates: 31g
- Fiber: 12.4g
- Protein: 7.6g






I s gluten-free crust always this thick? Just curious since the crust has always been my leased liked part of a pie.
Hi! You can always roll it thinner! But this crust is like no other — I love it as it’s so full of flavour per se and I prefer it thick! 🙂
Just asking ‘why’. It sounds delicious.
No worries! 🙂 And definitely try to roll it thinner (to your liking)!