Learn how simple it is to sprout chickpeas or garbanzo beans without a sprouter for maximum health benefits and improved flavour. Use raw and cooked sprouted chickpeas in hummus, curries, stews, salads and Buddha bowls or snack on them raw.
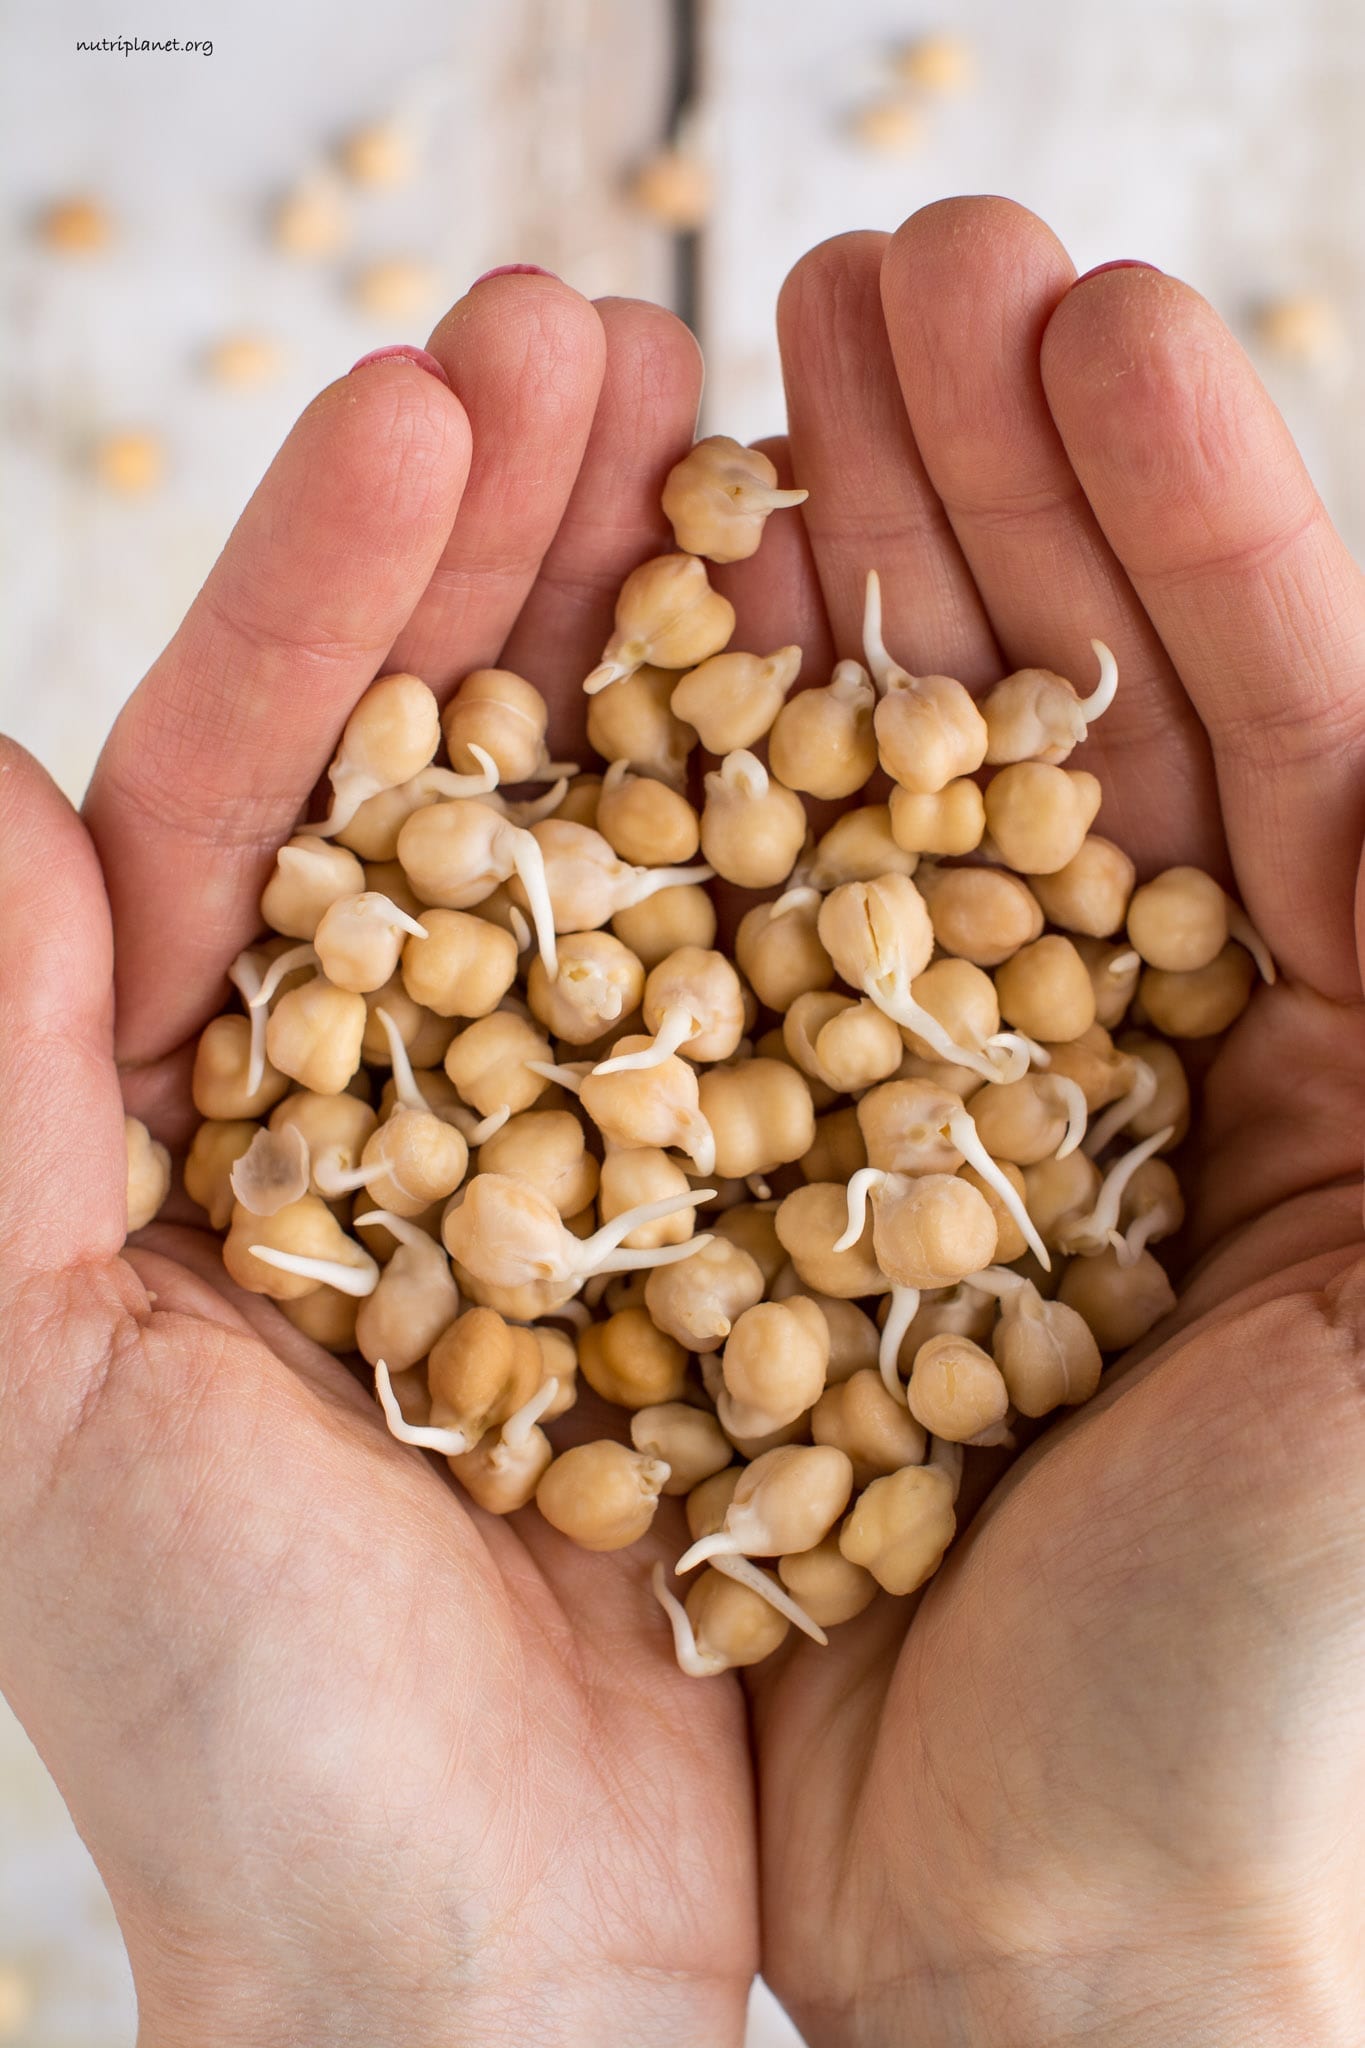
I must admit that the first time I sprouted chickpeas was totally accidental. It happened that I left soaked and rinsed chickpeas in the sieve for a day (about 12 hours), as I didn’t have time to cook them right away. And yes, as easily as that, the sprouts emerged – without any effort or fancy equipment, i.e. sprouter or sprouting jar. From that moment on, whenever I have time, I let my chickpeas sprout before cooking.
Why soak chickpeas before cooking
You definitely need to soak the chickpeas or any other legumes and grains. The problem with dry beans is phytates and other anti-nutrients that inhibit mineral absorption and cause digestive ailments.
Soaking and sprouting activates enzymes and significantly decreases the levels of phytic acid. Therefore, by the simple soaking process you make vitamins and minerals more readily available.
I always soak my lentils, beans, grains, nuts and seeds before cooking/eating, because soaking and sprouting:
- Removes or reduces phytic acid and tannins. When phytic acid gets converted into other substances, it is less likely to bind together with other nutrients and reduce their absorption.
- May reduce the beans’ raffinose-type oligosaccharides, which in turn may result in fewer problems with flatulence.
- Neutralizes toxins in the colon as well as enzyme inhibitors.
- Encourages the production of beneficial enzymes.
- Makes the amino acids (proteins) more readily available.
- Increases the amounts of vitamins, especially A, C and B vitamins.
- Reduces the cooking time, which means less loss of water-soluble nutrients due to reduced time of exposure to heat and water.
You could even go further and sprout the chickpeas before cooking as sprouting reduces the glycemic load even further (carbohydrates diminish and the content of protein and soluble fibre increases).

VeganZyme is an advanced, full-spectrum blend of powerful enzymes that support digestion, boost the immune system, and encourage functional balance throughout the entire body. With VeganZyme, digesting your food is easier and gentler on your body.
Disclosure: this post contains affiliate links. As a Global Healing affiliate I earn from qualifying purchases. For every purchase made from the links in this post, you’ll be able to support my work. So you can look after your health, and contribute to my mission at the same time. Thank you!
How to Soak Chickpeas
Print
Guide to Sprouted Chickpeas: How to Soak, Sprout and Cook Chickpeas
Description
Learn how simple it is to sprout chickpeas or garbanzo beans without a sprouter for maximum health benefits and improved flavour. Use raw and cooked sprouted chickpeas in hummus, curries, stews, salads and Buddha bowls or snack on them raw.
Ingredients
Instructions
How to Soak Chickpeas
- First, spread the chickpeas out to remove small stones, debris or damaged beans. Then, rinse them thoroughly under cool running water.
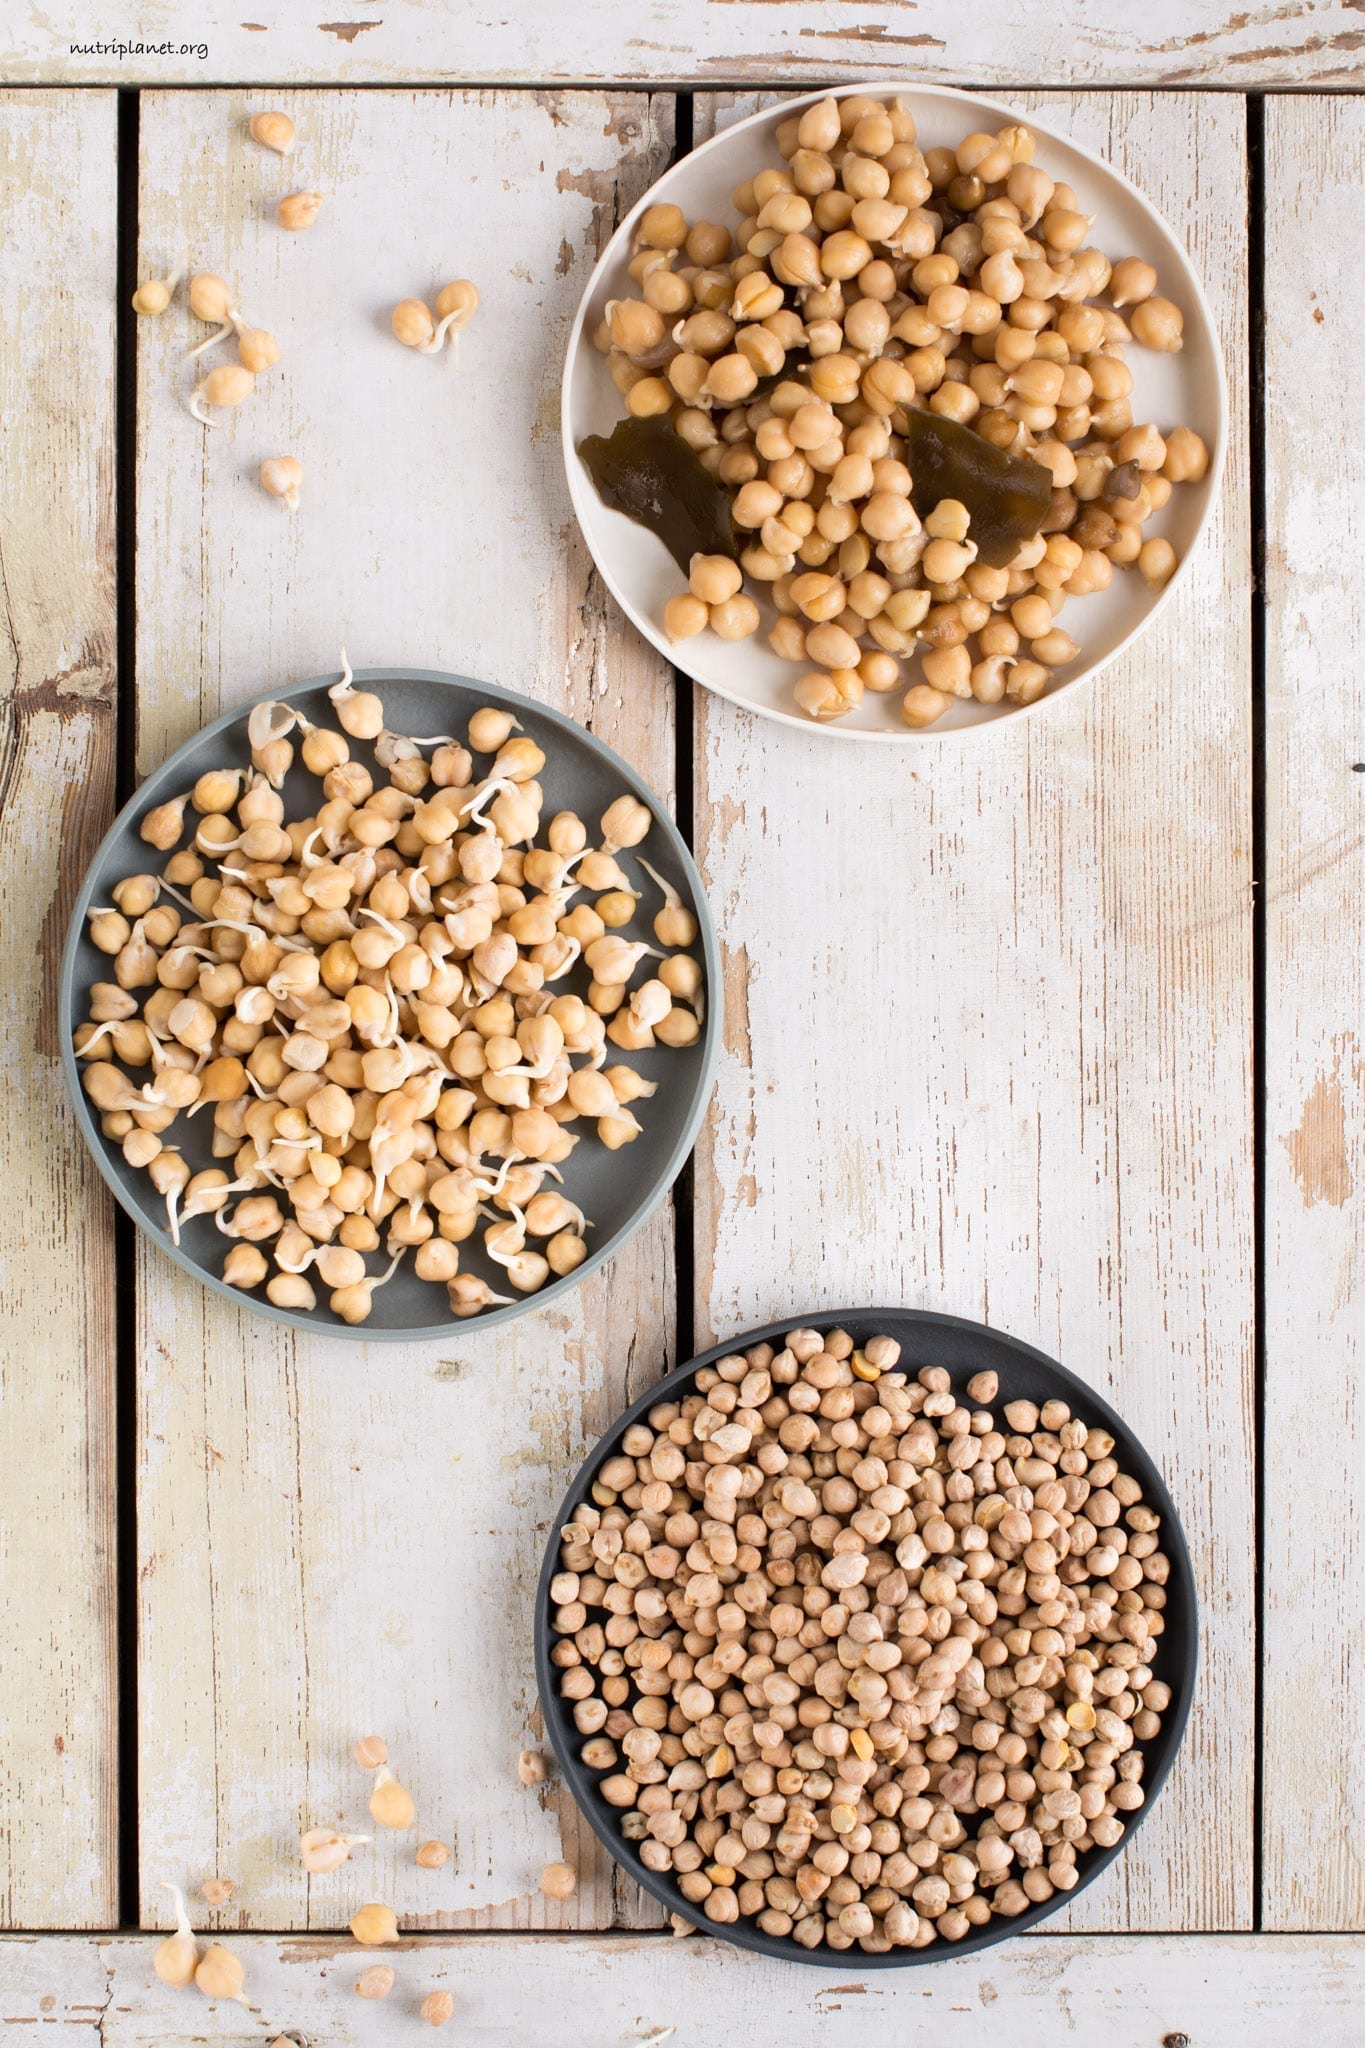
- Next, place the chickpeas in a glass bowl and soak in filtered water for 8-12 hours (min 4 hours). The amount of water depends on the volume of the chickpeas. Make sure there is enough water as chickpeas expand to over double their size. If you can, change the water 2 times. Some sources recommend putting the bowl into fridge when soaking longer than 6 hours, but I have always ignored that unless it’s very hot inside.
- Optionally, add an acidic medium (1 tablespoon of apple cider vinegar or lemon juice per each cup of dry chickpeas) to soaking water to mimic soil’s acidity. Also to decrease the content of the raffinose family of sugars even further, add baking soda to the soak water (about 1/16 teaspoon per quart/litre).
- Finally, drain the soaking liquid, and then rinse them with clean water. Now, cook them or continue with sprouting process (both explained below).
How to Quick Soak Chickpeas
If you don’t plan to sprout the chickpeas, you may also quick soak them. Here’s what you should do:
- First, add chickpeas to a saucepan along with water and boil them for 5 minutes.
- Then, turn off the heat and let them soak for 1-2 hours at which point they’d be ready to be cooked.
How to Sprout Chickpeas
- Start by soaking the chickpeas for 8-12 hours as per instructions above.
- Rinse and drain the soaked chickpeas and leave them in the sieve over a bigger bowl. Cover with clean cloth. Spread them out as much as you can to let the air flowing and prevent mould developing.
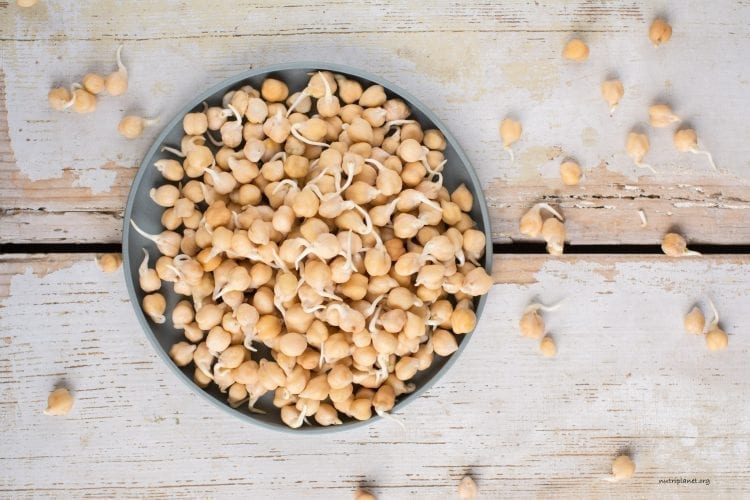
- Stir as well as rinse and drain the chickpeas several times daily until visible sprouts (that look like white tails) emerge from the chickpeas. It’ll take about 12 hours.
- When the sprouts have grown into desired length, store them in sealed container in fridge for later use.
How to Cook Sprouted Chickpeas
- If you’re cooking soaked and not sprouted chickpeas, skim off any skins that floated to the surface while soaking, drain the soaking liquid and then rinse them with clean water.
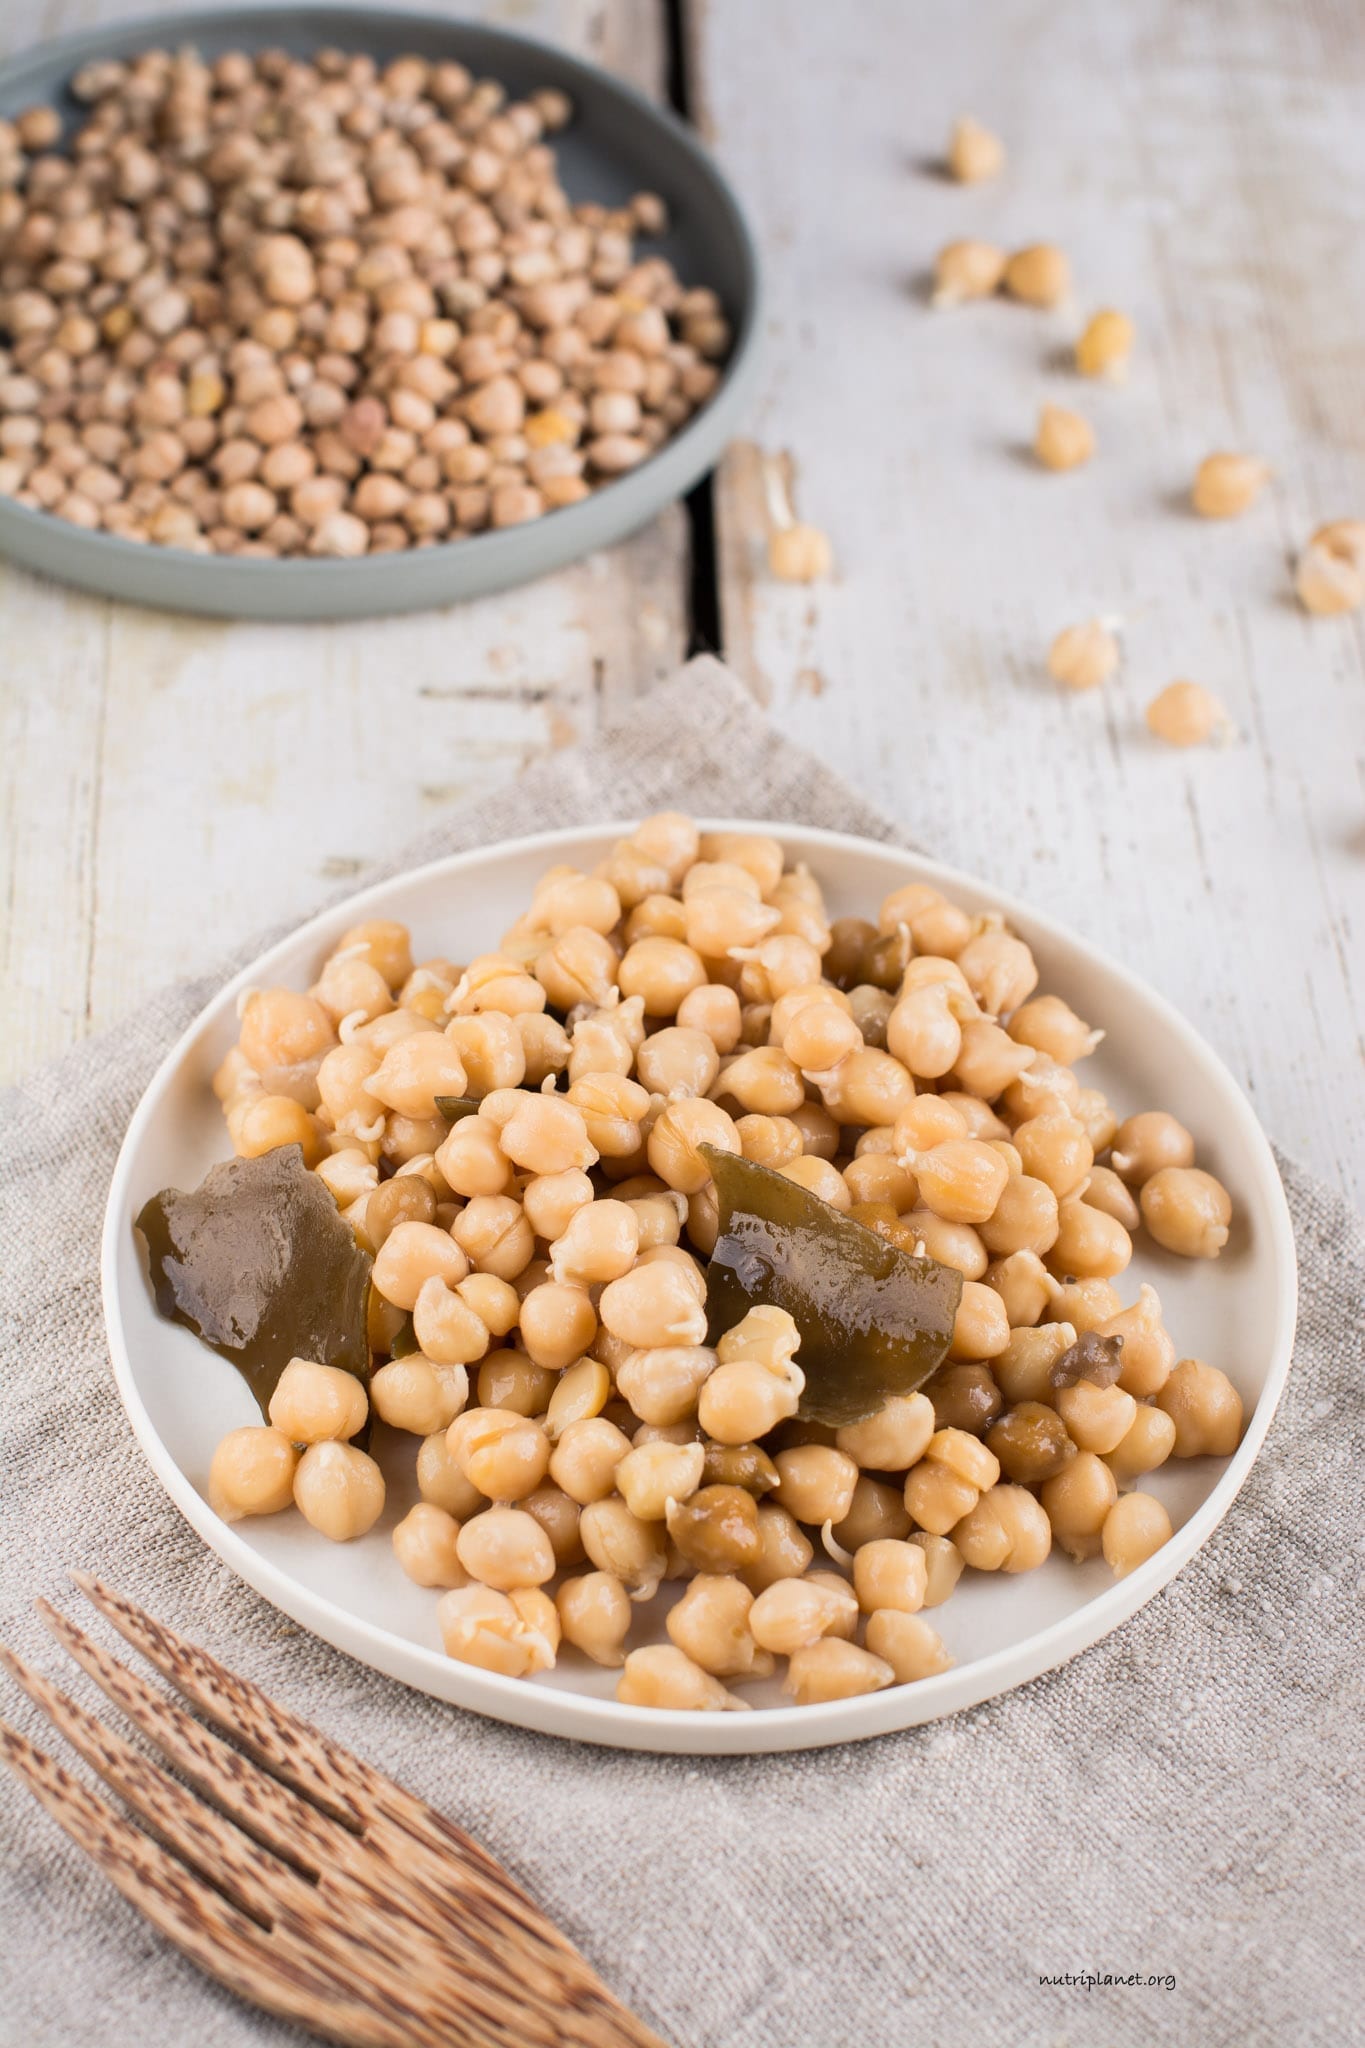
- Next, for extra flavour and better digestibility, add a bay leaf and a small piece of kombu seaweed on the bottom of a saucepan. That’s totally optional, but I strongly suggest doing the bay leaf at least. For maximum flavour and benefits, make sure you use organic bay leaf that is intact. I’ve also tried using the conventional bay leaves and found that the difference (in terms of flavour) is incomparable.
- Then, pour in the sprouted chickpeas (or soaked) and add filtered water. The liquid should be about 5 cm (2 inches) above the top of the garbanzo beans. If you want your chickpeas to become extra mushy, add a bit of baking soda to boiling water
- Bring them to a boil, and then reduce the heat to simmer. Skim off the foam that develops in the first 10-15 minutes. I prefer to leave the chickpeas simmer without lid to avoid the water to boil over. The chickpeas will be tender in 1-1.5 hours. If the chickpeas are still hard, extend the cooking time. Should too much water evaporate, boil some more in the kettle and pour into the pot.
Notes
Read about cautions with kombu seaweed from my Lentil Loaf post.
Nutrition
- Serving Size: 100g, 3.5oz
- Calories: 178 kcal
- Sodium: 8mg
- Fat: 4g
- Carbohydrates: 24g
- Fiber: 3g
- Protein: 10g
Zinc is an essential mineral that supports the immune system, digestive system, cellular growth and development, and more. This certified organic, liquid formula contains zinc derived from guava leaves, enhanced with Energized Trace Minerals for increased bioavailability.
Benefits of sprouted chickpeas
Like all other legumes, grains, nuts and seeds, also chickpeas contain enzyme inhibitors that interrupt with vitamin and mineral absorption and cause digestive ailments. Therefore, at least soaking is required to make them more digestible.
Sprouting however, takes you to a completely new level as sprouts use the starches to grow, hence decreasing the glycemic load of chickpeas or any other legume or grain. Hence, sprouting process is beneficial for anyone struggling with Candida overgrowth or blood sugar fluctuations.
Chickpeas are rich in certain minerals and macronutrients. Namely, they are:
- excellent source of molybdenum,
- very good source of manganese, folate, and copper;
- good source of fibre, phosphorus, protein, iron and zinc.
The fibre in chickpeas is mostly insoluble and it converts into short chain fatty acids in the large intestine providing support for digestive tract.
Uses of raw and cooked sprouted chickpeas
- They make an excellent protein-rich snack, both raw and cooked.
- Raw sprouted chickpeas can be blended into delicious raw hummus with tahini, black pepper, some Himalayan salt and spices/herbs. The same can be done with cooked chickpeas.
- Add raw or cooked sprouted chickpeas to salads, Buddha bowls, soups, stews, stir-fries.
- Use cooked sprouted chickpeas in any recipes that call for cooked chickpeas. For example, Vegan Egg Salad, Baked Chickpea Falafel and Chickpea Curry.
- Make my Vegan Omelette with raw sprouted chickpeas.
Sources:
Nutritionfacts.org
WHFoods
This post is also available in: Spanish



I had a question…I left my chickpeas in the sprouting jar a couple days unattended. They don’t smell moldy but I notice that some have a slightly reddish hue to them. Does this mean they have turned? Better to start over? Or it’s fine to continue the washings and harvesting?
Hi! If they smell funny (like paint a little bit), I’d start all over. I’m not sure about the reddish hue… it has never happened to me. Anyway, I’d decide according to the smell. I hope this helped!
Thanks! I’m going to start over 😉 One more question…I want to do pan-fried garbanzos, with coconut oil, turmeric, paprika, garam masala and those kind of spices…would you recommend cooking/boiling first? Or they are good to go once sprouted and end up somewhere between raw and cooked. Thanks in advance!
Hi! I would suggest you cook them first, otherwise I don’t think they’d cook through.
I’m so glad to come across this post! I totally sprouted a whole bunch of chickpeas completely by accident. I was afraid they were ruined but I’m so glad I did an internet search first. Thank you for all of the incredible information here!
Haa! Thank you! I’m so glad you didn’t throw them out! 🙂 Thanks again for your feedback! All the best!
Can you use canned organic chickpeas?
Hi! Do you mean for sprouting? No, it is possible to sprout only dry/uncooked chickpeas.
Need recipe for ChickpeaTofu (raw peas from vine). Not finding