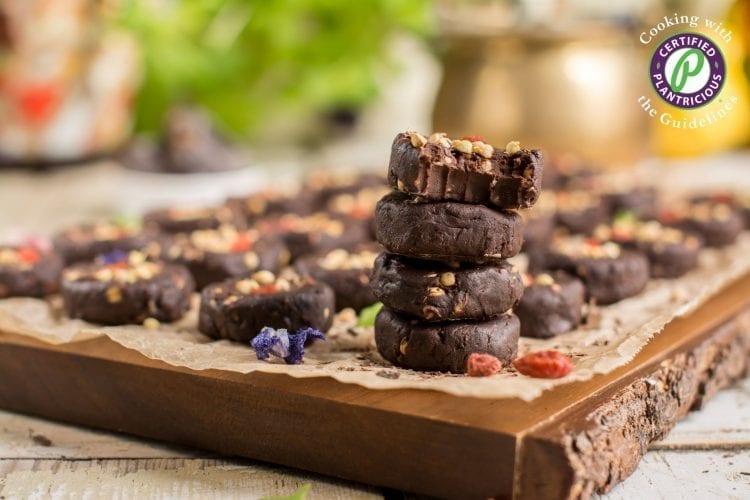
Decadent and delicious homemade vegan chocolate candies that are a healthier sugar-free alternative to store-bought varieties.
Let me start by confessing that fancying dark vegan chocolate really is one of the few (if not the only) not-that-healthy habits that I have. Probably it’s not that evil anyway, because I prefer homemade vegan chocolate over store-bought.
Don’t miss the tutorial video further down!
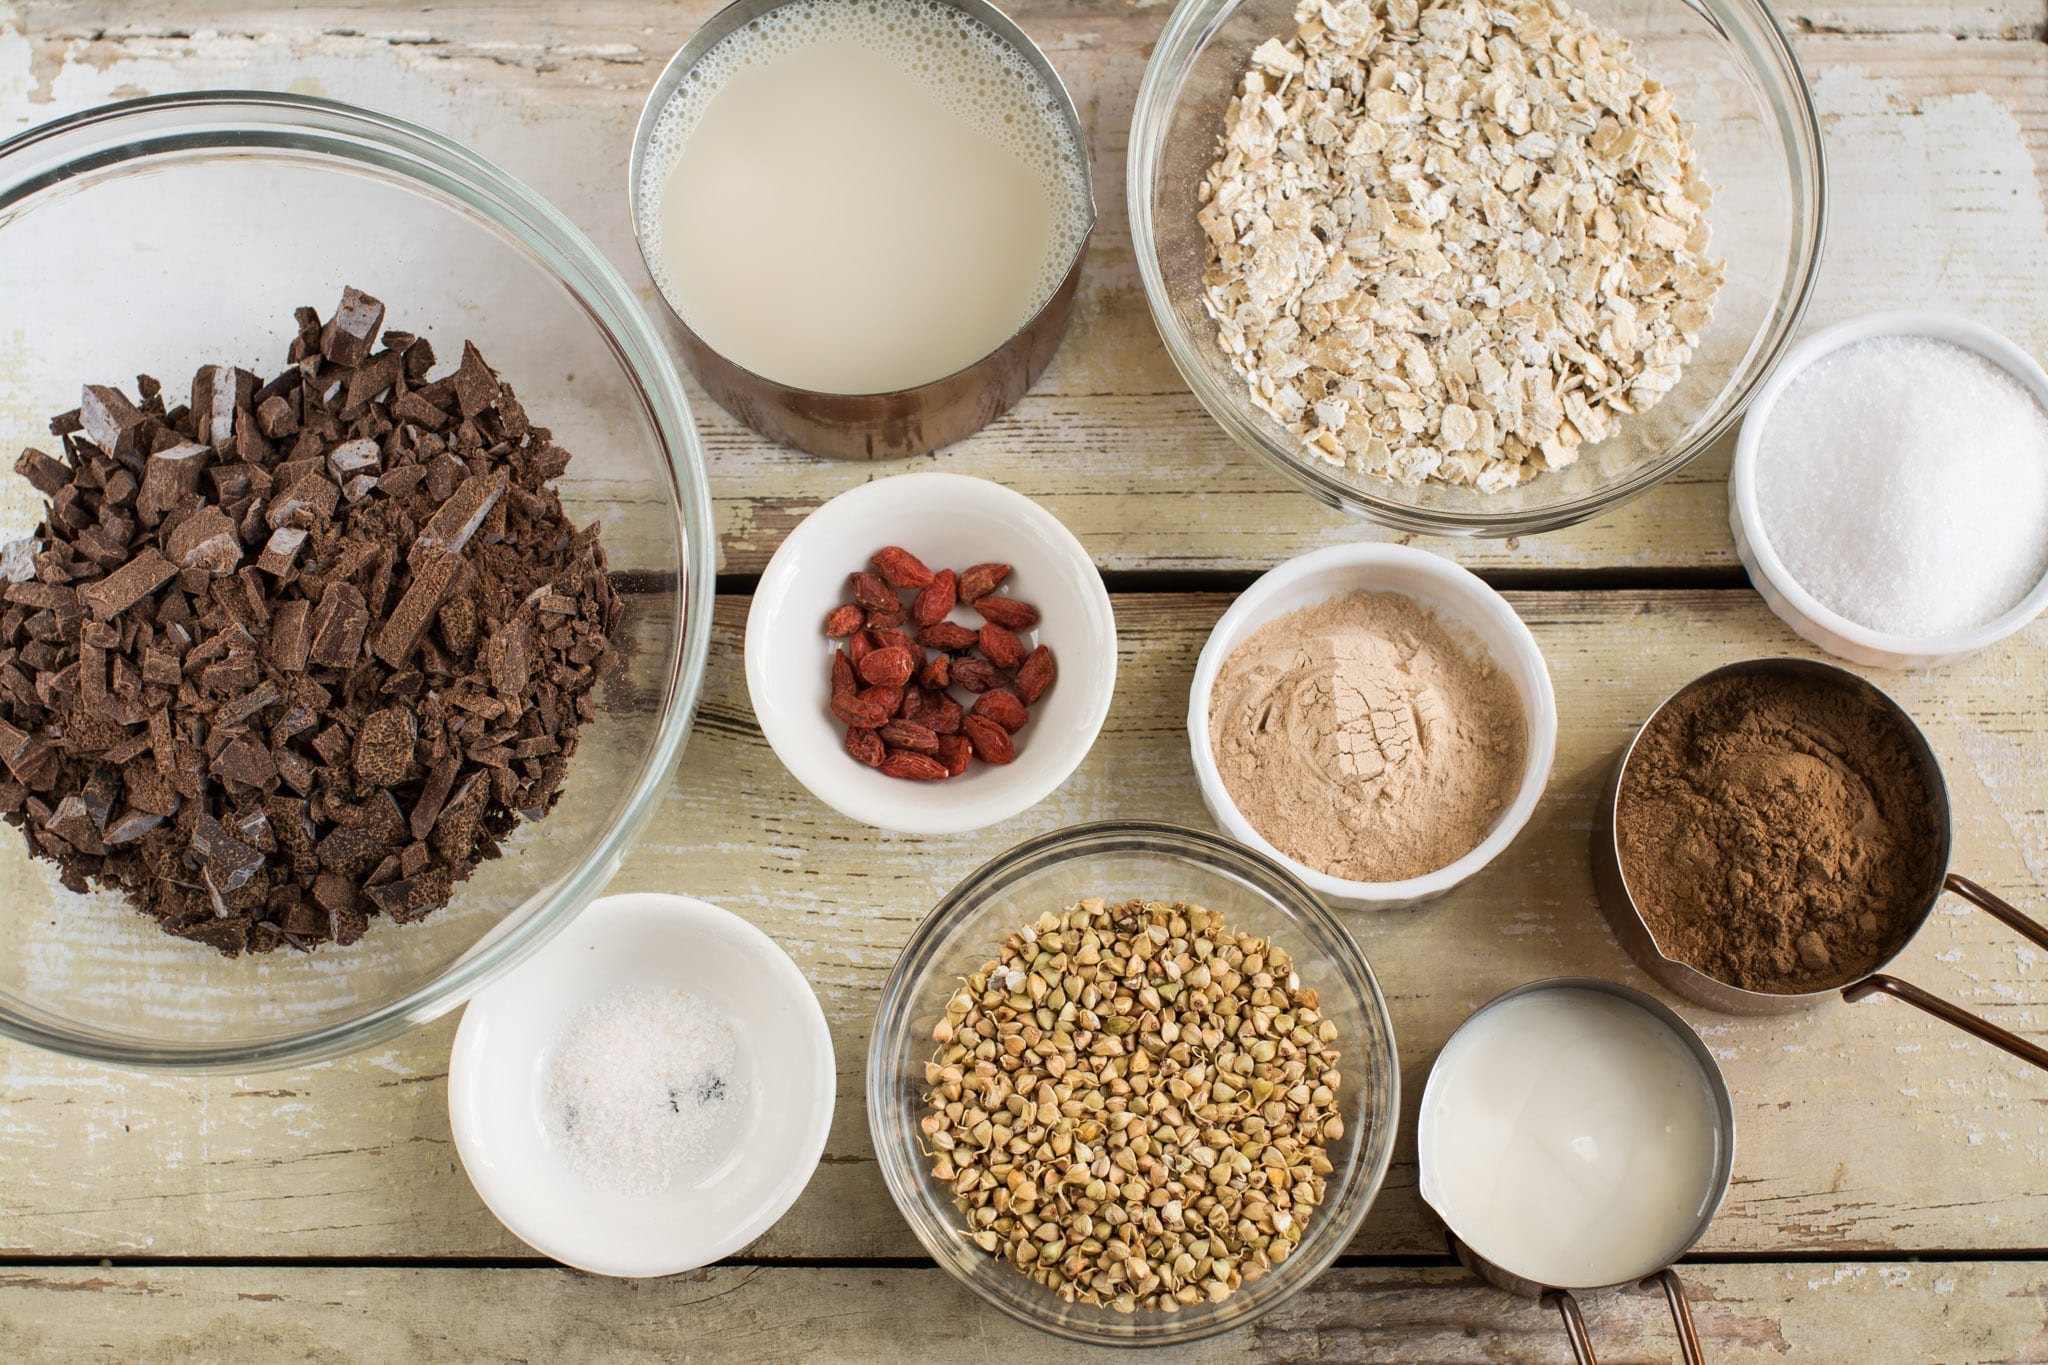
You can already guess why homemade is so much better. Firstly, you get to have total control over the ingredients – nothing crappy finds its way into your precious candies! Secondly, you can play around with cocoa, sugar and fat content – it’s you who decides how strong, sweet and fatty your homemade vegan chocolate candies are! Next, you can add all sorts of extras that you find pleasing and have in hand. Finally, it’s just so much cheaper to make your own good quality vegan chocolate. You’d need to pay around 30-40 EUR/kilo in organic shops, whereas homemade vegan chocolate candies will cost you around 10-15 EUR/kilo. What a huge difference, isn’t it?
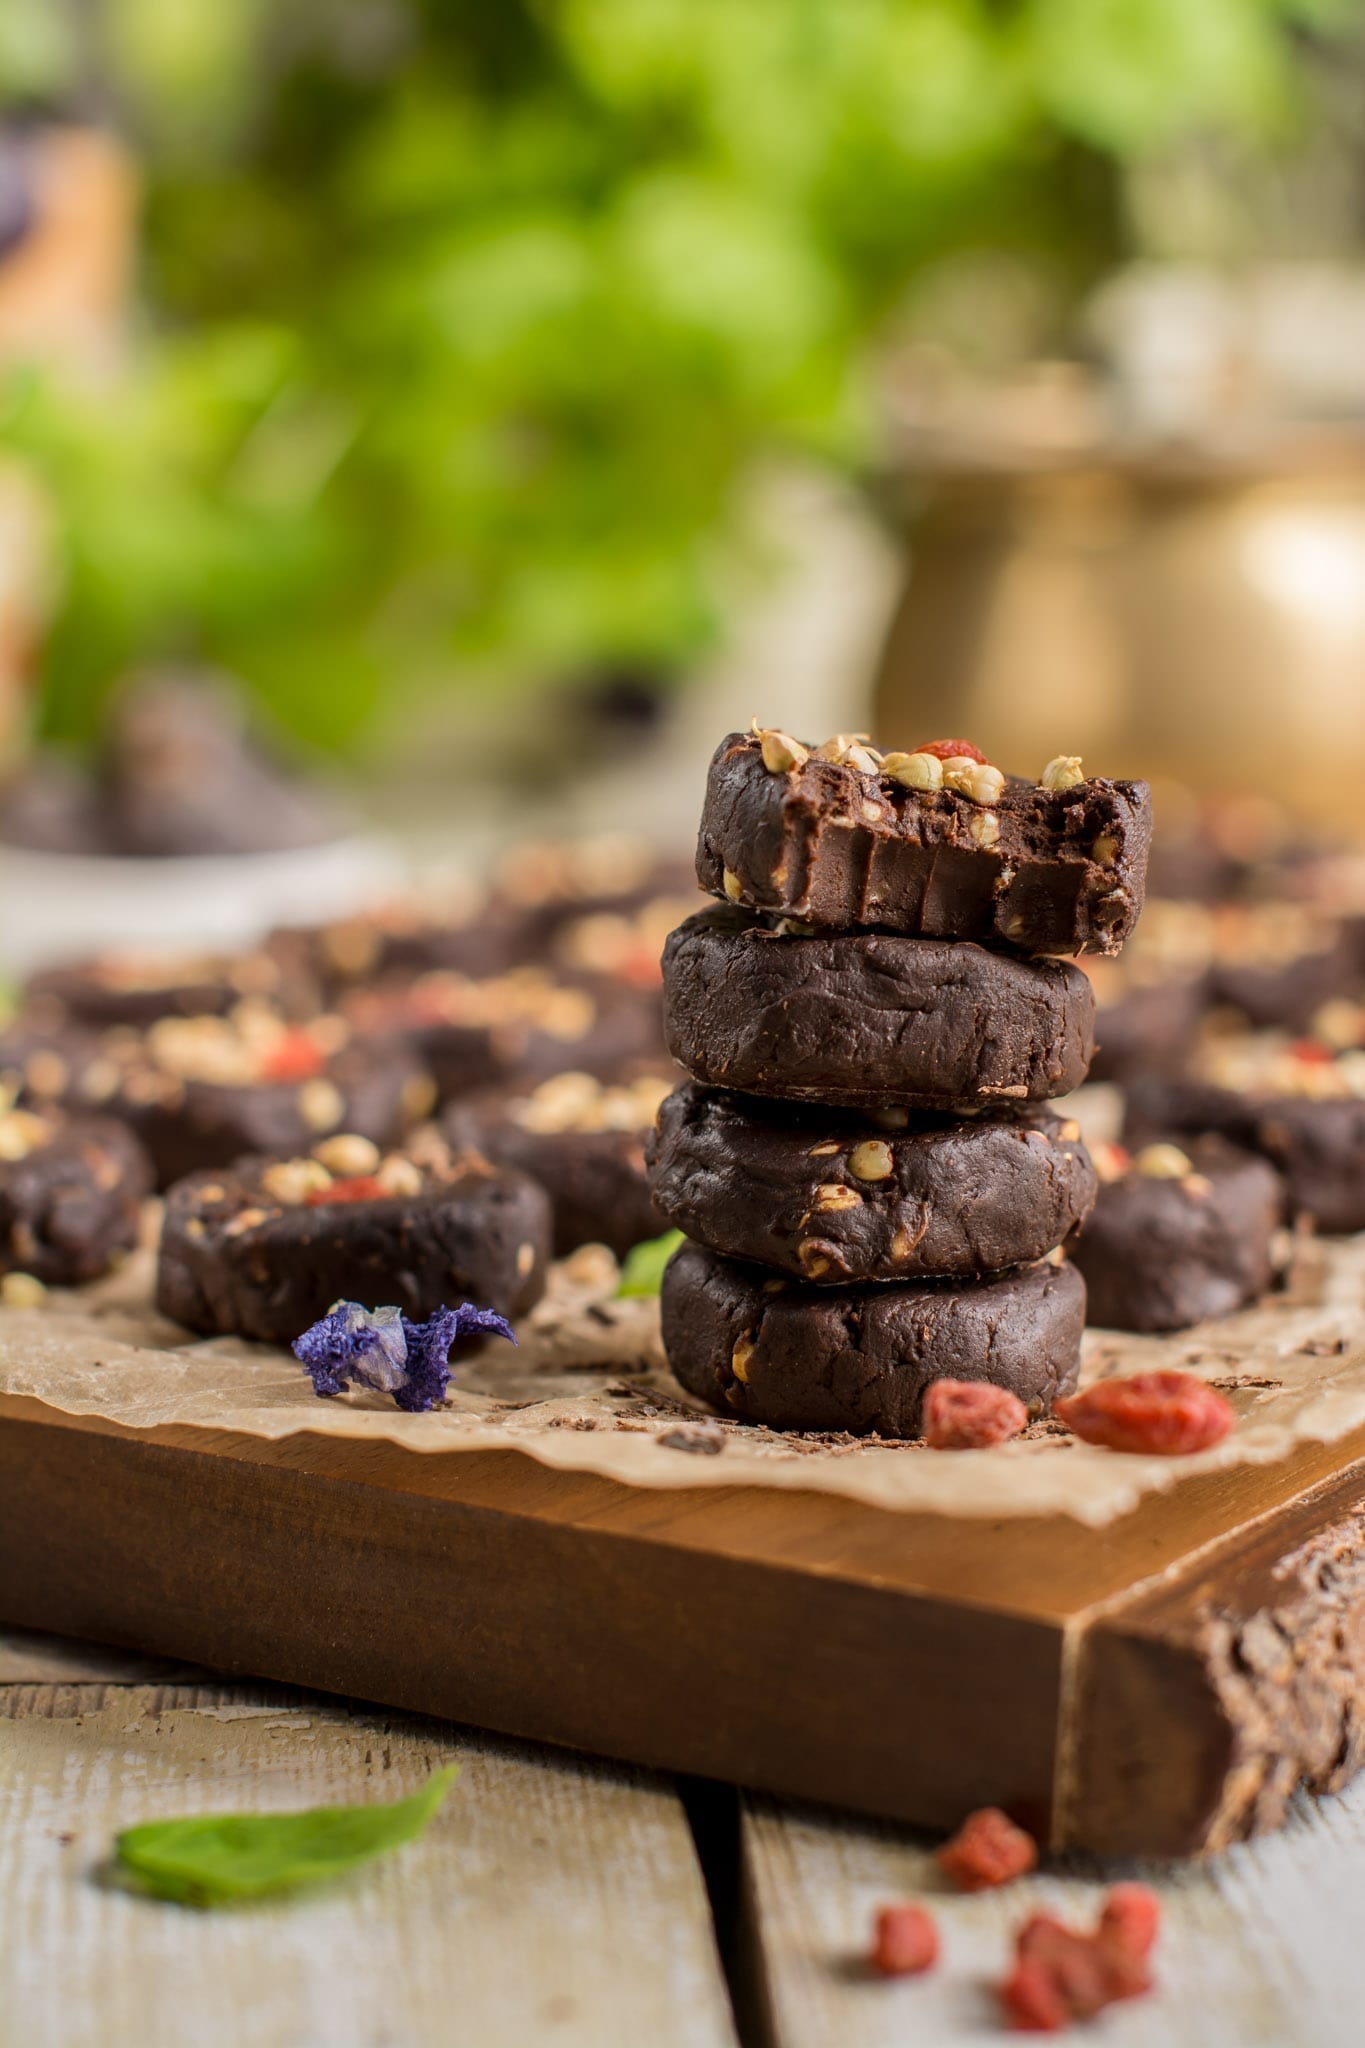
While my homemade vegan chocolate candies are not a low fat treat, they contain 10% less calories from fat than the dark chocolate you’d buy from supermarket.
| Kcal per 100g | Kcal from fat | Fat per 100g | |
| My candies | 257 kcal | 54% | 15.4g |
| Store-bought 75% dark chocolate | 517 kcal | 64% | 37g |
To sum it up, not all foods that you consume need to be low fat. Instead, you ought to start your day with low fat foods to give your blood sugar a good start and look at your overall percentage at the end of every day. For example, I never have any high fat foods before the afternoon; otherwise my blood sugar would easily fluctuate and ruin my day.
Moreover, my candies have 15.4 grams of fat per 100 grams, whereas store-bought chocolate contains about 37 grams of fat. Finally, calorie wise, it is 257 vs. 517 per 100 grams, my candies giving fewer calories of course! So, the point is, you can have more of the heavenly treat!
Now, to give you an idea of how much is healthy: I eat four of my homemade vegan chocolate candies a day and still manage to keep my calories-from-fat below 25%. How do I do that? Well, I consume no added oils and only have 1 brazil nut (for selenium), 3-4 almonds + 3-4 hazelnuts (vitamin E and monounsaturated fats), ½ tbsp. chia seeds (omega 3-s) and a few splashes of coconut milk (lauric acid) on top of that.
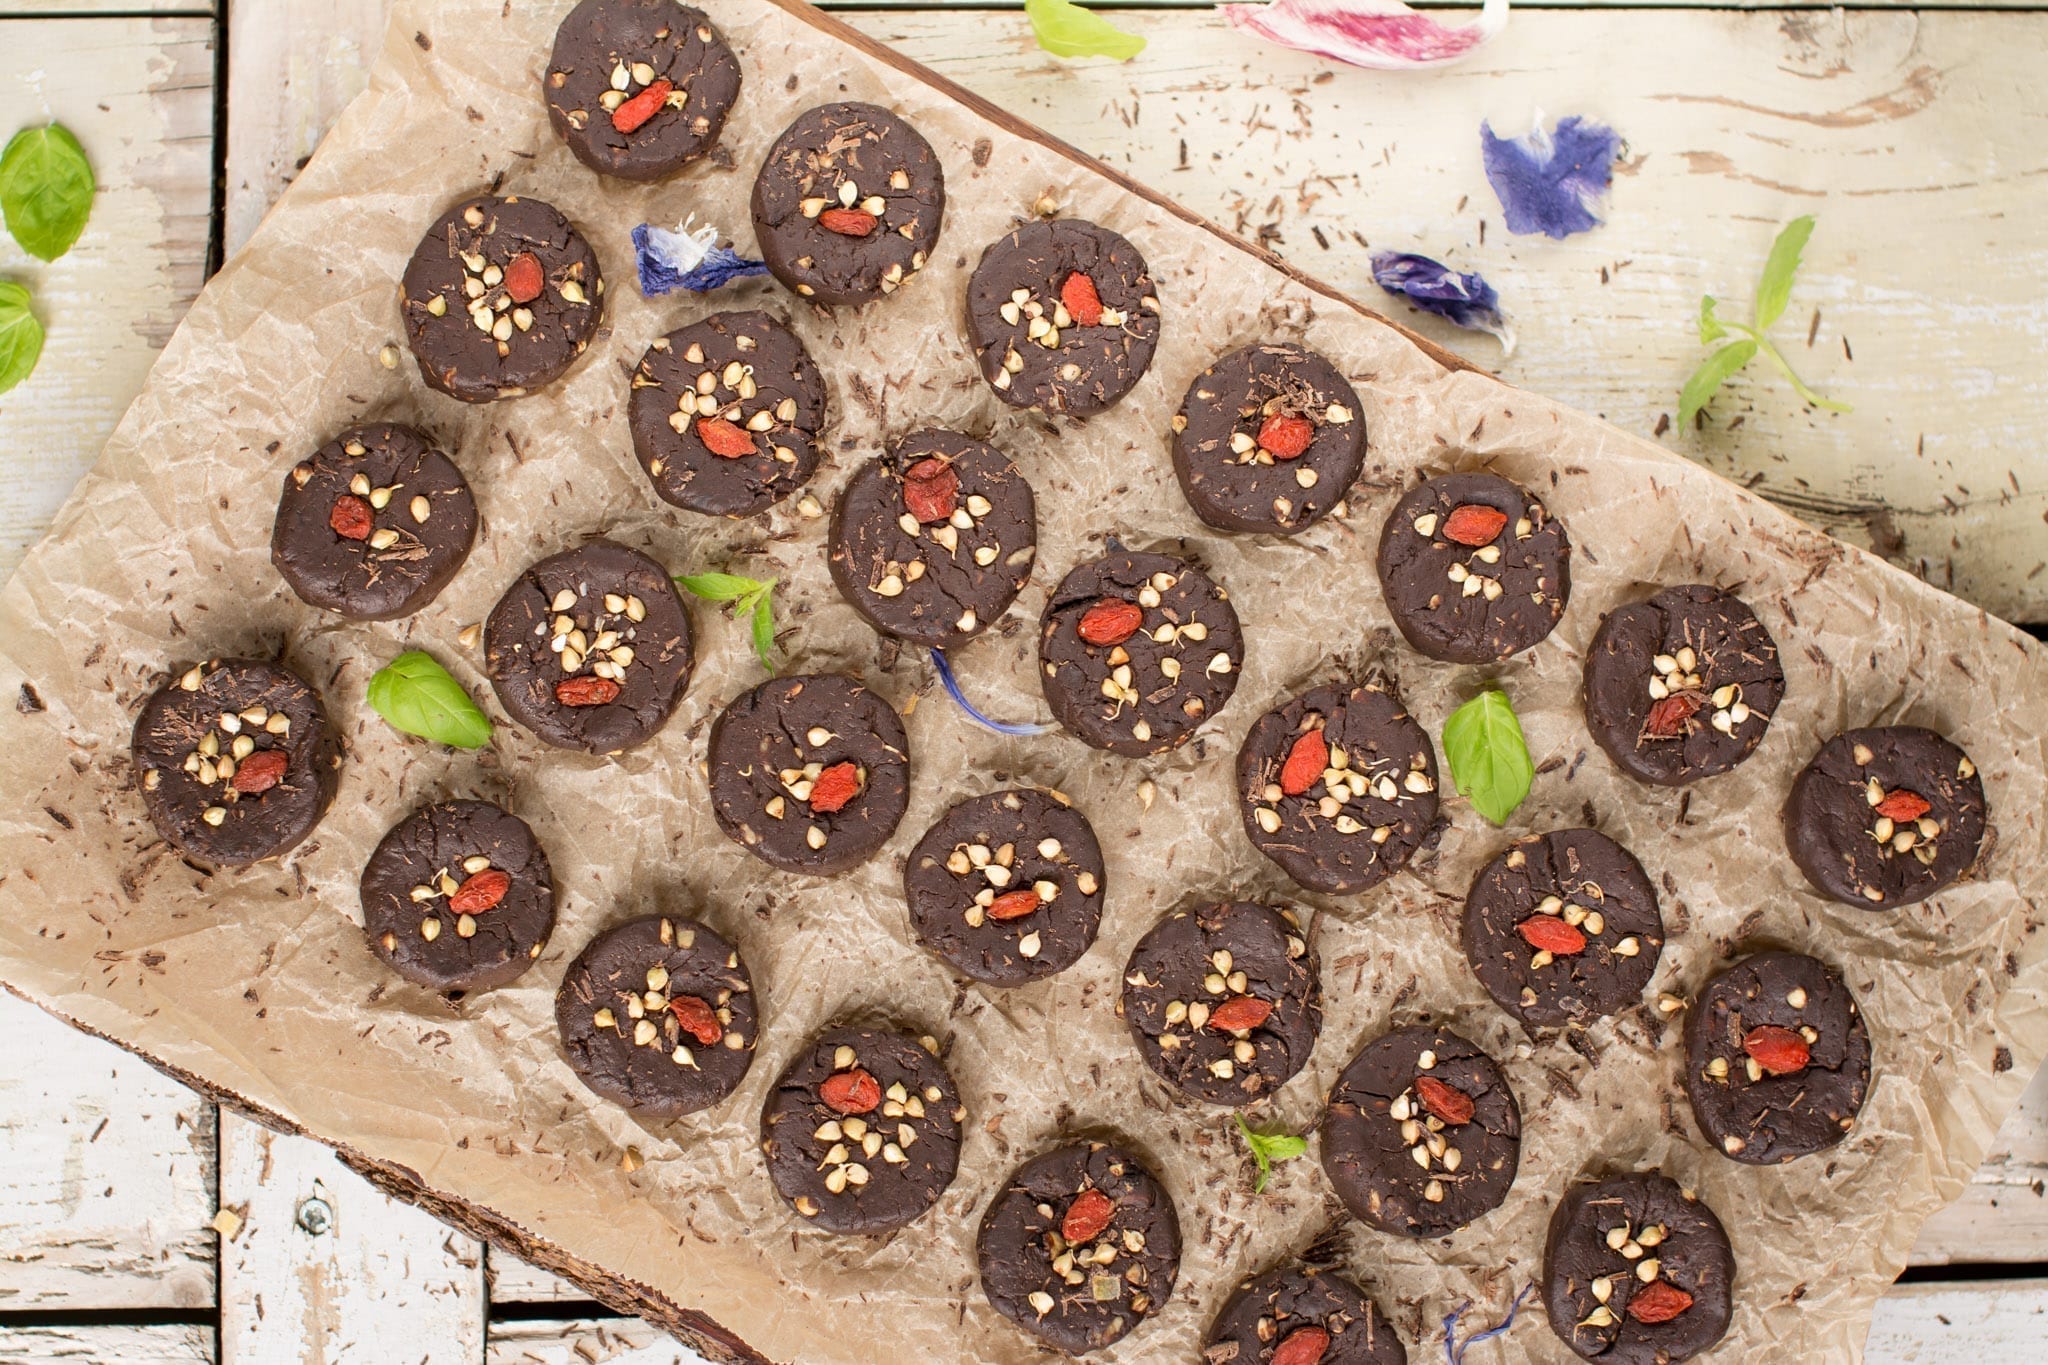
I chose to make my homemade vegan chocolate candies Candida diet friendly as I’m living Candida free after the cleanse However, should you not suffer from yeast infection, go ahead and check out my Raw Carob Candies made of dates and walnuts.
And last but not least, my homemade vegan dark chocolate candies are gluten-free (if you tolerate avenin in oats), refined sugar free, whole food, oil-free and Candida diet friendly.
Please tag me in social media whenever you try one of my recipes and leave me a comment bellow if you have any questions! I’d love to see your creations! Instagram @thenutriplanet and Facebook @nutriplanet.health.hub
Homemade Vegan Chocolate Candies
- Total Time: 30 minutes
- Yield: 28 candies 1x
- Diet: Vegan
Description
Decadent and delicious homemade vegan chocolate candies that are a healthier sugar-free alternative to store-bought varieties.
Ingredients
- 100g (3.5oz) raw cocoa paste
- 50g (1.8oz, heaped ½ cup) of rolled oats
- 165g (5.8 fl. oz) of unsweetened oat or rice milk
- 30g (1oz) pureed coconut
- ¼ tsp. Himalayan salt
- 2 tsps. cinnamon
- 1 tbsp. lucuma powder (see tips)
- 4 tbsps. carob powder
- 3 tbsps. xylitol or erythritol (use date sugar for Plantricious version)
- 35g (1.2oz) dried buckwheat sprouts (see method below)
- Goji berries to garnish (see tips)
Instructions
- Pour milk over rolled oats and microwave briefly (about 375W), then stir and microwave again until they start to swell. However, don’t let them boil. Another option would be to let them soak for a few hours or overnight.
- Next, stir into oat mixture: salt, xylitol, cinnamon, lucuma, carob, and pureed coconut.
- Now, chop up cocoa mass and place it into a heatproof bowl. In order to melt it, bring water to a simmer in your saucepan. Then, turn off the heat. Next, set the heatproof bowl in the mouth of the pot, making sure the bowl doesn’t touch the bottom of the saucepan. Stir cocoa mass as it softens. Make sure not to let even a drop of water to come in contact with your cocoa mass.
- Next step is to stir dried buckwheat sprouts into melted cocoa mass. Leave about 5g (0.2oz) for garnishing.
- Remove bowl from the heat and pour the oat mixture into cocoa mass mixing them up really well.
- Place the bowl onto kitchen scale and start shaping about 15g (0.5oz) candies – make them either ball or disc shaped. You might want to let the mass cool a bit before you start rolling the balls though.
- Garnish with goji berries (optional).
- Put the candies in the fridge for a couple of hours where they firm up. If you leave them on room temperature, they’ll be on the soft side.
Notes
One candy (about 15g, 0.5oz candy) has 1.74 GL points (given that you use xylitol or erythritol as sweetener).
The below nutritional data is calculated with oat milk and date sugar.
- Prep Time: 30 minutes
- Method: Raw
Nutrition
- Serving Size: 1 candy (about 15g, 0.5oz)
- Calories: 57 kcal
- Sodium: 24.8mg
- Fat: 2.9g
- Saturated Fat: 1.8g
- Carbohydrates: 5.1g
- Fiber: 1.95g
- Protein: 1.2g
How to sprout buckwheat for homemade vegan chocolate candies.
For sprouts, soak buckwheat groats for at least 6 hours. Then drain and rinse them. Next, place them (in a sieve) on a bowl bigger than the sieve and cover with clean and slightly damp folded kitchen cloth. The sprouts will be with ideal length in 24 hours, but already usable in 12 hours. Let them dry on a plate or put them in warm oven for quicker dehydration.
Tips on my homemade vegan chocolate candies:
- Alternatively, melt the cocoa mass in microwave oven. Heat it on medium high for about 1 minute to start with. Remove from the microwave and stir. Repeat heating at shorter intervals, 15 to 20 seconds, stirring in between, until the chocolate is completely melted and has a smooth consistency.
- Instead of dried sprouts you could also use regular raw buckwheat groats, but it wouldn’t be as beneficial as the sprouts.
- You can use any sweetener you like, if you don’t have xylitol.
- I added 5 drops of stevia on top of xylitol.
- Should you not have lucuma in hand, use mesquite or more carob instead.
- Any dried berries or chopped fruits work, if you don’t have or don’t like goji berries.
- Store the candies in fridge for 4-5 days or in freezer for couple of months.
Disclaimer: the recipe and tips contain links to products that I recommend and that meet my requirements.






?Pureed coconut? would you please explain this? Lucuma is new to me. I checked it out and ordered some. This recipe looks great.
Thank you! Pureed coconut is something I discovered only a few months ago and I’m so glad I did! It’s as it says — coconut in its pureed form, i.e. whole coconut (except water) that is pureed. I also linked to a product from the recipe so that you can have a clearer idea.